24VISIONEER 9450 SCANNER INSTALLATION GUIDE
PREVIEW AUTO-AREA
The item you’re scanning may not fill the scanner glass. In that case you can preview the item and use the Preview
■Click the Preview
For example, if you preview the scan of a small photo, the Scan Manager automatically determines that the scan area is only where the photo is located on the glass.
You can manually adjust the scan area. For example, if you want the scan to include a border around the image, drag the edges of the scan area box.
PAPER SIZE
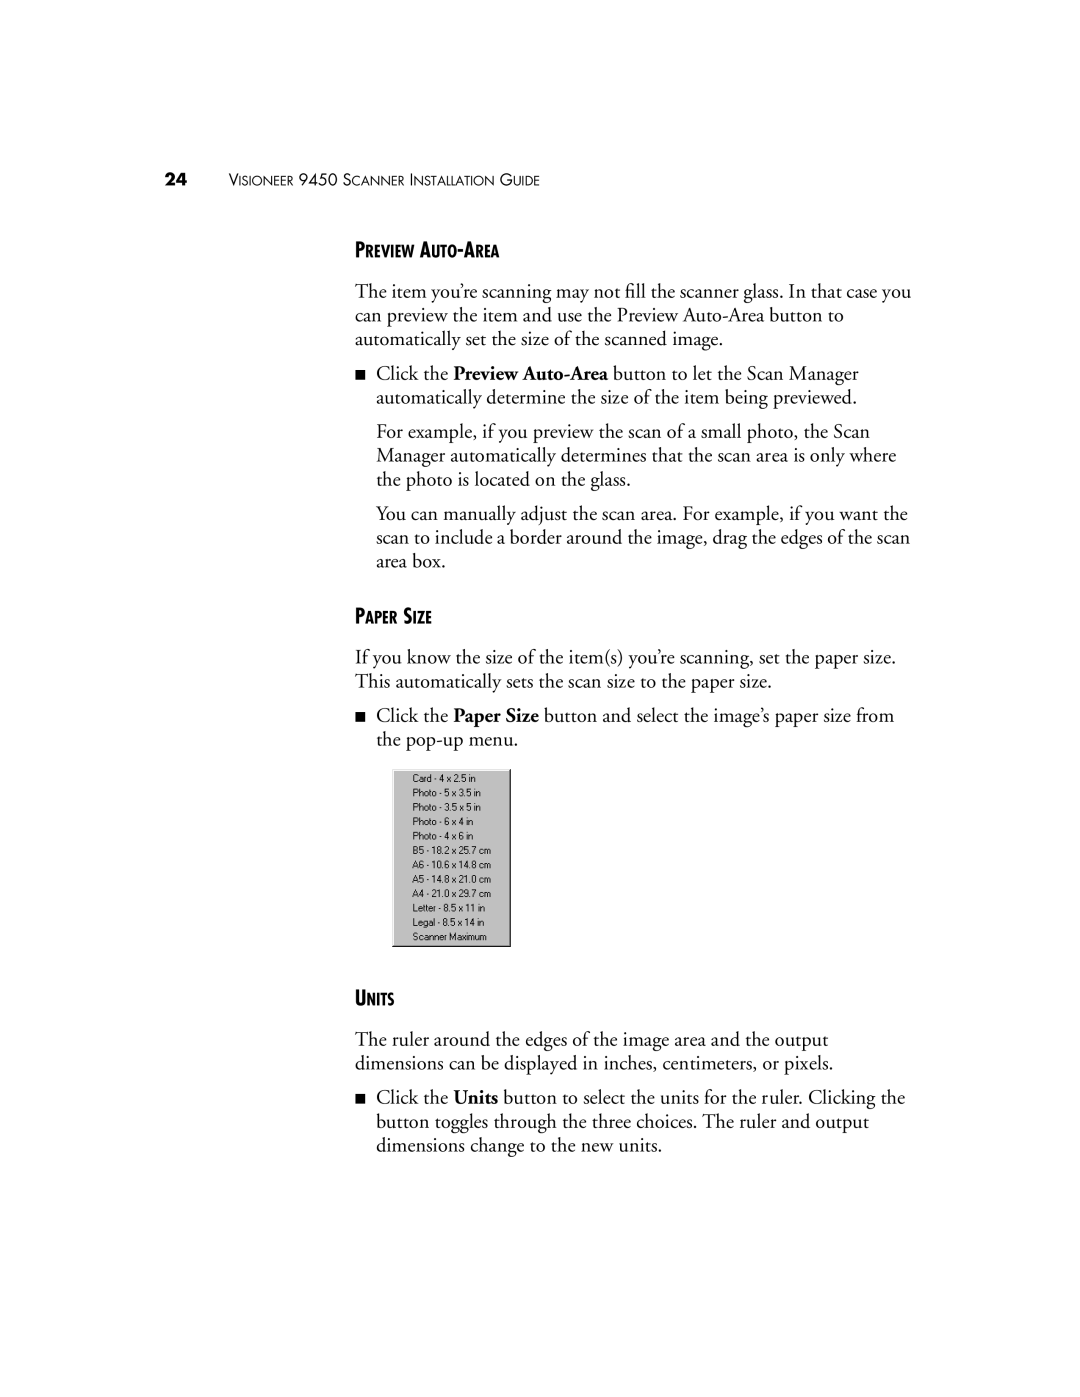
If you know the size of the item(s) you’re scanning, set the paper size.
This automatically sets the scan size to the paper size.
■Click the Paper Size button and select the image’s paper size from the
UNITS
The ruler around the edges of the image area and the output dimensions can be displayed in inches, centimeters, or pixels.
■Click the Units button to select the units for the ruler. Clicking the button toggles through the three choices. The ruler and output dimensions change to the new units.
