VIVOTEK
Note that the Preview button has been cancelled, all changes made to image settings is directly shown on screen. You can click Restore to recall the original settings without incorporating the changes. When completed with the settings on this page, click Save to enable the setting. You can also click on Profile to adjust all settings above in a
Exposure
Advanced Mode
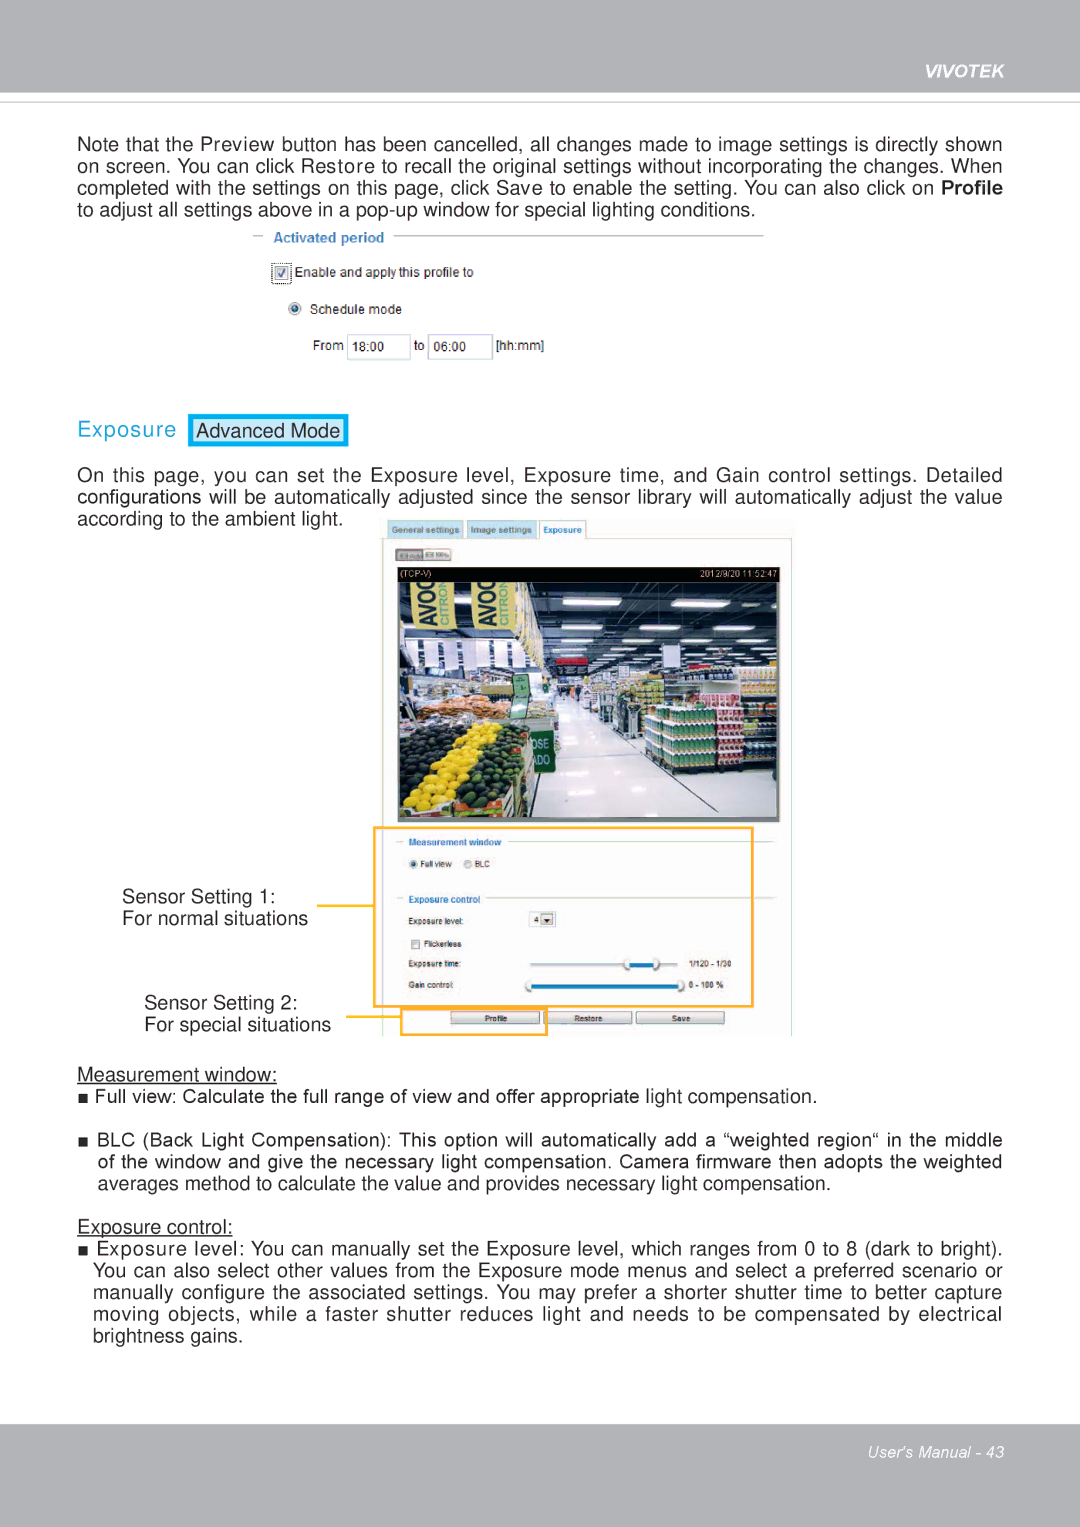
On this page, you can set the Exposure level, Exposure time, and Gain control settings. Detailed configurations will be automatically adjusted since the sensor library will automatically adjust the value according to the ambient light.
Sensor Setting 1:
For normal situations
Sensor Setting 2:
For special situations
Measurement window:
■Full view: Calculate the full range of view and offer appropriate light compensation.
■BLC (Back Light Compensation): This option will automatically add a “weighted region“ in the middle of the window and give the necessary light compensation. Camera firmware then adopts the weighted averages method to calculate the value and provides necessary light compensation.
Exposure control:
■Exposure level: You can manually set the Exposure level, which ranges from 0 to 8 (dark to bright). You can also select other values from the Exposure mode menus and select a preferred scenario or manually configure the associated settings. You may prefer a shorter shutter time to better capture moving objects, while a faster shutter reduces light and needs to be compensated by electrical brightness gains.
User's Manual - 43