4
To unlock all custom picture modes:
1. | From the PICTURE MODE MANAGEMENT menu, use the Arrow |
| buttons to highlight Unlock Picture Mode, and then press |
| OK. The UNLOCK PICTURE MODE menu is displayed. |
2. | Use the Number Pad on your remote to enter your |
3. | Make any desired changes to the picture modes. |
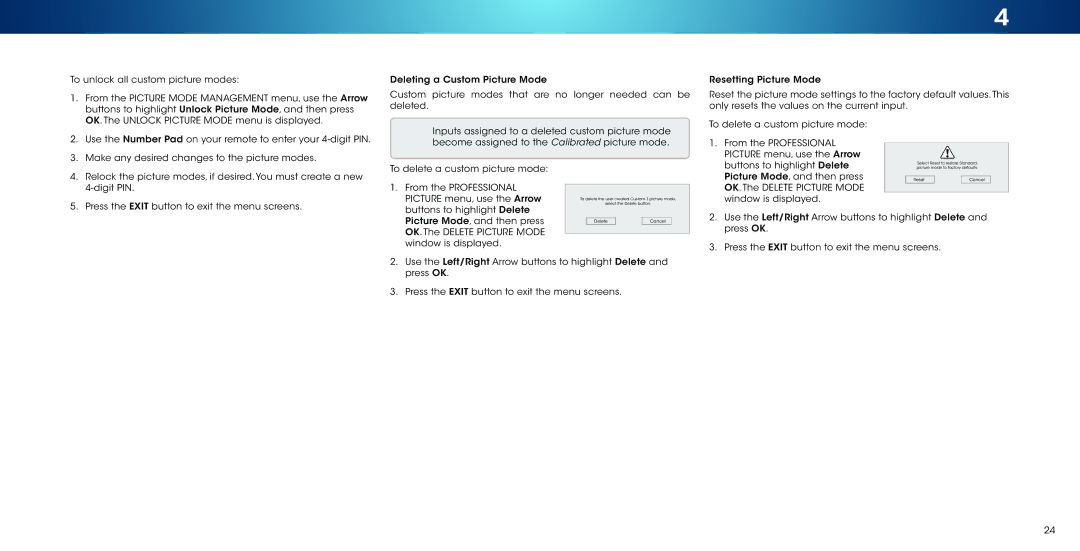
Deleting a Custom Picture Mode
Custom picture modes that are no longer needed can be deleted.
Inputs assigned to a deleted custom picture mode become assigned to the Calibrated picture mode.
Resetting Picture Mode
Reset the picture mode settings to the factory default values.This only resets the values on the current input.
To delete a custom picture mode:
1. From the PROFESSIONAL |
PICTURE menu, use the Arrow |
4. | Relock the picture modes, if desired. You must create a new |
| |
5. | Press the EXIT button to exit the menu screens. |
To delete a custom picture mode:
1. From the PROFESSIONAL |
PICTURE menu, use the Arrow |
buttons to highlight Delete |
To delete the user created Custom 1 picture mode,
select the Delete button.
buttons to highlight Delete |
Picture Mode, and then press |
OK. The DELETE PICTURE MODE |
window is displayed. |
Select Reset to restore Standard picture mode to factory defaults.
Reset |
| Cancel |
Picture Mode, and then press |
OK. The DELETE PICTURE MODE |
window is displayed. |
Delete |
| Cancel |
2.Use the Left/Right Arrow buttons to highlight Delete and press OK.
3.Press the EXIT button to exit the menu screens.
2.Use the Left/Right Arrow buttons to highlight Delete and press OK.
3.Press the EXIT button to exit the menu screens.
24
