|
|
|
| ct |
|
|
| u | |
|
| d |
| |
| o |
|
| |
r |
|
|
| |
P |
|
|
|
|
eat | ures |
F |
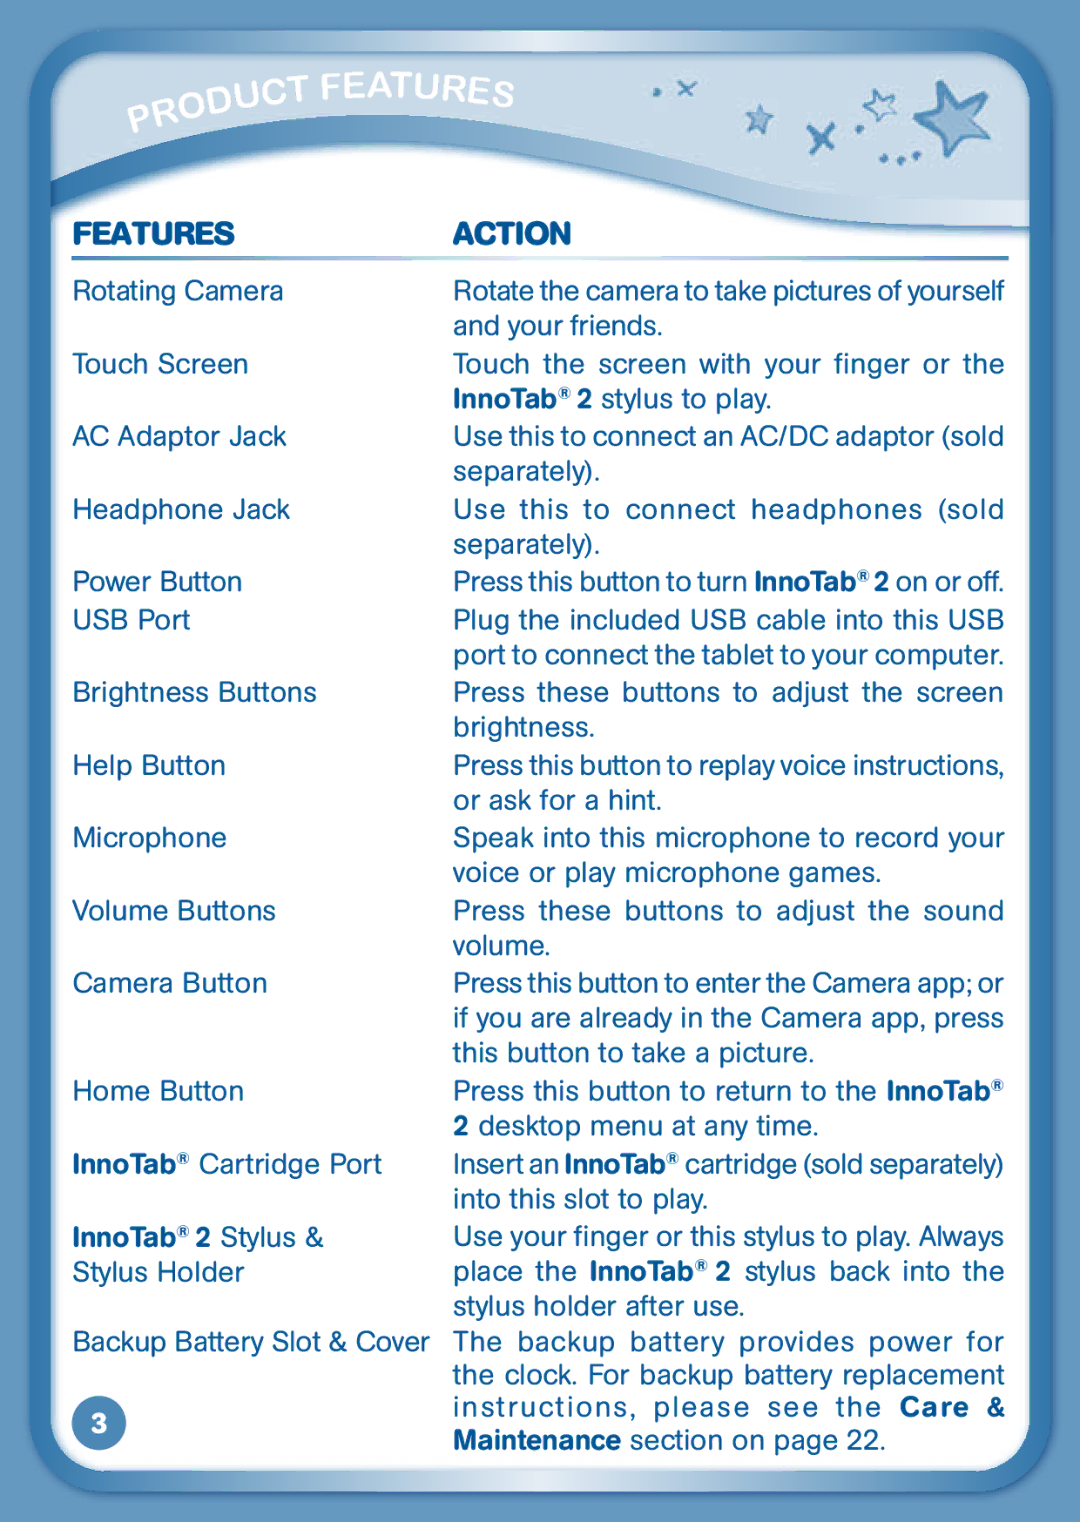
FEATURES | ACTION | |
Rotating Camera | Rotate the camera to take pictures of yourself | |
| and your friends. | |
Touch Screen | Touch the screen with your finger or the | |
| InnoTab® 2 stylus to play. | |
AC Adaptor Jack | Use this to connect an AC/DC adaptor (sold | |
| separately). | |
Headphone Jack | Use this to connect headphones (sold | |
| separately). | |
Power Button | Press this button to turn InnoTab® 2 on or off. | |
USB Port | Plug the included USB cable into this USB | |
| port to connect the tablet to your computer. | |
Brightness Buttons | Press these buttons to adjust the screen | |
| brightness. | |
Help Button | Press this button to replay voice instructions, | |
| or ask for a hint. | |
Microphone | Speak into this microphone to record your | |
| voice or play microphone games. | |
Volume Buttons | Press these buttons to adjust the sound | |
| volume. | |
Camera Button | Press this button to enter the Camera app; or | |
| if you are already in the Camera app, press | |
| this button to take a picture. | |
Home Button | Press this button to return to the InnoTab® | |
| 2 desktop menu at any time. | |
InnoTab® Cartridge Port | Insert an InnoTab® cartridge (sold separately) | |
| into this slot to play. | |
InnoTab® 2 Stylus & | Use your finger or this stylus to play. Always | |
Stylus Holder | place the InnoTab® 2 stylus back into the | |
| stylus holder after use. | |
Backup Battery Slot & Cover | The backup battery provides power for | |
| the clock. For backup battery replacement | |
3 | instructions, please see the Care & | |
Maintenance section on page 22. | ||
|
