CHARGING THE HEADSET
Before first time operation, place the headset securely in the base and allow the unit to charge undisturbed for 12 full hours.
When fully charged, the headset indicator light will turn bright green. A full charge will provide 6 hours of talk time before needing to be recharged. A red light simply indicates less than a full
It is recommended that the headset be stored in the base when the headset is not in use. This ensures a continual charging of the headset.
The headset’s audio and visual indicators will indicate the level of available battery power as follows:
When headset is mounted on the base:
•Green light: Fully charged.
•Red light: Partially charged. Okay to use unless low battery warning is heard.
When headset is removed from base:
•Flashing red light every few seconds: low battery warning.
•Double beep heard every 30 seconds: low battery warning.
When the headset indicates a low battery warning you will have only a few minutes until the headset loses power. If you lose power during a call, simply pick up the handset on your phone before placing the headset back in the charger base.
One hour of charge time will yield approximately 1 hour of talk time. In the mean- time, you may use your telephone handset to make or receive calls.
Battery Information
The BlueParrott B200 battery is guaranteed for 1year. To order a new battery, please call VXI at
Talk Time And Standby Time
After the headset is fully charged, you will enjoy a total talk time of up to 6 hours and a standby time of up to 100 hours.
HEADSET ADJUSTMENTS / MICROPHONE POSITIONING
Microphone positioning is important to ensure proper microphone performance.
Headset Adjustment
1.Place the headset on your head with the ear cushion on your left or right ear.
2.Swivel microphone boom up and over, if necessary, to bring it to the chosen side.
3.Place
4.Slide headband in or out for a secure fit.
Microphone Positioning
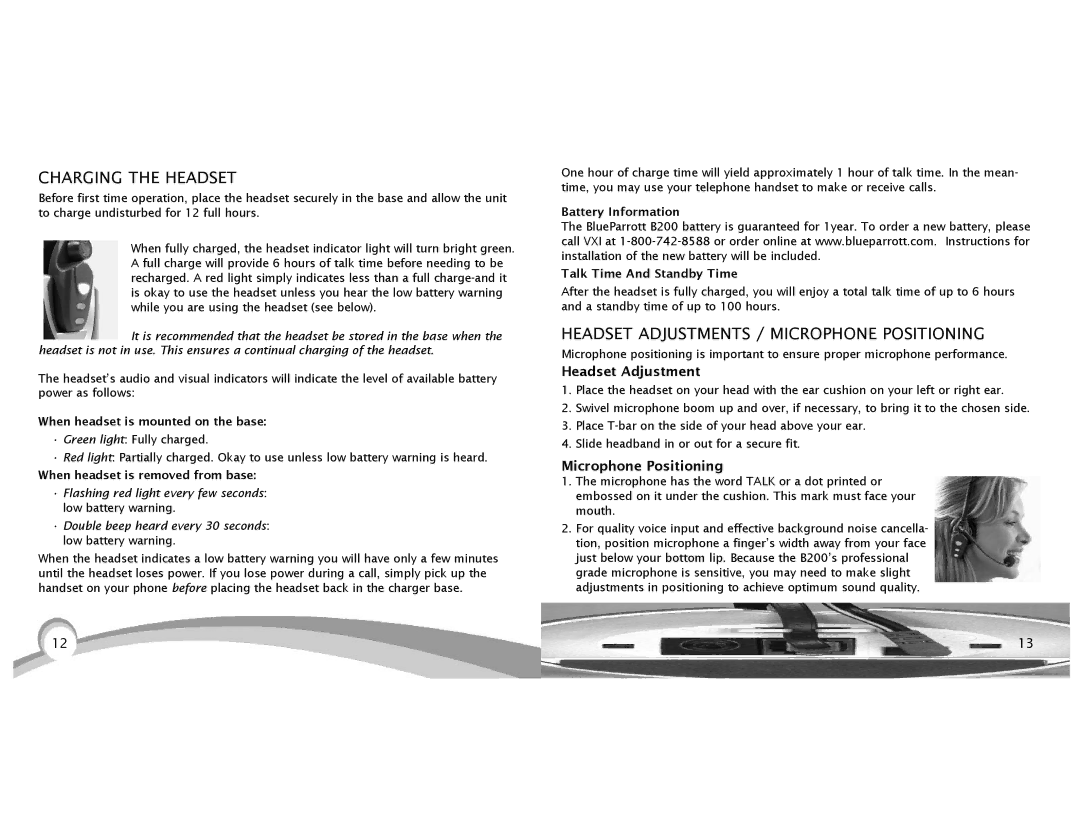
1.The microphone has the word TALK or a dot printed or embossed on it under the cushion. This mark must face your mouth.
2.For quality voice input and effective background noise cancella- tion, position microphone a finger’s width away from your face just below your bottom lip. Because the B200’s professional grade microphone is sensitive, you may need to make slight adjustments in positioning to achieve optimum sound quality.
12 | 13 |
|
|
