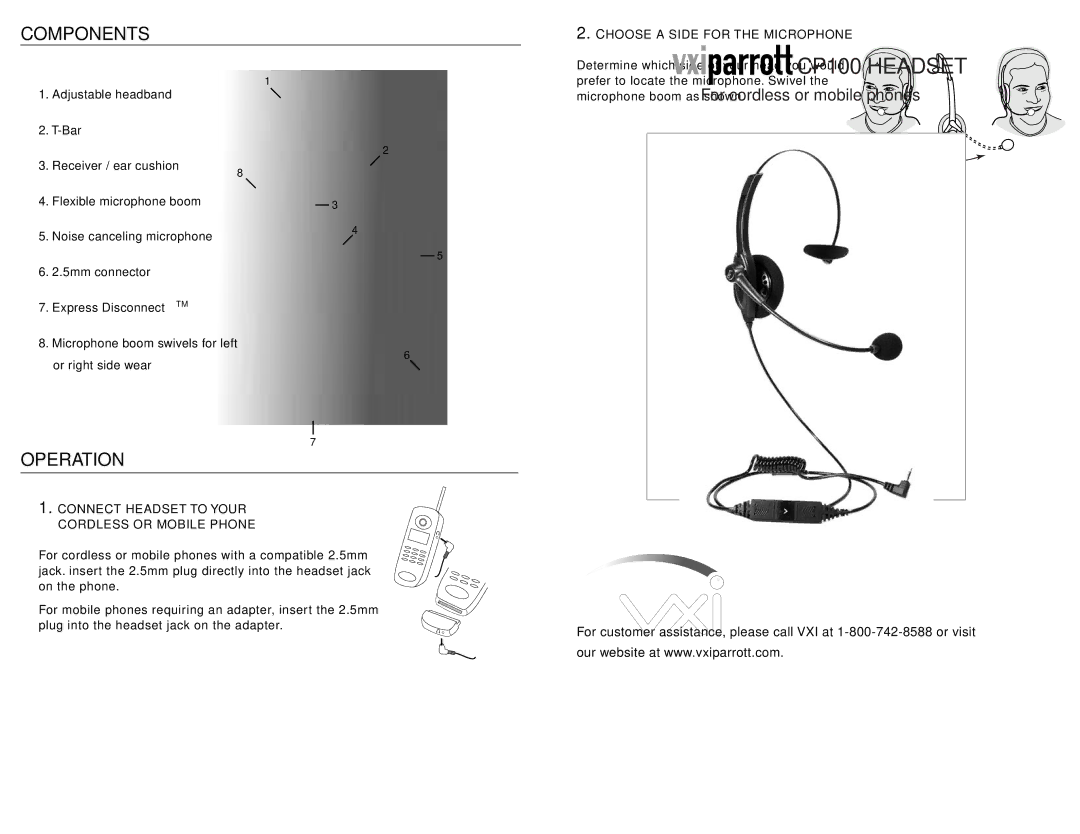
CP100 specifications
The VXI CP100 is a versatile and robust platform specifically designed for a range of industrial and commercial applications. Built on the VXIbus standard, the CP100 provides a modular and scalable solution that meets the needs of various testing environments and systems integration. This cutting-edge device is known for its high-performance capabilities, advanced features, and ease of integration.One of the main features of the VXI CP100 is its high-speed processing capabilities. It is equipped with a powerful CPU that allows for fast data acquisition and processing, ensuring it can handle complex tasks efficiently. This makes the CP100 the preferred choice for applications requiring real-time analysis and control. Additionally, it supports multiple communication protocols, ensuring compatibility with existing systems and facilitating seamless integration into larger test setups.
The CP100 also offers extensive modularity, allowing users to customize their configuration according to specific test requirements. With a wide variety of available VXI modules, users can mix and match components to create a tailored solution that addresses their unique needs. This scalability is particularly advantageous in applications where testing requirements can evolve over time.
Another defining characteristic of the VXI CP100 is its durability and reliability. Built to withstand harsh environments, the CP100 features a rugged design that protects its internal components from dust, vibration, and temperature fluctuations. This resilience ensures consistent performance, making it suitable for both laboratory settings and field deployments.
In terms of software support, the VXI CP100 comes equipped with a user-friendly interface and compatibility with various programming environments. This enables engineers and technicians to quickly set up tests and analyze results without extensive training or a steep learning curve. Furthermore, support for industry-standard software tools enhances productivity and streamlines the testing process.
In conclusion, the VXI CP100 stands out in the market for its high-speed processing, modularity, durability, and ease of use. It is an ideal choice for a wide range of applications, including telecommunications, aerospace, and automotive testing. By providing a reliable and flexible platform, the VXI CP100 empowers organizations to conduct efficient and effective testing, ensuring that they meet the growing demands of their respective industries.

