LX and LT Pool Heaters | Page 25 |
|
|
|
|
6.During the winter shut down the heater by following the lighting and shutdown instructions in Section 3A. When on vacation for longer than a week, make sure the heater is shut off at the temperature control panel.
7.Where possible, shelter the pool from prevailing winds with
8.Always use a pool cover when practical. Besides providing a valuable safety feature, a pool cover will reduce heat loss, conserve chemicals, and reduce the load on filter systems.
3G. Seasonal Care
3G-1. Spring and Fall Operation
During periods when the pool is only going to be used once in a while, set the thermostat control to the lowest temperature for both modes. This prevents the pool from becoming "chilled," yet still requires the least amount of time to raise the water back up to swimming temperature.
If the heater is not going to be used for a long period of time, shut it down completely, following the instructions in Section
3G-2. Winterizing
If you don't plan to use the pool or spa over the winter and your area is subject to freezing temperatures, have a qualified professional technician perform the following steps to protect the heater:
1.Shut off the heater's gas valve according to the lighting and shutdown instructions.
2.Shut off the main supply gas cock outside the heater jacket.
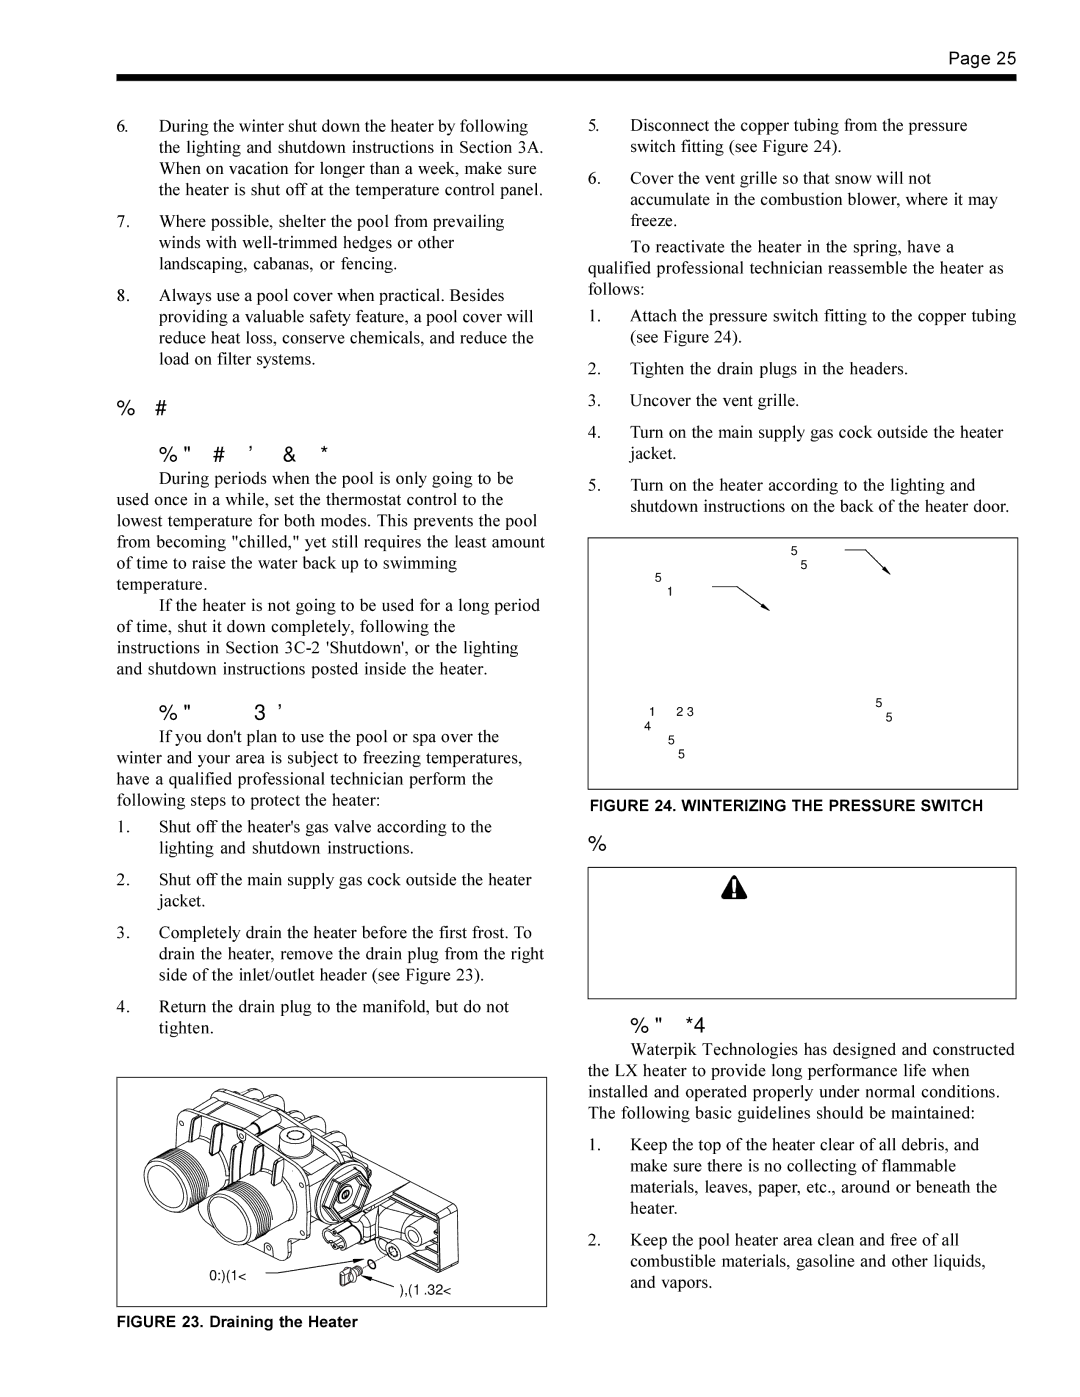
3.Completely drain the heater before the first frost. To drain the heater, remove the drain plug from the right side of the inlet/outlet header (see Figure 23).
4.Return the drain plug to the manifold, but do not tighten.
DRAIN PLUG |
5.Disconnect the copper tubing from the pressure switch fitting (see Figure 24).
6.Cover the vent grille so that snow will not accumulate in the combustion blower, where it may freeze.
To reactivate the heater in the spring, have a qualified professional technician reassemble the heater as follows:
1.Attach the pressure switch fitting to the copper tubing (see Figure 24).
2.Tighten the drain plugs in the headers.
3.Uncover the vent grille.
4.Turn on the main supply gas cock outside the heater jacket.
5.Turn on the heater according to the lighting and shutdown instructions on the back of the heater door.
SIPHON
LOOP
PRESSURE
SWITCH
TO | RECONNECT | |
SIPHON | ||
WINTERIZE: | ||
LOOP | ||
DISCONNECT | ||
BEFORE | ||
SIPHON | ||
STARTING | ||
LOOP | ||
THE HEATER | ||
|
FIGURE 24. WINTERIZING THE PRESSURE SWITCH
3H. Periodic Inspection
![]()
![]() WARNING
WARNING
Improper installation or maintenance can cause nausea or asphyxiation from carbon monoxide or flue gases which could result in severe injury, property damage, or death.
3H-1. Owner Inspection
Waterpik Technologies has designed and constructed the LX heater to provide long performance life when installed and operated properly under normal conditions. The following basic guidelines should be maintained:
1.Keep the top of the heater clear of all debris, and make sure there is no collecting of flammable materials, leaves, paper, etc., around or beneath the heater.
2.Keep the pool heater area clean and free of all combustible materials, gasoline and other liquids, and vapors.