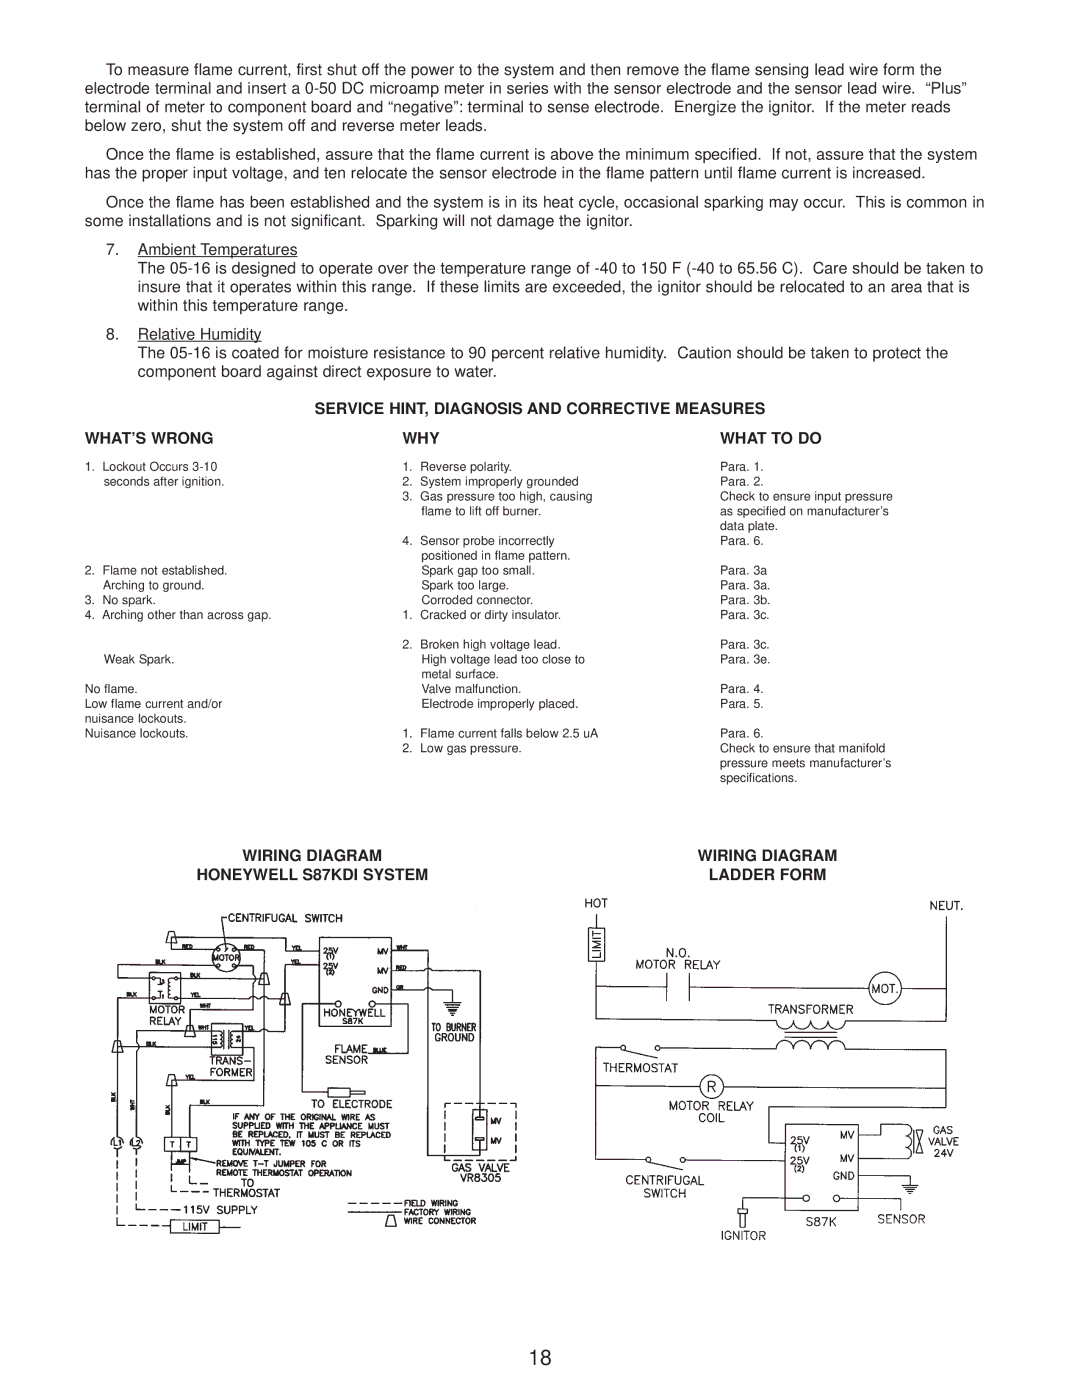
P265, P250AF, P265-EP, P250AF-DI, P250AF-EP specifications
Wayne P265-EP, P250AF-EP, P250AF-DI, P265F, and P265 are a series of fuel dispensing pumps known for their reliability and advanced technology. These pumps are engineered to meet the demanding needs of various fueling environments, making them suitable for both commercial and retail operations.The Wayne P265-EP is particularly notable for its compact design and efficient performance. It features a user-friendly interface, making it easy for operators to manage fuel dispensing. Its electronic controller allows for precise monitoring and control of fuel flow, ensuring accurate transactions while minimizing wastage. The pump is also equipped with advanced security features to prevent unauthorized access.
The P250AF-EP and P250AF-DI models are designed with versatility in mind. They can support multiple fuel types, including gasoline, diesel, and biofuels, providing flexibility for businesses looking to serve a diverse clientele. The integrated diagnostics system helps operators identify issues quickly, reducing downtime and enhancing operational efficiency. Additionally, these models incorporate Wayne's SmartServe technology, which optimizes service intervals and maintenance schedules.
The P265F model emphasizes high performance and durability. Constructed with robust materials, it withstands harsh environmental conditions, making it ideal for outdoor installations. Featuring an advanced filtration system, it enhances fuel quality by removing contaminants, thereby extending the lifespan of both the pump and the connected storage tanks. Enhanced hydraulic efficiency translates to faster fueling times, increasing customer satisfaction at busy fueling stations.
Lastly, the P265 model stands out for its automatic nozzle shut-off function, which significantly reduces the risk of overfills and spills. This feature safeguards both the environment and the business against potential liabilities associated with fuel spillage.
In summary, the Wayne P265-EP, P250AF-EP, P250AF-DI, P265F, and P265 pumps incorporate cutting-edge technologies that prioritize efficiency, safety, and user convenience. Their advanced features ensure reliable performance across a variety of fueling applications, making them a preferred choice for operators seeking high-quality dispensing solutions. Whether it's speed, security, or flexibility, Wayne pumps are engineered to meet the evolving needs of the fuel distribution industry.

