2![]()
![]()
![]()
Prepare boiler (continued)
Prepare for propane if operating on propane — Ultra-155 to -230
Do not apply the following to conversion of a boiler already installed and connected to gas supply. For a boiler already installed, you must turn off gas supply, turn off power and allow boiler to cool before proceeding. You must also completely test the boiler after conversion to verify performance as described under“Startup,” Section 6 of this manual. See separate natural to propane conversion instructions for conversion of an existing boiler.
You must install the propane orifice to fire the Ultra boiler on propane. Verify when installing that the orifice size marking matches boiler size. Failure to comply could result in severe personal injury, death or substantial property damage.
1.With boiler on its back, remove jacket front door by removing two knurled head screws at lower front. Then lift door away from boiler.
2.Disconnect the gas valve electrical plug.
3.Disconnect the gas line union below the gas valve.
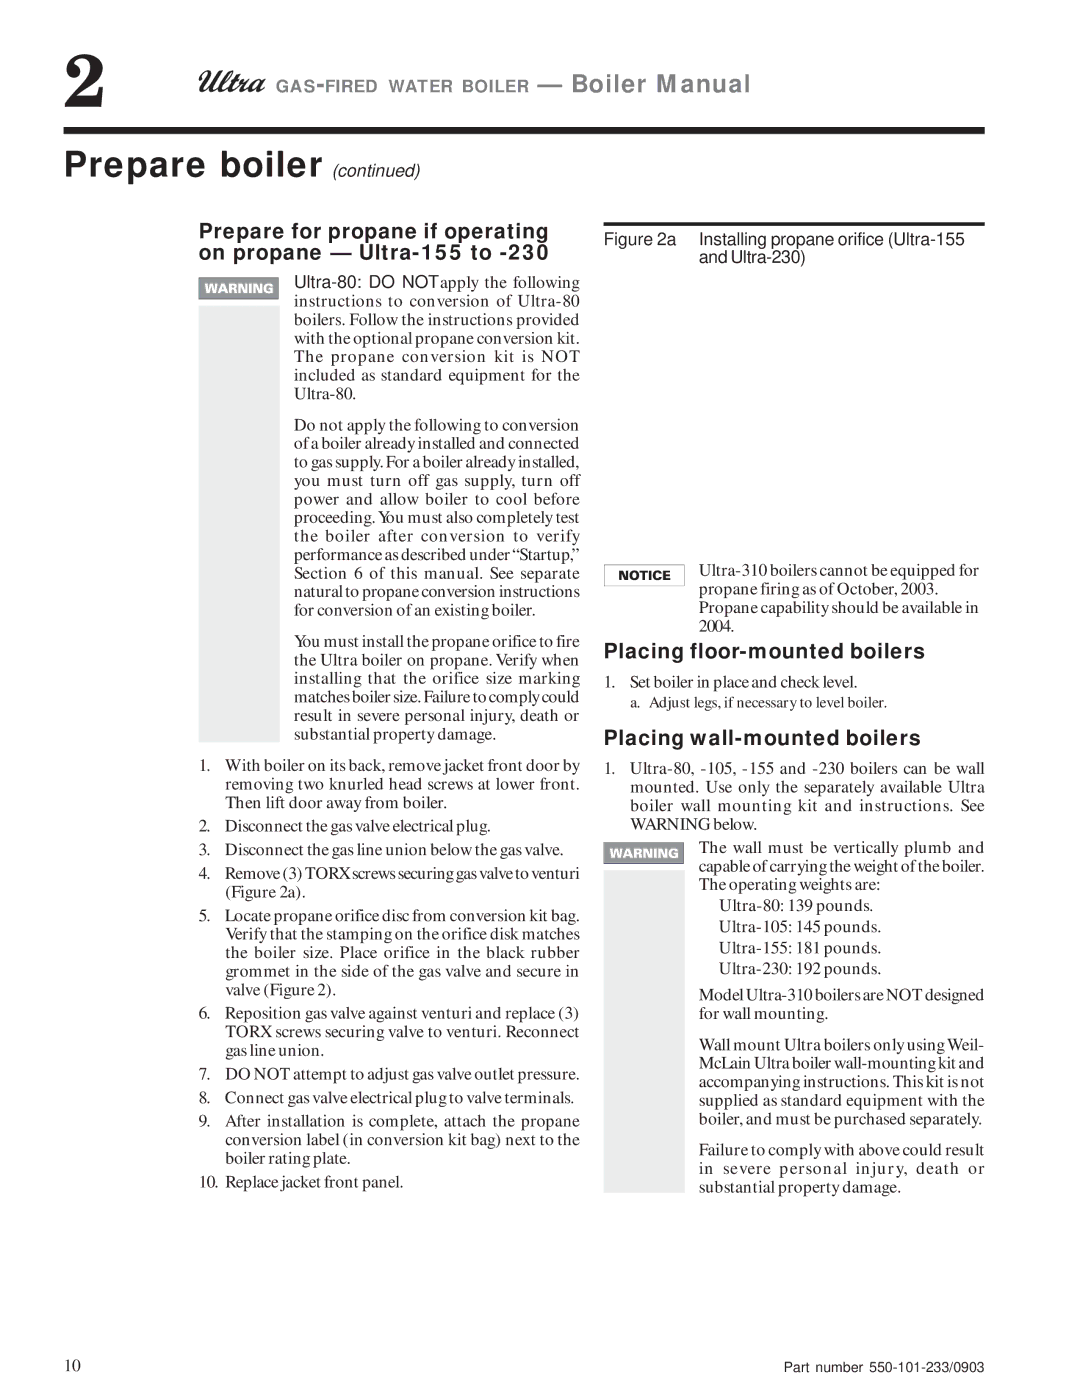
4.Remove (3) TORX screws securing gas valve to venturi (Figure 2a).
5.Locate propane orifice disc from conversion kit bag. Verify that the stamping on the orifice disk matches the boiler size. Place orifice in the black rubber grommet in the side of the gas valve and secure in valve (Figure 2).
6.Reposition gas valve against venturi and replace (3) TORX screws securing valve to venturi. Reconnect gas line union.
7.DO NOT attempt to adjust gas valve outlet pressure.
8.Connect gas valve electrical plug to valve terminals.
9.After installation is complete, attach the propane conversion label (in conversion kit bag) next to the boiler rating plate.
10.Replace jacket front panel.
Figure 2a Installing propane orifice (Ultra-155 and Ultra-230)
Placing floor-mounted boilers
1.Set boiler in place and check level.
a. Adjust legs, if necessary to level boiler.
Placing wall-mounted boilers
1.
The wall must be vertically plumb and capable of carrying the weight of the boiler. The operating weights are:
Model
Wall mount Ultra boilers only using Weil- McLain Ultra boiler
Failure to comply with above could result in severe personal injury, death or substantial property damage.
10 | Part number |