Using the optional automatic ice maker
If your refrigerator has an automatic ice maker, or if you plan to add one later (contact the dealer for ice maker kit num- ber), here are a few things you should know.
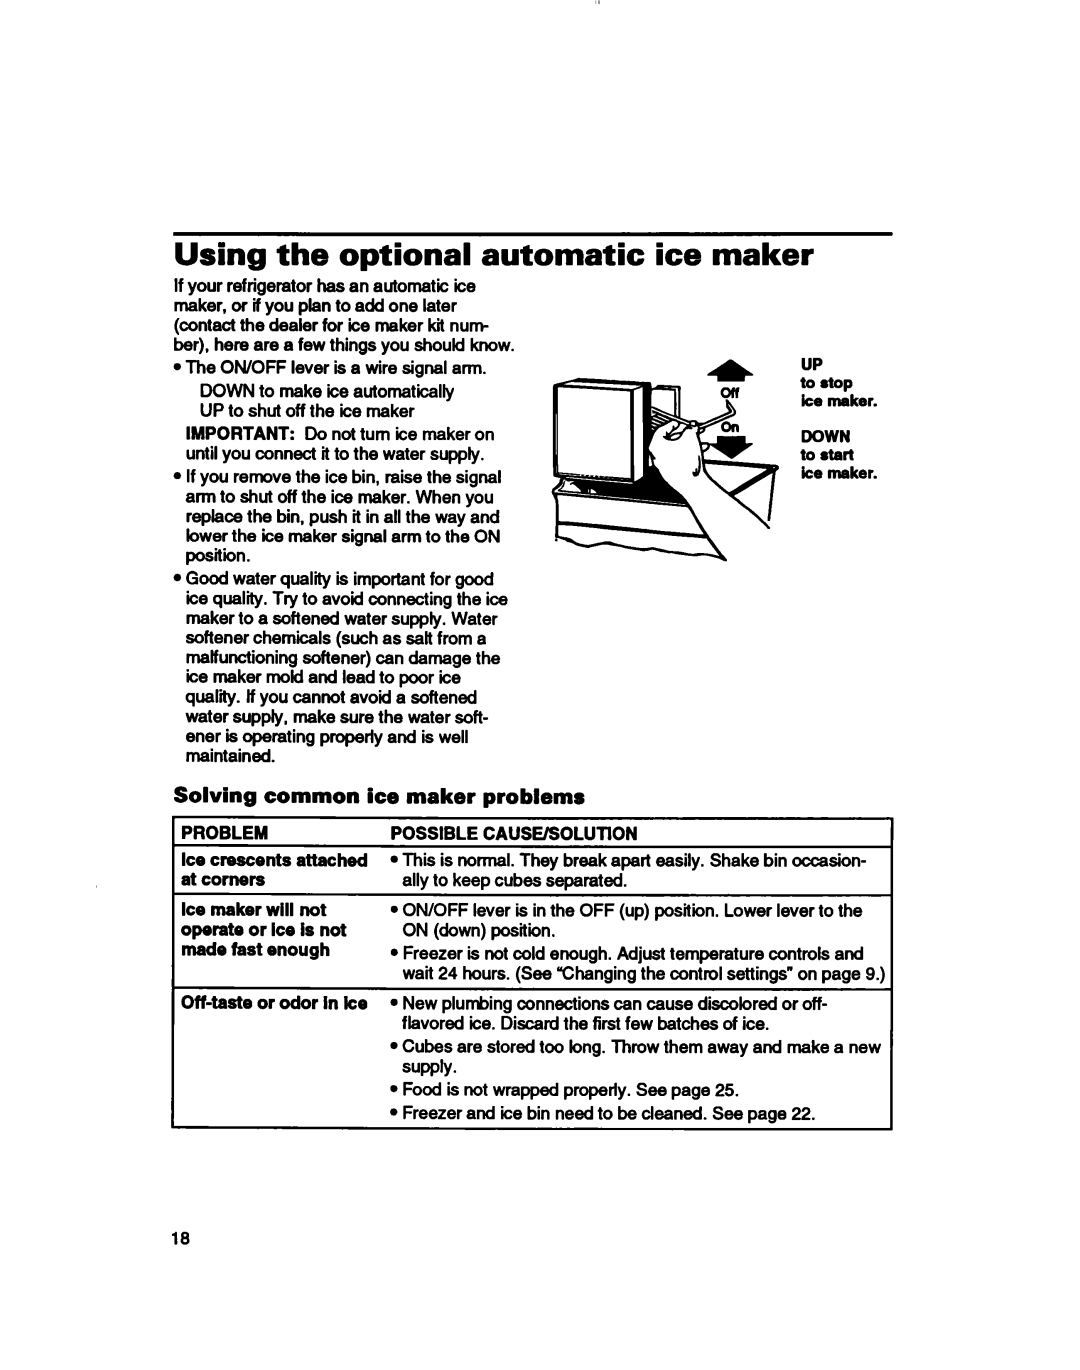
lThe ON/OFF lever is a wire signal arm.
DOWN to make ice automatically UP to shut off the ice maker
IMPORTANT: Do not turn ice maker on until you connect it to the water suppfy.
lIf you remove the ice bin, raise the signal arm to shut off the ice maker. When you replace the bin, push it in all the way and lower the ice maker signal arm to the ON position.
lGood water quality is important for good ice quality. Try to avoid connecting the ice maker to a softened water supply. Water softener chemicals (such as salt from a maffunctioning softener) can damage the ice maker rnokl and lead to poor ice qualii. lf you cannot avoid a softened water supply, make sure the water soft- ener is operating property and is well maintained.
UP
to atop
ke mnker.
DOWN to start
ke maker.
Solving common ice maker problems
PROBLEM
Ice crescents attached at corners
Ice maker will not operate or Ice Is not made fast enough
POSSIBLE CAUSE/SOLUTlON
lThis is normal. They break apart easily. Shake bin occasion- ally to keep cubes separated.
lON/OFF lever is in the OFF (up) position. Lower lever to the ON (down) position.
lFreezer is not cold enough. Adjust temperature controls and wait 24 hours. (See “Changing the control settings” on page 9.)
lNew plumbing connections can cause discolored or off- flavored ice. Discard the first few batches of ice.
lCubes are stored too long. Throw them away and make a new supply.
lFood is not wrapped properly. See page 25.
lFreezer and ice bin need to be cleaned. See page 22.
18