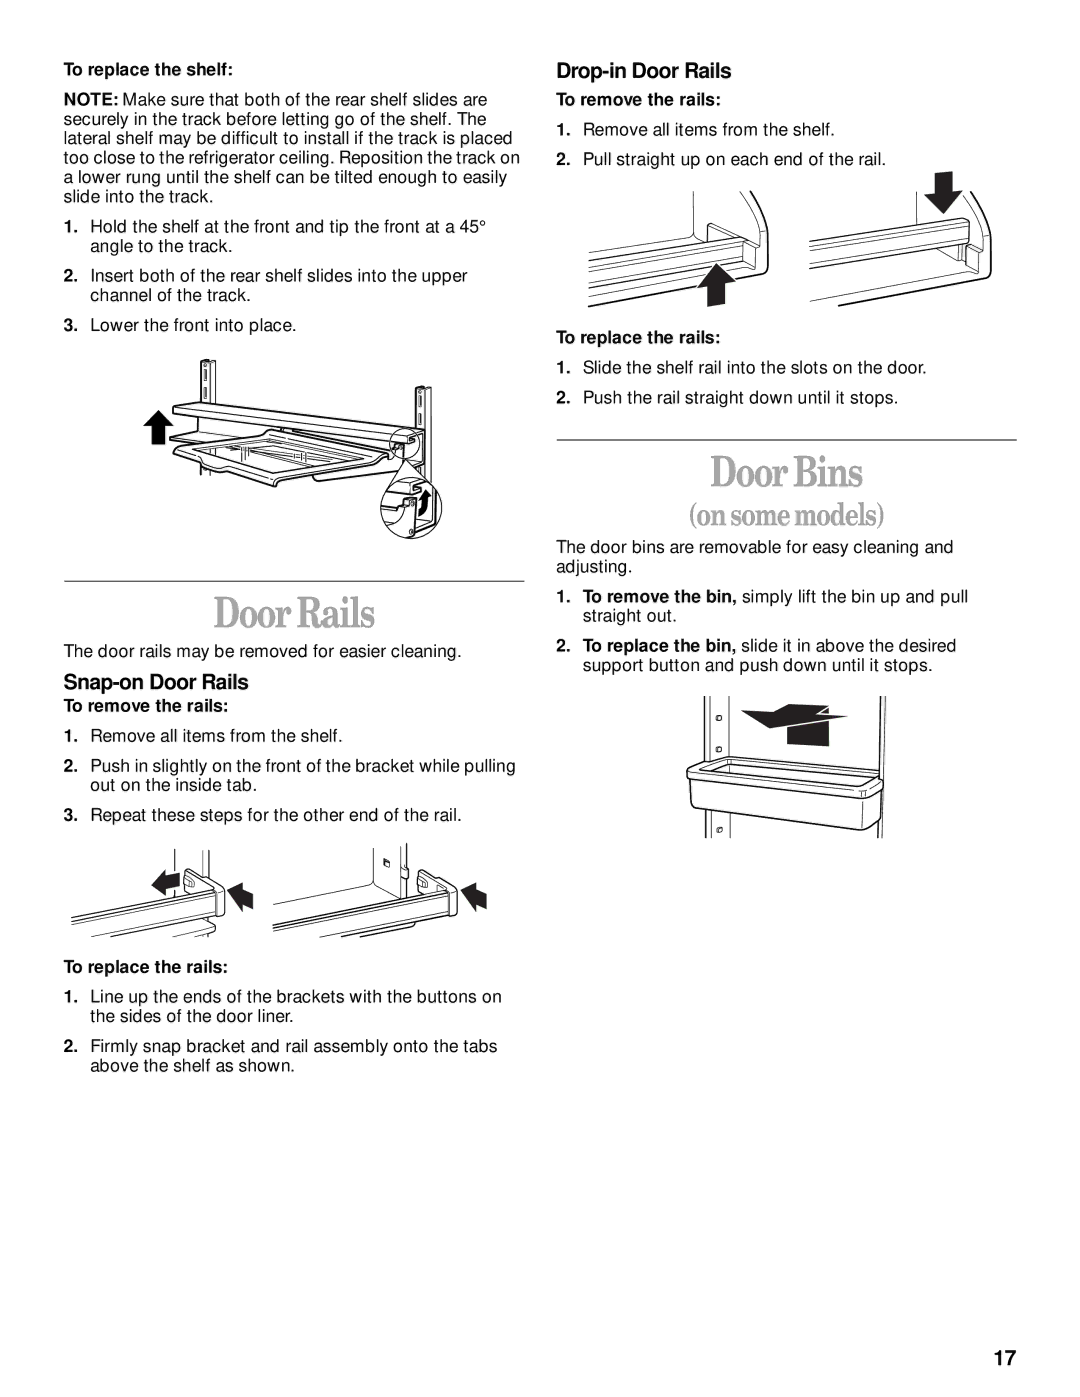
To replace the shelf:
NOTE: Make sure that both of the rear shelf slides are securely in the track before letting go of the shelf. The lateral shelf may be difficult to install if the track is placed too close to the refrigerator ceiling. Reposition the track on a lower rung until the shelf can be tilted enough to easily slide into the track.
1.Hold the shelf at the front and tip the front at a 45° angle to the track.
2.Insert both of the rear shelf slides into the upper channel of the track.
3.Lower the front into place.
Door Rails
The door rails may be removed for easier cleaning.
Snap-on Door Rails
To remove the rails:
1.Remove all items from the shelf.
2.Push in slightly on the front of the bracket while pulling out on the inside tab.
3.Repeat these steps for the other end of the rail.
To replace the rails:
1.Line up the ends of the brackets with the buttons on the sides of the door liner.
2.Firmly snap bracket and rail assembly onto the tabs above the shelf as shown.
Drop-in Door Rails
To remove the rails:
1.Remove all items from the shelf.
2.Pull straight up on each end of the rail.
To replace the rails:
1.Slide the shelf rail into the slots on the door.
2.Push the rail straight down until it stops.
DoorBins
(onsomemodels)
The door bins are removable for easy cleaning and adjusting.
1.To remove the bin, simply lift the bin up and pull straight out.
2.To replace the bin, slide it in above the desired support button and push down until it stops.
17
