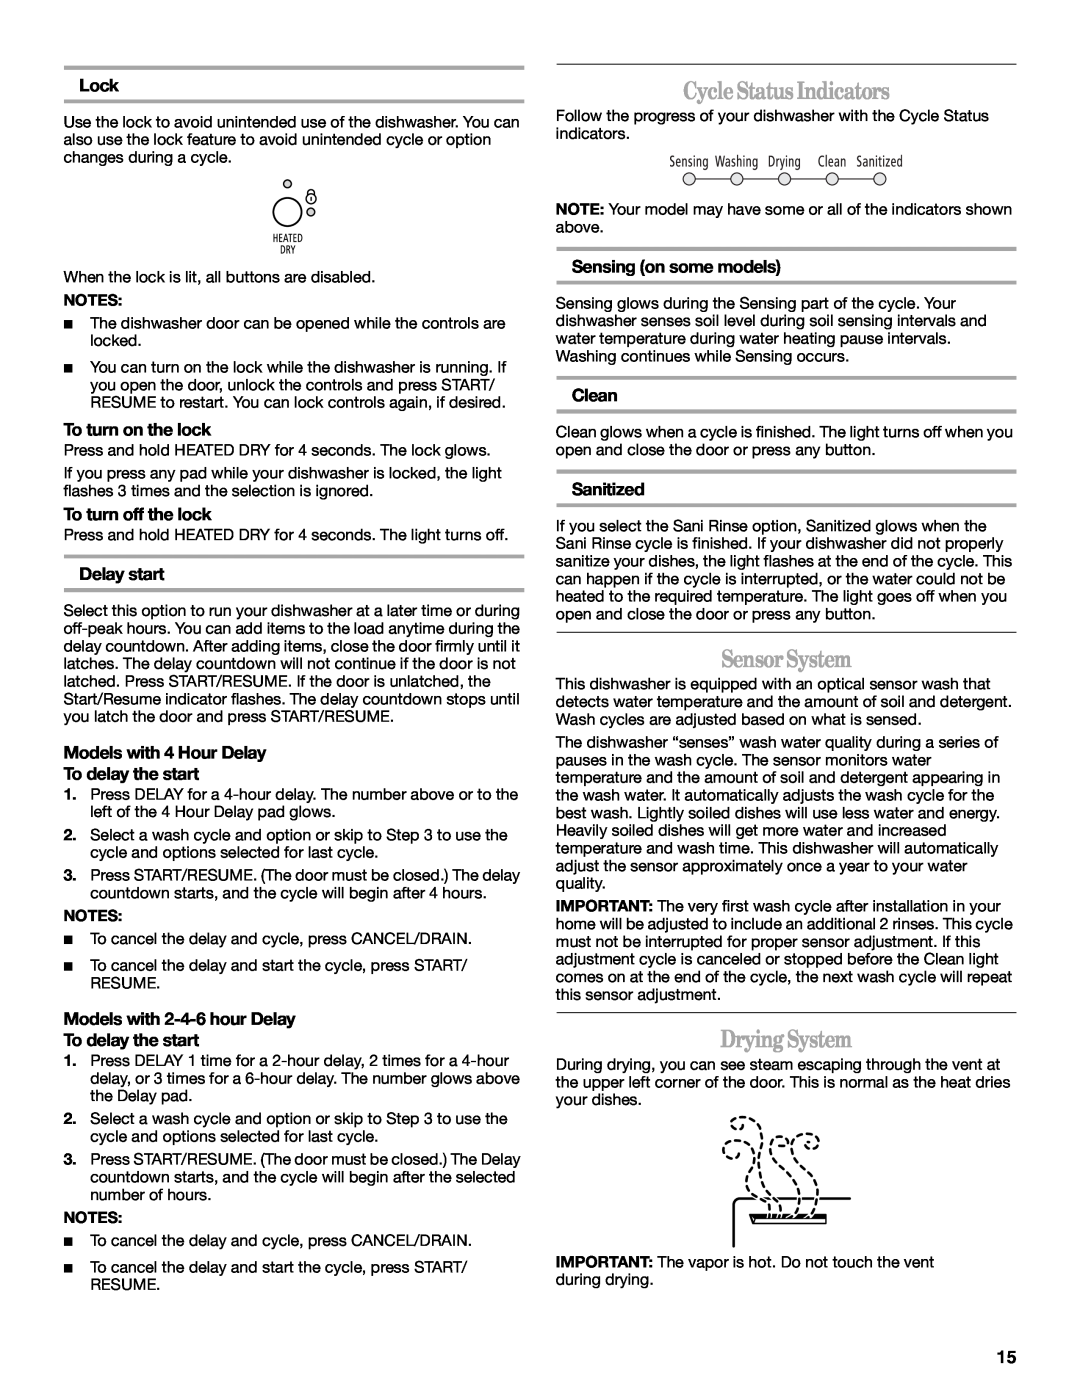
Lock
Use the lock to avoid unintended use of the dishwasher. You can also use the lock feature to avoid unintended cycle or option changes during a cycle.
When the lock is lit, all buttons are disabled.
NOTES:
■The dishwasher door can be opened while the controls are locked.
■You can turn on the lock while the dishwasher is running. If you open the door, unlock the controls and press START/ RESUME to restart. You can lock controls again, if desired.
To turn on the lock
Press and hold HEATED DRY for 4 seconds. The lock glows.
If you press any pad while your dishwasher is locked, the light flashes 3 times and the selection is ignored.
To turn off the lock
Press and hold HEATED DRY for 4 seconds. The light turns off.
Delay start
Select this option to run your dishwasher at a later time or during
Models with 4 Hour Delay
To delay the start
1.Press DELAY for a
2.Select a wash cycle and option or skip to Step 3 to use the cycle and options selected for last cycle.
3.Press START/RESUME. (The door must be closed.) The delay countdown starts, and the cycle will begin after 4 hours.
NOTES:
■To cancel the delay and cycle, press CANCEL/DRAIN.
■To cancel the delay and start the cycle, press START/ RESUME.
Models with 2-4-6 hour Delay
To delay the start
1.Press DELAY 1 time for a
2.Select a wash cycle and option or skip to Step 3 to use the cycle and options selected for last cycle.
3.Press START/RESUME. (The door must be closed.) The Delay countdown starts, and the cycle will begin after the selected number of hours.
NOTES:
■To cancel the delay and cycle, press CANCEL/DRAIN.
■To cancel the delay and start the cycle, press START/ RESUME.
CycleStatus Indicators
Follow the progress of your dishwasher with the Cycle Status indicators.
NOTE: Your model may have some or all of the indicators shown above.
Sensing (on some models)
Sensing glows during the Sensing part of the cycle. Your dishwasher senses soil level during soil sensing intervals and water temperature during water heating pause intervals. Washing continues while Sensing occurs.
Clean
Clean glows when a cycle is finished. The light turns off when you open and close the door or press any button.
Sanitized
If you select the Sani Rinse option, Sanitized glows when the Sani Rinse cycle is finished. If your dishwasher did not properly sanitize your dishes, the light flashes at the end of the cycle. This can happen if the cycle is interrupted, or the water could not be heated to the required temperature. The light goes off when you open and close the door or press any button.
SensorSystem
This dishwasher is equipped with an optical sensor wash that detects water temperature and the amount of soil and detergent. Wash cycles are adjusted based on what is sensed.
The dishwasher “senses” wash water quality during a series of pauses in the wash cycle. The sensor monitors water temperature and the amount of soil and detergent appearing in the wash water. It automatically adjusts the wash cycle for the best wash. Lightly soiled dishes will use less water and energy. Heavily soiled dishes will get more water and increased temperature and wash time. This dishwasher will automatically adjust the sensor approximately once a year to your water quality.
IMPORTANT: The very first wash cycle after installation in your home will be adjusted to include an additional 2 rinses. This cycle must not be interrupted for proper sensor adjustment. If this adjustment cycle is canceled or stopped before the Clean light comes on at the end of the cycle, the next wash cycle will repeat this sensor adjustment.
DryingSystem
During drying, you can see steam escaping through the vent at the upper left corner of the door. This is normal as the heat dries your dishes.
IMPORTANT: The vapor is hot. Do not touch the vent during drying.
15