ED26MM specifications
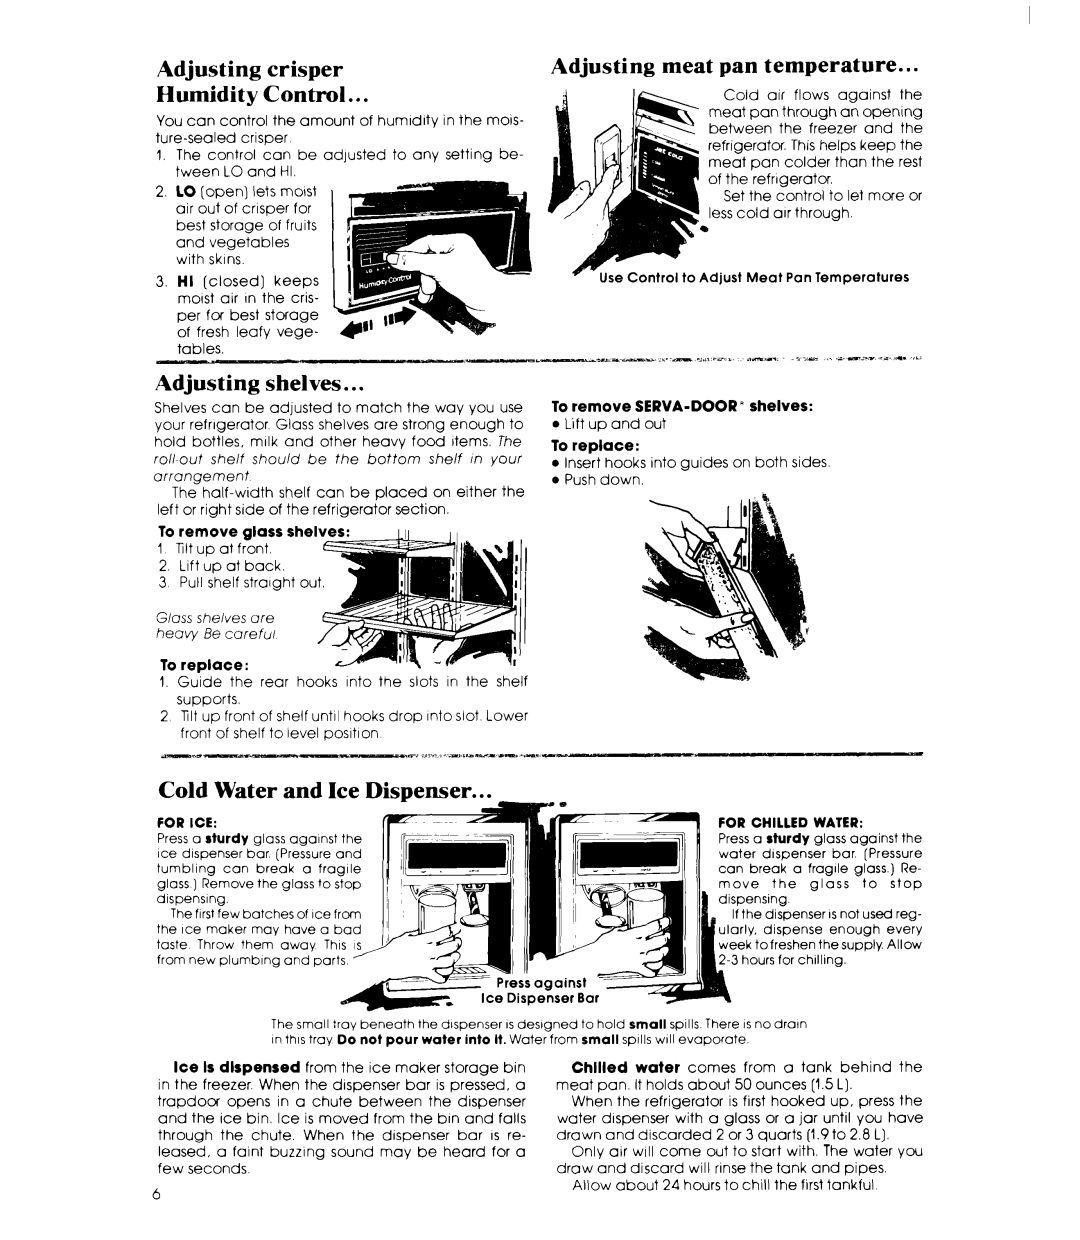
The Whirlpool ED26MM is a standout refrigerator that combines innovation, efficiency, and style, making it a popular choice for families and individuals alike. This appliance showcases a elegant design, equipped with a range of advanced features aimed at enhancing food preservation and convenience.One of the standout characteristics of the Whirlpool ED26MM is its spacious capacity. With ample storage space, it allows for easy organization of groceries, making meal prep a breeze. The adjustable shelves provide flexibility, enabling users to customize their refrigerator to their needs. The crispers are designed to keep fruits and vegetables fresh for longer periods, thanks to a controlled humidity environment.
Energy efficiency is another key feature of the Whirlpool ED26MM. This model is Energy Star certified, which means it meets strict energy efficiency guidelines set by the U.S. Environmental Protection Agency. This not only helps reduce energy costs but also minimizes environmental impact. With its efficient cooling system, it maintains optimal temperatures without consuming excessive power.
In terms of technology, the Whirlpool ED26MM incorporates advanced cooling features. The Adaptive Defrost system efficiently monitors when defrosting is needed, optimizing energy usage by preventing unnecessary cycles. This ensures consistent cooling, while also extending the life of the appliance.
The refrigerator also features an exterior water and ice dispenser, providing easy access to chilled water and ice cubes without opening the door. This not only adds convenience but also helps maintain internal temperatures, further improving energy efficiency. The filter used in the water dispenser ensures that users enjoy clean and refreshing water at all times.
Additional features include bright LED lighting that illuminates the interior, making it easy to find items, even in low light conditions. The Whirlpool ED26MM also comes with a fingerprint-resistant finish, which helps keep the exterior looking clean and new.
Overall, the Whirlpool ED26MM combines practicality with modern innovation, making it a reliable choice for anyone in need of a high-performance refrigerator. Its smart design, energy efficiency, and advanced features put it a step ahead, ensuring that food stays fresh and accessible. Whether it’s for a busy family or an individual, this refrigerator meets the demands of everyday life with style and functionality.

