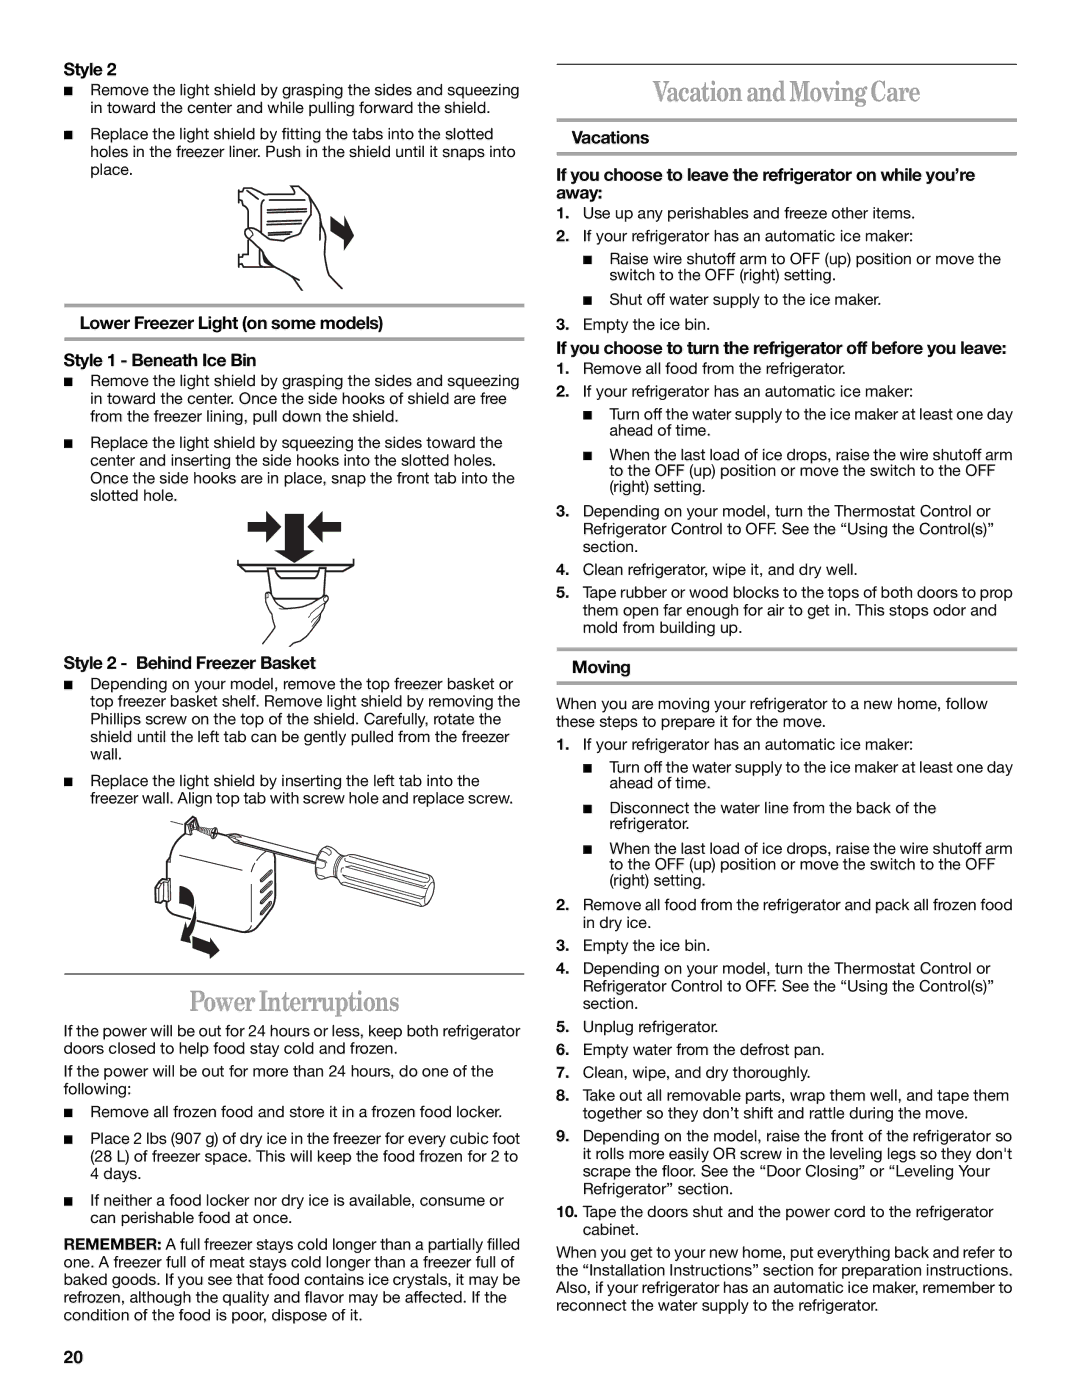
Style 2
■Remove the light shield by grasping the sides and squeezing in toward the center and while pulling forward the shield.
■Replace the light shield by fitting the tabs into the slotted holes in the freezer liner. Push in the shield until it snaps into place.
Lower Freezer Light (on some models)
Style 1 - Beneath Ice Bin
■Remove the light shield by grasping the sides and squeezing in toward the center. Once the side hooks of shield are free from the freezer lining, pull down the shield.
■Replace the light shield by squeezing the sides toward the center and inserting the side hooks into the slotted holes. Once the side hooks are in place, snap the front tab into the slotted hole.
Style 2 - Behind Freezer Basket
■Depending on your model, remove the top freezer basket or top freezer basket shelf. Remove light shield by removing the Phillips screw on the top of the shield. Carefully, rotate the shield until the left tab can be gently pulled from the freezer wall.
■Replace the light shield by inserting the left tab into the freezer wall. Align top tab with screw hole and replace screw.
Power Interruptions
If the power will be out for 24 hours or less, keep both refrigerator doors closed to help food stay cold and frozen.
If the power will be out for more than 24 hours, do one of the following:
■Remove all frozen food and store it in a frozen food locker.
■Place 2 lbs (907 g) of dry ice in the freezer for every cubic foot (28 L) of freezer space. This will keep the food frozen for 2 to 4 days.
■If neither a food locker nor dry ice is available, consume or can perishable food at once.
REMEMBER: A full freezer stays cold longer than a partially filled one. A freezer full of meat stays cold longer than a freezer full of baked goods. If you see that food contains ice crystals, it may be refrozen, although the quality and flavor may be affected. If the condition of the food is poor, dispose of it.
Vacation and Moving Care
Vacations
If you choose to leave the refrigerator on while you’re away:
1.Use up any perishables and freeze other items.
2.If your refrigerator has an automatic ice maker:
■Raise wire shutoff arm to OFF (up) position or move the switch to the OFF (right) setting.
■Shut off water supply to the ice maker.
3.Empty the ice bin.
If you choose to turn the refrigerator off before you leave:
1.Remove all food from the refrigerator.
2.If your refrigerator has an automatic ice maker:
■Turn off the water supply to the ice maker at least one day ahead of time.
■When the last load of ice drops, raise the wire shutoff arm to the OFF (up) position or move the switch to the OFF (right) setting.
3.Depending on your model, turn the Thermostat Control or Refrigerator Control to OFF. See the “Using the Control(s)” section.
4.Clean refrigerator, wipe it, and dry well.
5.Tape rubber or wood blocks to the tops of both doors to prop them open far enough for air to get in. This stops odor and mold from building up.
Moving
When you are moving your refrigerator to a new home, follow these steps to prepare it for the move.
1.If your refrigerator has an automatic ice maker:
■Turn off the water supply to the ice maker at least one day ahead of time.
■Disconnect the water line from the back of the refrigerator.
■When the last load of ice drops, raise the wire shutoff arm to the OFF (up) position or move the switch to the OFF (right) setting.
2.Remove all food from the refrigerator and pack all frozen food in dry ice.
3.Empty the ice bin.
4.Depending on your model, turn the Thermostat Control or Refrigerator Control to OFF. See the “Using the Control(s)” section.
5.Unplug refrigerator.
6.Empty water from the defrost pan.
7.Clean, wipe, and dry thoroughly.
8.Take out all removable parts, wrap them well, and tape them together so they don’t shift and rattle during the move.
9.Depending on the model, raise the front of the refrigerator so it rolls more easily OR screw in the leveling legs so they don't scrape the floor. See the “Door Closing” or “Leveling Your Refrigerator” section.
10.Tape the doors shut and the power cord to the refrigerator cabinet.
When you get to your new home, put everything back and refer to the “Installation Instructions” section for preparation instructions. Also, if your refrigerator has an automatic ice maker, remember to reconnect the water supply to the refrigerator.
20
