Broiling
1.Position the rack before turning the oven on. See “Broiling rack position chaK on page 16.
2.Put the broiler pan and food on the rack.
3.Close the door to the Broil Stop position (open about 4 inches [lo.2 cm]). The door will stay open by itself.
NOTE: The door must be partly open when- ever the oven is being used to broil. Leaving the door open allows the oven to maintain proper temperatures.
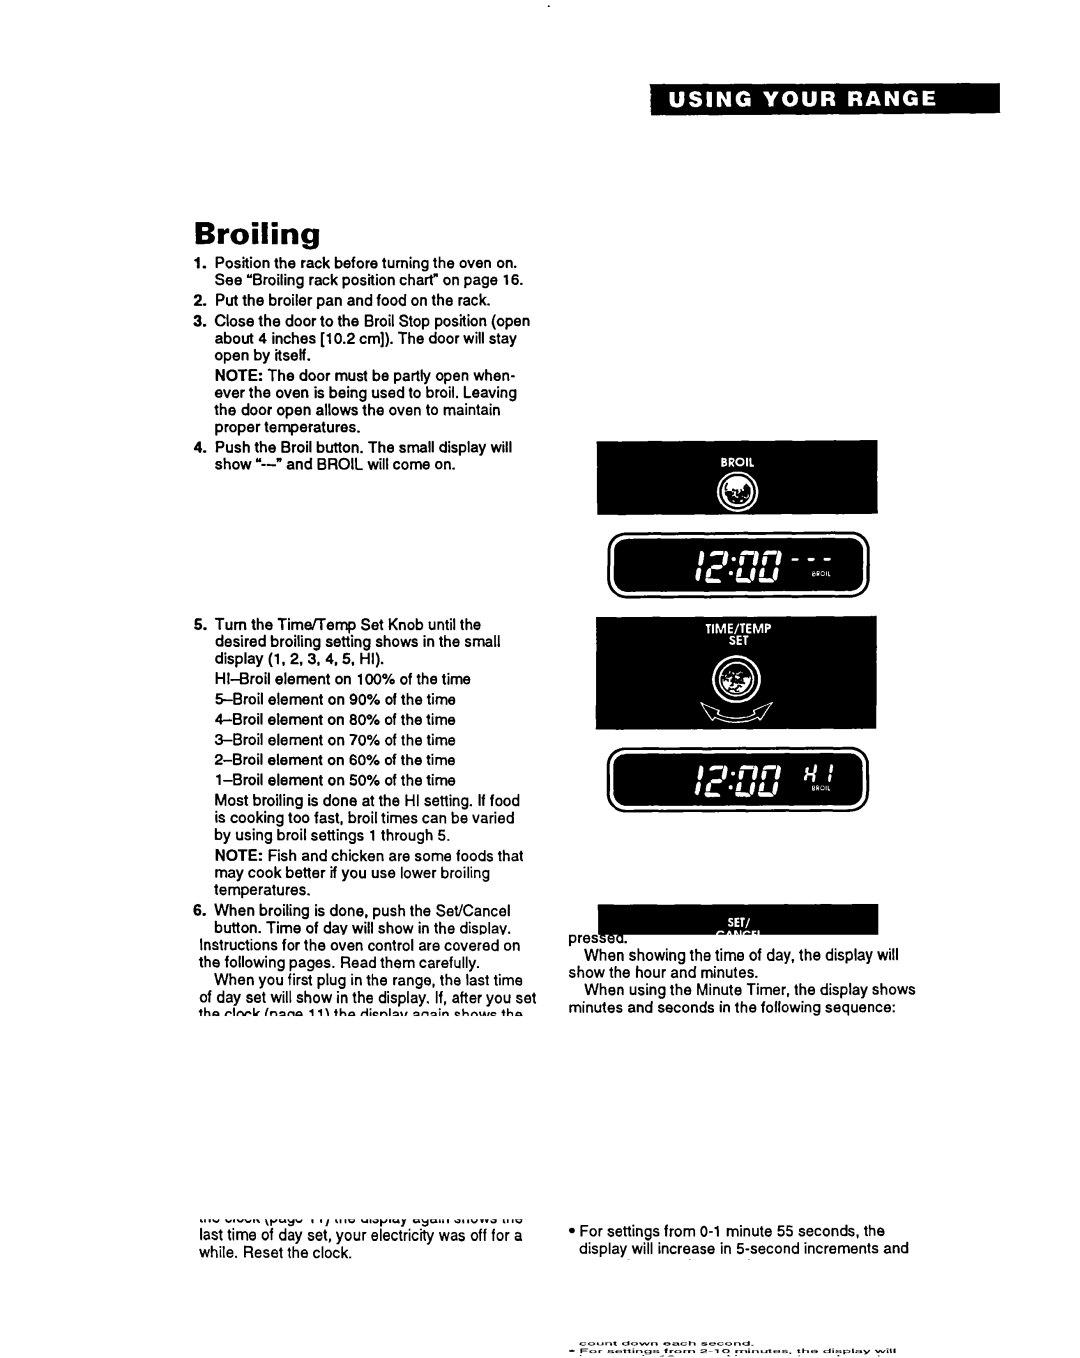
4.Push the Broil button. The small display will show
5.Turn the Timtiemp Set Knob until the desired broiling setting shows in the small display (1, 2, 3, 4,5, HI).
Most broiling is done at the HI setting. If food is cooking too fast, broil times can be varied by using broil settings 1 through 5.
NOTE: Fish and chicken are some foods that may cook better if you use lower broiling temperatures.
6.When broiling is done, push the Set/Cancel button. Time of day will show in the display.
15
