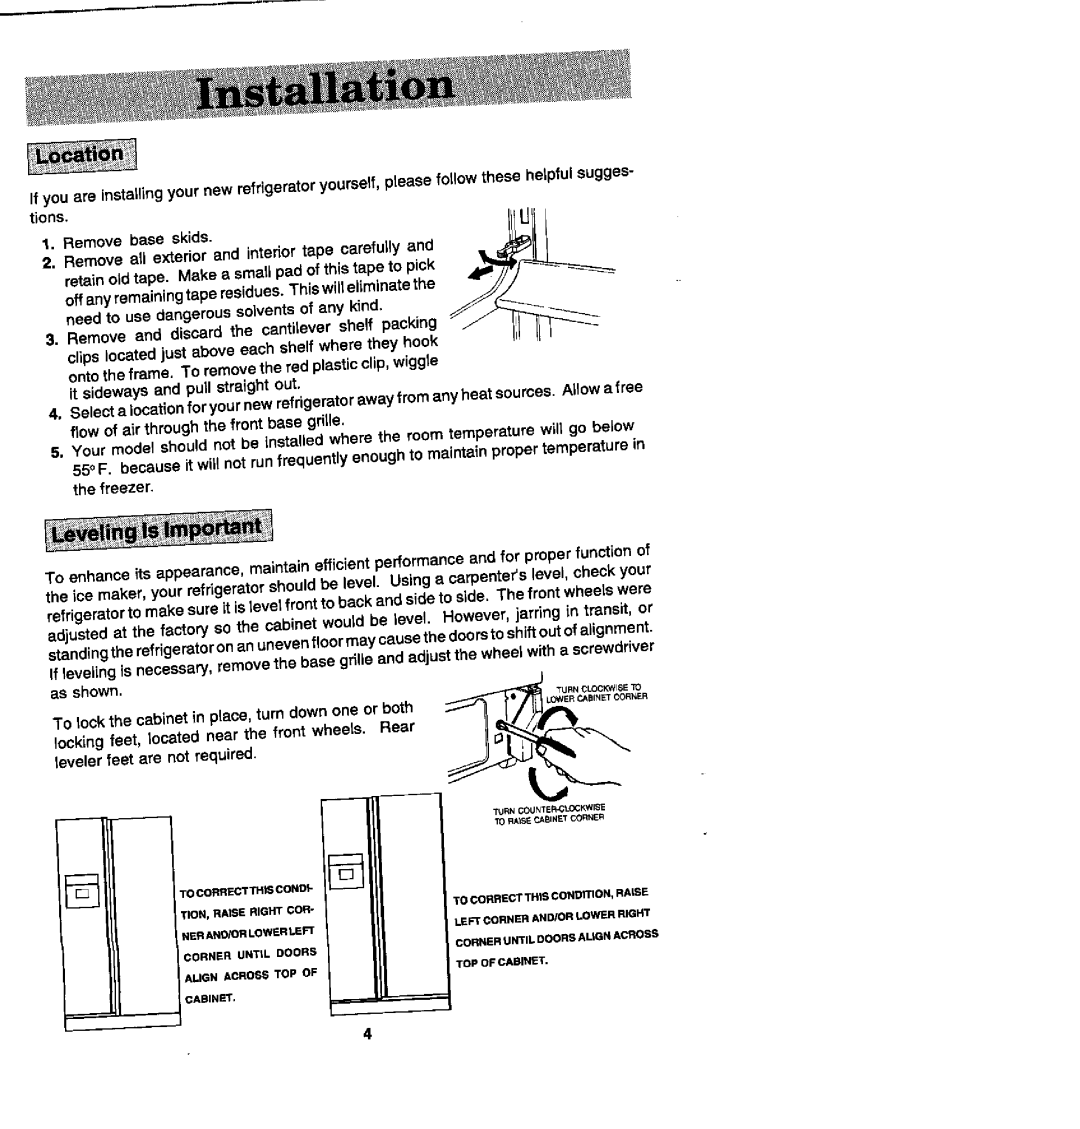
Ifyou are installingyour new refrigeratoryourself,please renewthese helpful sugges- tions.
1. Remove base skids. | Ill_ll I |
2. Remove all exterior and interior tape carefully and |
|
retain oldtape. Make a smallpad ofthis tape to pick |
|
off any remainingtape residues.This willeliminatethe |
|
need to use dangeroussolventsof any kind. |
|
3.Remove and discard the cantilever shelf packing clips locatedjust above each shelf where they hook
ontotheframe. To removethe red plasticclip,wiggle it sideways and pull straightout.
4. Selecta locationfor your newrefdgeretoraway fromany heatsources. Allow a free flow of air throughthe front base grille.
5. Your model shouldnot be installed where the room temperaturewill go below
55°F. becauseit will not run frequently enoughto maintafnproper temperaturein the freezer.
To enhance its appearance, maintain efficient performanceand for proper functionof the ice maker, your refrigeratorshould be level. Usinga carpenter'slevel, check your refrigeratorto make sure it is levelfrontto back and side to side. The front wheelswere adjustedat the factory so the cabinet wouldbe level. However,jarring in transit, or standingthe refflgerstoron anunevenfloormay causethedoerstoshiftoutofalignment.
If levelingis necessary, removethe base gdlle and adjustthe wheel with a screwdriver as shown.
TOtookthe cabinet in p(aca, turn down one or both |
| _._ _mf_cO..E. | |||
locking feet, located near the front wheels. Rear |
| r_l, |
| ||
leveler feet are not required. |
|
|
|
| |
|
|
|
| TURNCLOCKWISETO | |
|
|
| 10 I_AISECA_N_I" CO_IE_ |
| |
[]! | TO COSRECTTH_; CONS}- |
|
|
| |
| TIES, R AI SI.=.RIGHT | COR- | TO CORRECT | THiS CONSrrlON, | RAISE |
| NERANI_S LOWER | ME_" | LEFT CORNER | _II_'OR _R | SIGHT |
| CORNER UNTIL SCORE | CORHERUNTILDOORSALIGHACROSS |
| ||
| _,L_GN AORO_S TOP OF | TOP OF CAI_NET. |
| ||
| CASlNET, |
| Tl_ COUNTER.CLOCk_*,'I_ | ||
|
|
| |||
4
