NOTES:
l Do not force the Lock Lever. You could bend or break it. The lever is designed to stay locked until the oven is cool enough to safely open. Wait until it moves freely.
l Do not block the vent during the Self- Cleaning cycle. Air must move freely for best cleaning results.
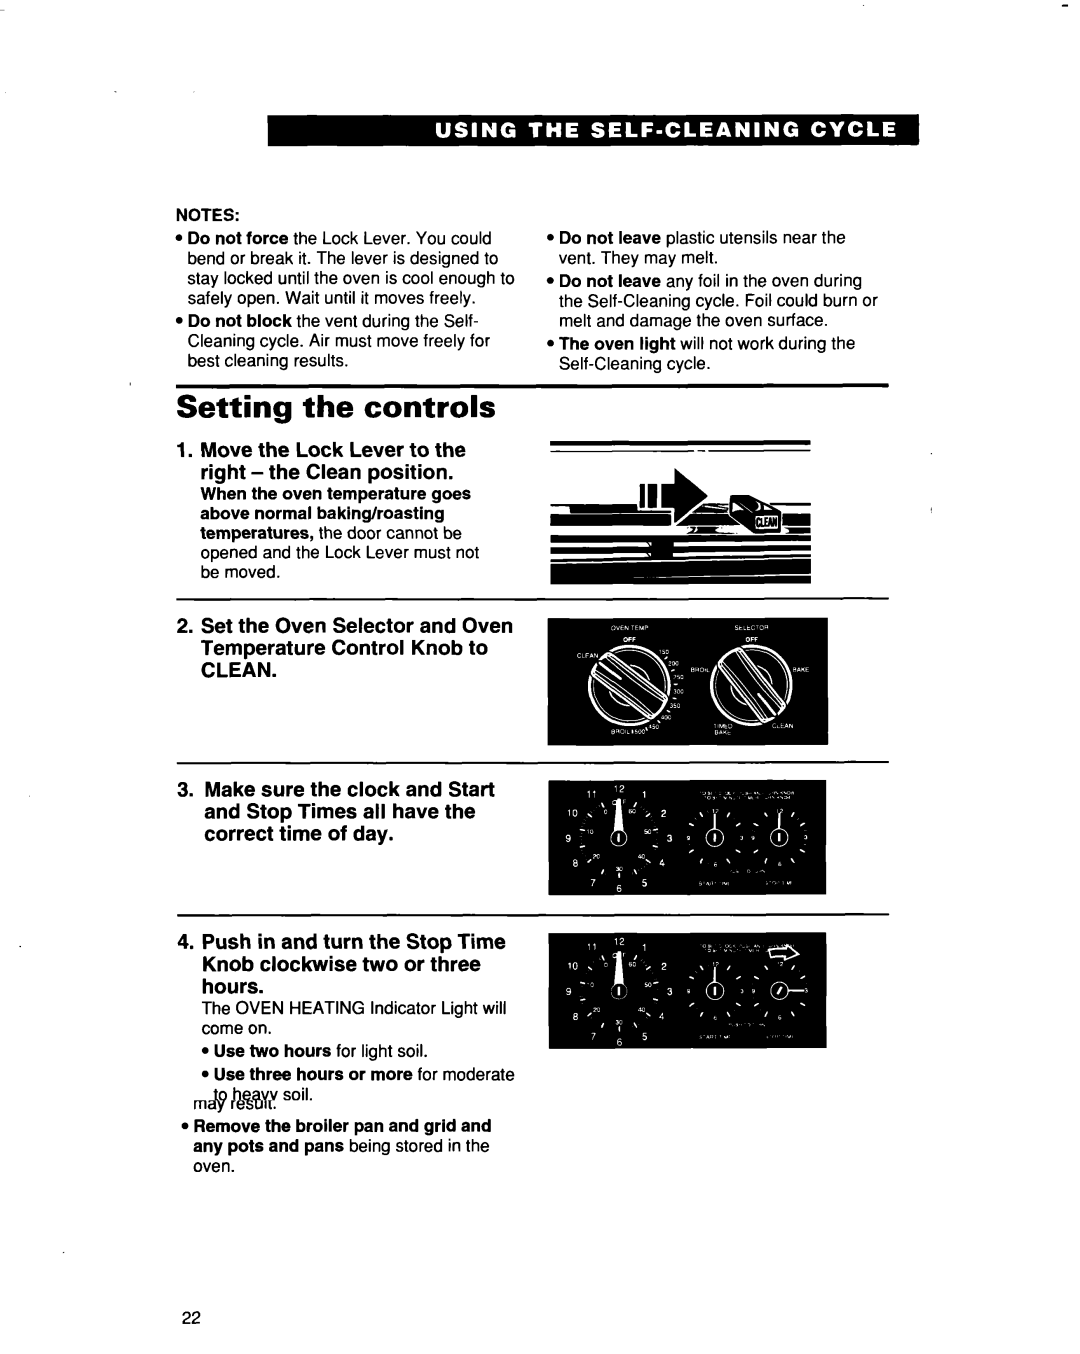
Setting the controls
1. Move the Lock Lever to the
right-the Clean position.
When the oven temperature goes above normal baking/roasting temperatures, the door cannot be opened and the Lock Lever must not be moved.
l
l
l
Do not leave plastic utensils near the vent. They may melt.
Do not leave any foil in the oven during the
The oven light will not work during the
2.Set the Oven Selector and Oven Temperature Control Knob to
CLEAN.
4.Push in and turn the Stop Time Knob clockwise two or three
hours.
The OVEN HEATING Indicator Light will come on.
l Use two hours for light soil.
l Use three hours or more for moderate to heavy soil.
NOTE: Make sure the Start Time Knob is
not pushed in.
continued on next page
23
