
RF398PXV specifications
The Whirlpool RF398PXV is a contemporary and versatile electric range that enhances the cooking experience through a blend of modern technologies and user-friendly features. This appliance represents Whirlpool's commitment to innovation, making it a staple in any kitchen.One of the standout features of the RF398PXV is its spacious oven capacity, offering ample room for multiple dishes. With an overall capacity of around 5.3 cubic feet, it’s perfect for baking large meals or hosting gatherings. The oven is equipped with an innovative true convection system, which ensures even heat distribution throughout the oven. This technology allows users to bake cookies or roast meats to perfection, minimizing the risk of hot spots.
The stovetop consists of five radiant elements, including a powerful high-heat burner that can heat up to 3,000 watts. This versatile setup adapts to various cooking styles, allowing for high-speed boiling or simmering delicate sauces. Additionally, the cooktop features a warm zone, which keeps dishes warm until they are ready to serve, proving particularly handy during meal preparation.
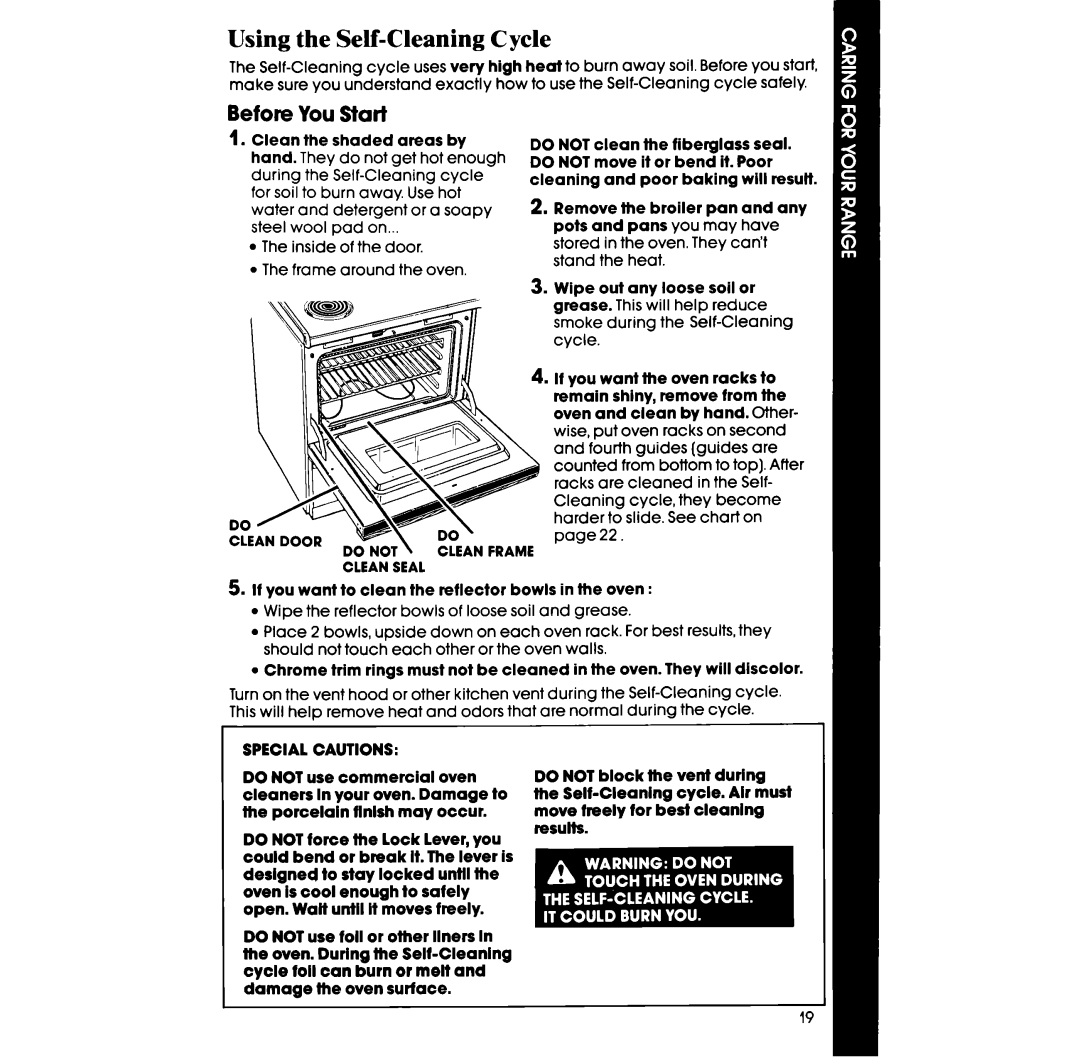
The RF398PXV also includes a self-cleaning option, providing an effortless solution for maintaining the oven's interior. This feature saves time and energy in the kitchen, as it often requires only a single cycle to clean the oven. The appliance is designed with a durable porcelain-enamel finish, ensuring longevity and easy cleaning.
Another key aspect of this electric range is its sleek and modern design. With a stainless steel exterior complemented by smooth lines and a contemporary aesthetic, the RF398PXV not only functions well but also enhances kitchen decor. The intuitive control interface features easy-to-read knobs, making it user-friendly for cooks of all skill levels.
Safety is a priority in the design of the RF398PXV, featuring a control lock for the oven and an automatic shut-off function to prevent accidental operation. These features provide peace of mind for users, especially in households with children.
Overall, the Whirlpool RF398PXV is an excellent choice for those looking to upgrade their cooking appliances. Its combination of innovative technologies, convenience features, and stylish design makes it a standout option in the electric range category, appealing to both novice cooks and culinary enthusiasts alike.