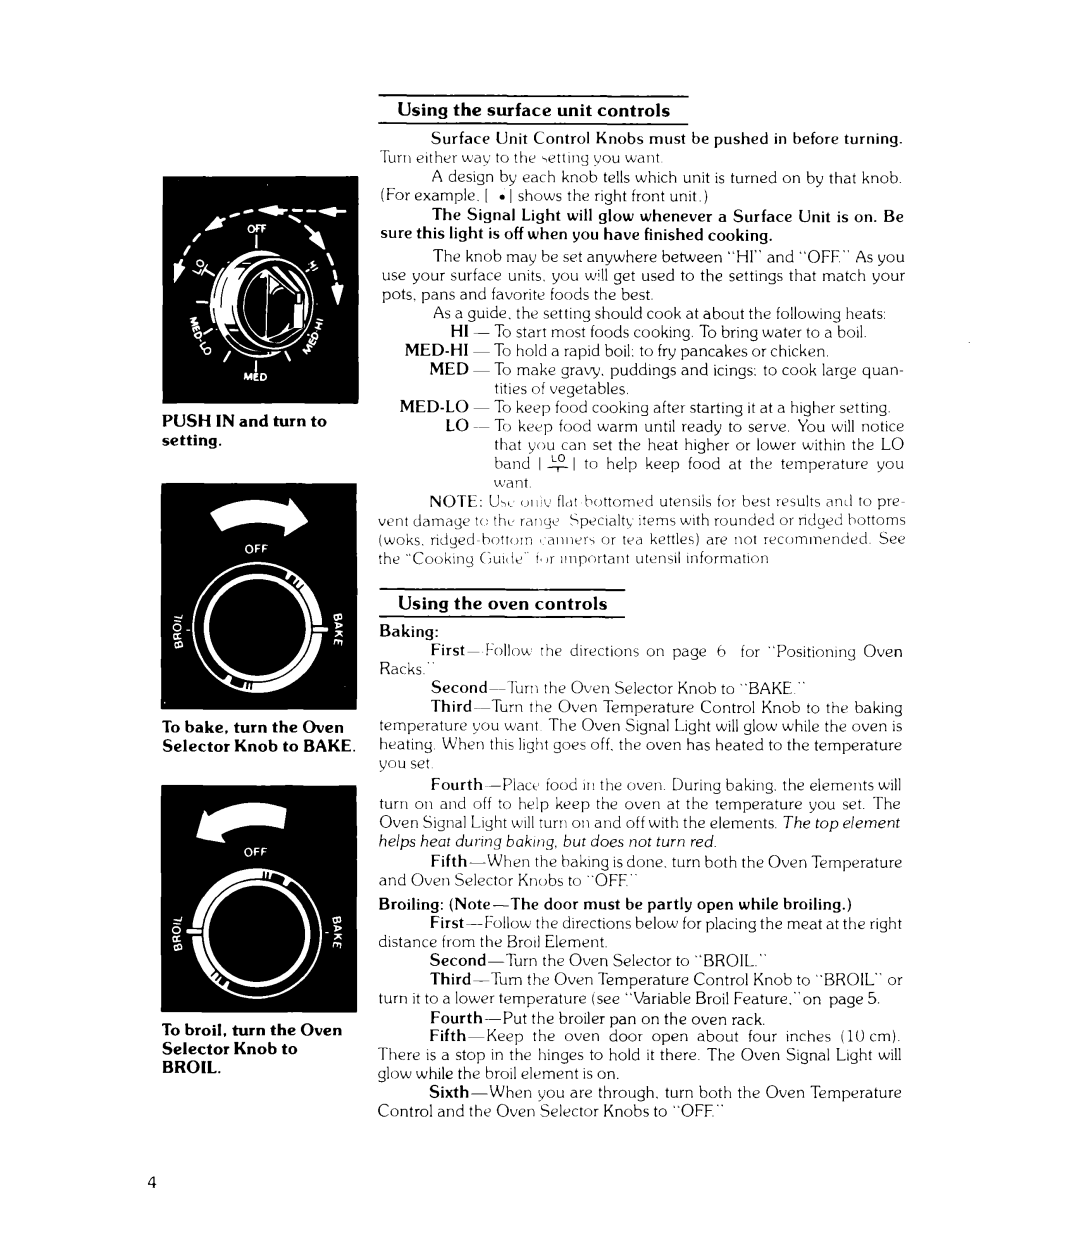
PUSH IN and turn to setting.
Using the surface unit controls
Surface Unit Control Knobs must be pushed in before turning. Turn elthrr way to the wttlny you want
A design by each knob tells which unit is turned on by that knob. (For example. [ l I shows the right front unit.)
The Signal Light will glow whenever a Surface Unit is on. Be sure this light is off when you have finished cooking.
The knob may be set anywhere between “HI” and “OFF” As you use your surface units, you will get used to the settings that match your pots. pans and favorite foods the best.
As a guide. the setting should cook at about the following heats: HI
MED ~ To make gravy. puddings and icings: to cook large quan- tities of vegetables.
that you can set the heat higher or lower within the LO band I $ I to help keep food at the temperature you want
NOTE: UX UII~I: fl,lt bottomed utensils for best results and to pre- vent damage t(: thy rarlyc SpGclaltr, Items with rounded or ndyeci bottoms (woks, ridyed~bottorn / cllllit’r\ or ted kettles) are not recommended See the “Cooklny Gu~tie” I’ jr llnportant utensil lnformatlon
To bake, turn the Oven Selector Knob to BAKE.
To broil, turn the Oven Selector Knob to
BROIL.
Using the oven controls
Baking:
First- Follou rhe directions on page 6 for “Positionlny Oven
Racks.”
Fourth
Broiling:
distance from the Brotl Element.
