Using Your Range

Using the surface burners

Control knobs must be pushed in, then turned to the LITE position. The clicking sound is the ignitor sparking.

After the burner lights, turn the control knob back to a desired setting. The control knob can be set anywhere between HI and low setting, except at

LITE

Surface burner markers

The solid dot in the surface burner marker shows which surface burner is turned on by that knob.

Until you get used to the settings, use the following as a guide. For best results, start cooking at the high settings, then turn the control knob down to continue cooking.

Use LITE to light the burner. After the burner lights, turn control back to a desired setting.

Use a high setting to start food cooking; to bring liquids to a boil.

Use a medium setting to continue cooking or to fry chicken or pancakes; for gravy, pudding and icing; to cook large amounts of vegetables.

Use a low setting to keep food warm until ready to serve.

NOTE: Do not cook with the control in the LITE position.

In case of a prolonged power failure

Surface burners can be manually lighted. Hold a lit match near a burner and slowly turn the control knob on until the burner lights. After the burner lights, turn the control knob to the desired setting.

Bum, Fire And Explosion Hazard

. Burner flame should not extend beyond the edge of the cooking utensil. The flame can bum you and cause poor cooking results.

mBe sure all control knobs are turned to OFF when you are not cooking. Someone could be burned or a fire could start if a burner is accidentally left ON. n If the flame should go out. while

cooking, or if there is a strong gas odor, turn the burners OFF. Wait five minutes for the gas odor to disappear, before relighting burner. If gas odor is still present, see safety note on page 2. Failure to follow these precautions could result in explosion or fire.

. Do not attempt to light the oven burner during a power failure. Personal injury could result.

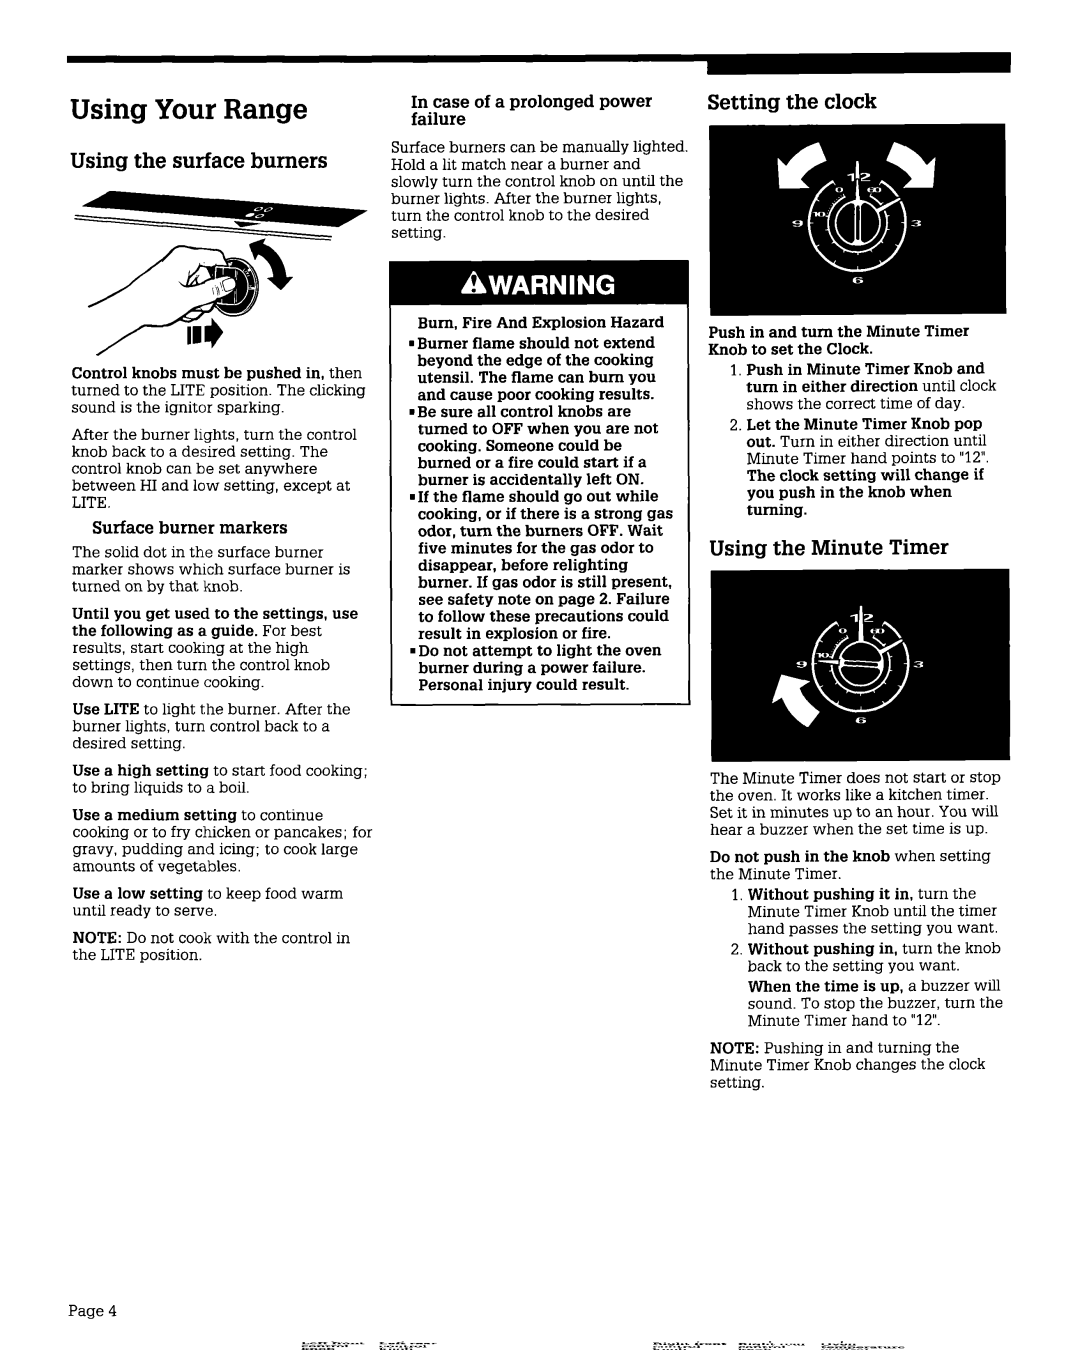
Setting the clock

Push in and turn the Minute Timer Knob to set the Clock.

1, Push in Minute Timer Knob and turn in either direction until clock shows the correct time of day.

2.Let the Minute Timer Knob pop out. Turn in either direction until Minute Timer hand points to “12”. The clock setting will change if you push in the knob when turning.

Using the Minute Timer

The Minute Timer does not start or stop the oven. It works like a kitchen timer. Set it in minutes up to an hour. You will hear a buzzer when the set time is up.

Do not push in the knob when setting the Minute Timer.

1, Without pushing it in, turn the Minute Timer Knob until the timer hand passes the setting you want.

2.Without pushing in, turn the knob back to the setting you want.

When the time is up, a buzzer will sound. To stop the buzzer, turn the Minute Timer hand to “12”.

NOTE: Pushing in and turning the Minute Timer Knob changes the clock setting.

Page 4

Page 4
Image 4
Whirlpool SGP335X Using Your Range, Using the surface burners, Case of a prolonged power failure, Setting the clock

SGC355X, SGP335X specifications

The Whirlpool SGP335X and SGC355X models stand out as remarkable entries in the realm of modern kitchen appliances, particularly in the area of cooking versatility and efficiency. With a focus on user-friendly features and advanced technologies, these cooktops are designed to meet the diverse needs of today's home chefs.

One of the main attributes of the SGP335X model is its sleek, stainless steel design, which not only enhances the aesthetic of any kitchen but also ensures durability and ease of cleaning. The SGC355X shares a similar visual appeal while offering additional features tailored towards enhanced functionality. Both models feature a compact, built-in configuration that allows for effortless installation in various kitchen layouts, accommodating a range of cooking styles and preferences.

In terms of cooking performance, these models are equipped with several burners that provide precise heat control. The SGP335X includes high-efficiency burners that deliver quick and even heating, while the SGC355X offers a combination of standard and power burners, enabling users to boil, simmer, or sauté with professional-level results. The presence of a continuous grate design simplifies the process of moving pots and pans across the cooktop, ensuring a seamless cooking experience.

Technologically, the Whirlpool SGP335X and SGC355X are designed with user convenience in mind. They feature intuitive control knobs that make it easy to adjust temperatures swiftly and accurately. The models also boast safety features, including a flame failure device that automatically shuts off the gas supply if the flame goes out, providing peace of mind for busy households.

Additionally, both cooktops are energy-efficient, helping to reduce cooking time and energy consumption without compromising performance. This is particularly beneficial for eco-conscious consumers looking to minimize their environmental impact.

In summary, the Whirlpool SGP335X and SGC355X models deliver a powerful combination of functionality, design, and safety. Their modern features and technologies make these cooktops an excellent choice for anyone looking to enhance their kitchen experience, whether for daily meals or special occasions. With Whirlpool's reputation for quality and innovation, these cooktops are not just appliances but essential tools for culinary creativity.