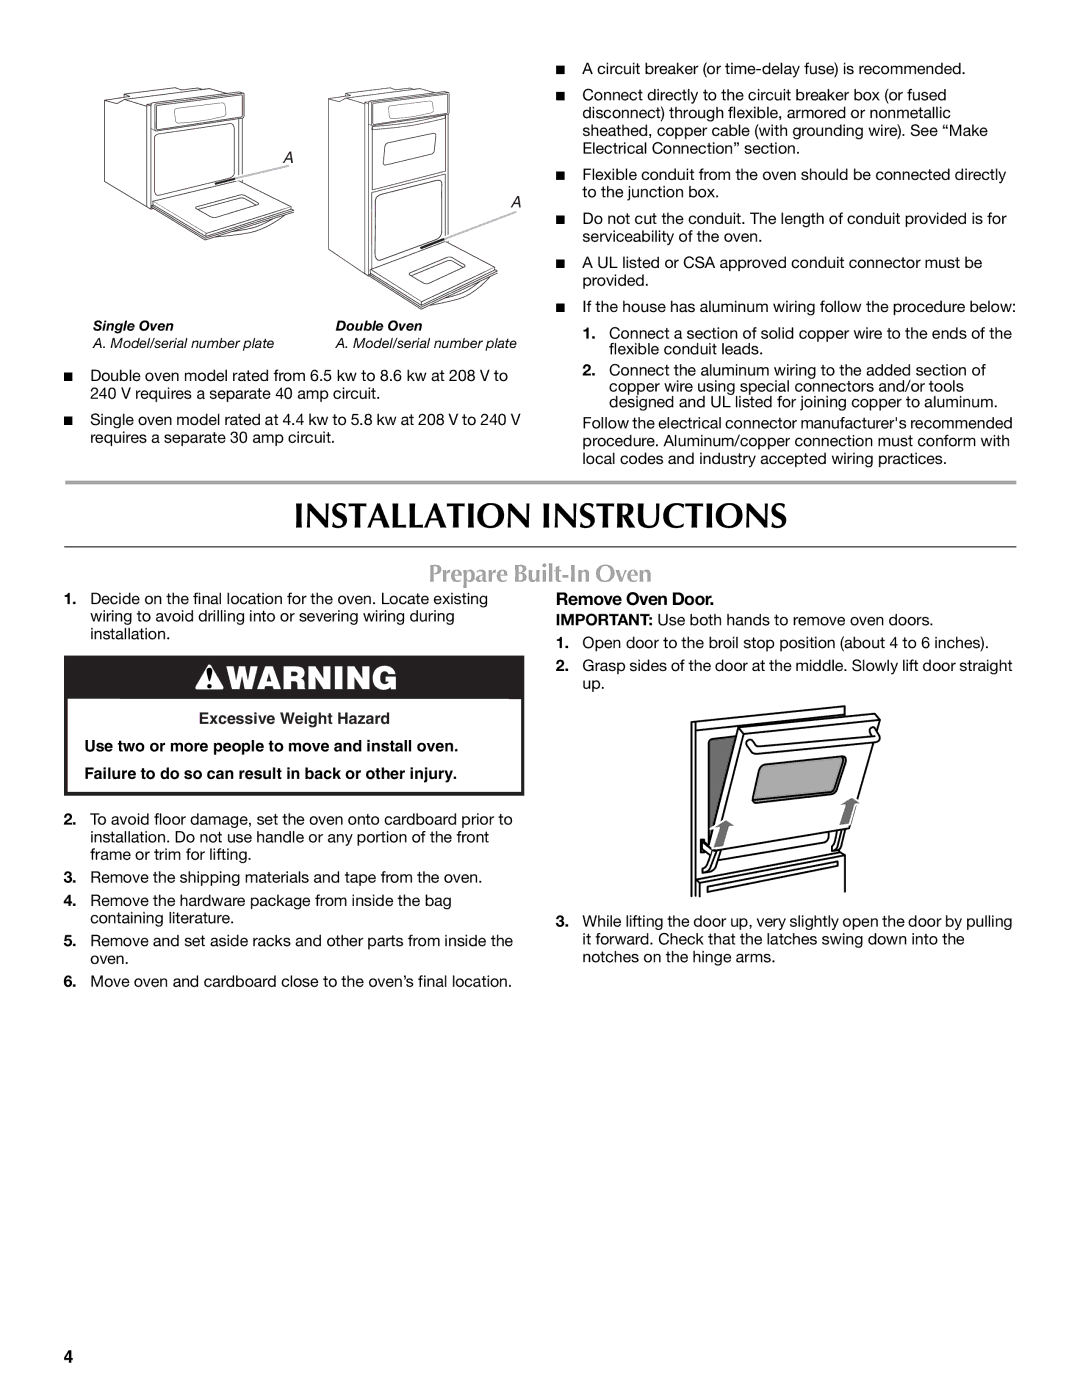
A
A
Single Oven | Double Oven |
A. Model/serial number plate | A. Model/serial number plate |
■Double oven model rated from 6.5 kw to 8.6 kw at 208 V to 240 V requires a separate 40 amp circuit.
■Single oven model rated at 4.4 kw to 5.8 kw at 208 V to 240 V requires a separate 30 amp circuit.
■A circuit breaker (or
■Connect directly to the circuit breaker box (or fused disconnect) through flexible, armored or nonmetallic sheathed, copper cable (with grounding wire). See “Make Electrical Connection” section.
■Flexible conduit from the oven should be connected directly to the junction box.
■Do not cut the conduit. The length of conduit provided is for serviceability of the oven.
■A UL listed or CSA approved conduit connector must be provided.
■If the house has aluminum wiring follow the procedure below:
1.Connect a section of solid copper wire to the ends of the flexible conduit leads.
2.Connect the aluminum wiring to the added section of copper wire using special connectors and/or tools designed and UL listed for joining copper to aluminum.
Follow the electrical connector manufacturer's recommended procedure. Aluminum/copper connection must conform with local codes and industry accepted wiring practices.
INSTALLATION INSTRUCTIONS
Prepare Built-In Oven
1.Decide on the final location for the oven. Locate existing wiring to avoid drilling into or severing wiring during installation.
![]() WARNING
WARNING
Excessive Weight Hazard
Use two or more people to move and install oven. Failure to do so can result in back or other injury.
2.To avoid floor damage, set the oven onto cardboard prior to installation. Do not use handle or any portion of the front frame or trim for lifting.
3.Remove the shipping materials and tape from the oven.
4.Remove the hardware package from inside the bag containing literature.
5.Remove and set aside racks and other parts from inside the oven.
6.Move oven and cardboard close to the oven’s final location.
Remove Oven Door.
IMPORTANT: Use both hands to remove oven doors.
1.Open door to the broil stop position (about 4 to 6 inches).
2.Grasp sides of the door at the middle. Slowly lift door straight up.
3.While lifting the door up, very slightly open the door by pulling it forward. Check that the latches swing down into the notches on the hinge arms.
4