Style 3

1.Unplug refrigerator or disconnect power.

2.Remove and discard the black nylon plug from the gray water tube on the rear of the refrigerator.

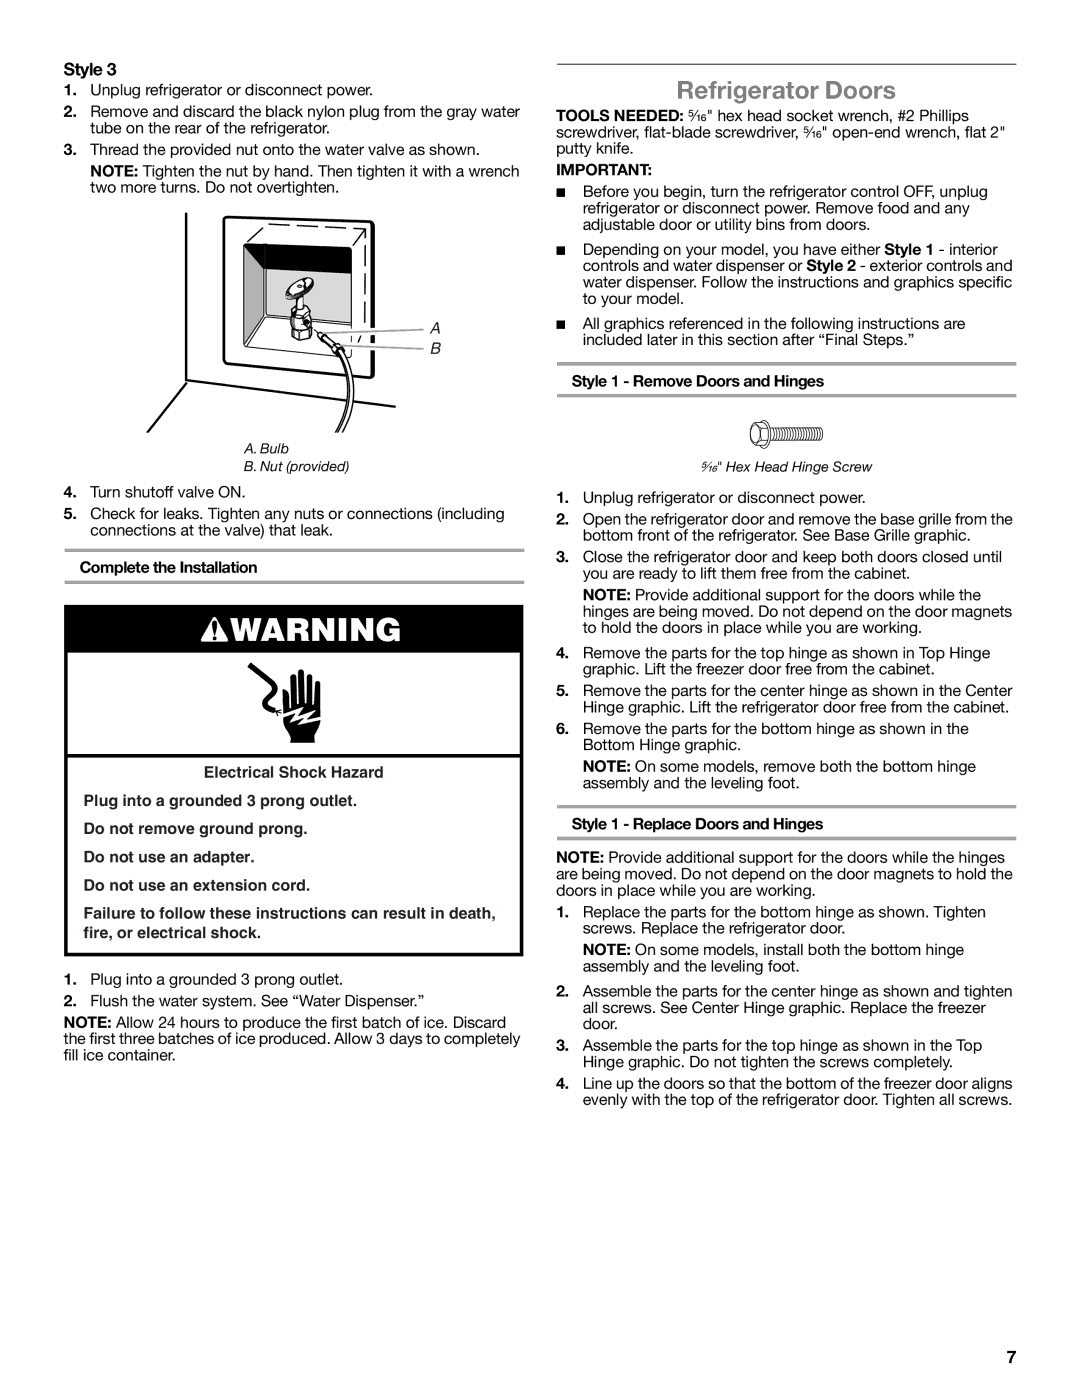
3.Thread the provided nut onto the water valve as shown.

NOTE: Tighten the nut by hand. Then tighten it with a wrench two more turns. Do not overtighten.

A

B

A.Bulb

B.Nut (provided)

4.Turn shutoff valve ON.

5.Check for leaks. Tighten any nuts or connections (including connections at the valve) that leak.

Complete the Installation

WARNING

Electrical Shock Hazard

Plug into a grounded 3 prong outlet.

Do not remove ground prong.

Do not use an adapter.

Do not use an extension cord.

Failure to follow these instructions can result in death, fire, or electrical shock.

1.Plug into a grounded 3 prong outlet.

2.Flush the water system. See “Water Dispenser.”

NOTE: Allow 24 hours to produce the first batch of ice. Discard the first three batches of ice produced. Allow 3 days to completely fill ice container.

Refrigerator Doors

TOOLS NEEDED: ⁵⁄₁₆" hex head socket wrench, #2 Phillips screwdriver, flat-blade screwdriver, ⁵⁄₁₆" open-end wrench, flat 2" putty knife.

IMPORTANT:

Before you begin, turn the refrigerator control OFF, unplug refrigerator or disconnect power. Remove food and any adjustable door or utility bins from doors.

Depending on your model, you have either Style 1 - interior controls and water dispenser or Style 2 - exterior controls and water dispenser. Follow the instructions and graphics specific to your model.

All graphics referenced in the following instructions are included later in this section after “Final Steps.”

Style 1 - Remove Doors and Hinges

⁵⁄₁₆" Hex Head Hinge Screw

1.Unplug refrigerator or disconnect power.

2.Open the refrigerator door and remove the base grille from the bottom front of the refrigerator. See Base Grille graphic.

3.Close the refrigerator door and keep both doors closed until you are ready to lift them free from the cabinet.

NOTE: Provide additional support for the doors while the hinges are being moved. Do not depend on the door magnets to hold the doors in place while you are working.

4.Remove the parts for the top hinge as shown in Top Hinge graphic. Lift the freezer door free from the cabinet.

5.Remove the parts for the center hinge as shown in the Center Hinge graphic. Lift the refrigerator door free from the cabinet.

6.Remove the parts for the bottom hinge as shown in the Bottom Hinge graphic.

NOTE: On some models, remove both the bottom hinge assembly and the leveling foot.

Style 1 - Replace Doors and Hinges

NOTE: Provide additional support for the doors while the hinges are being moved. Do not depend on the door magnets to hold the doors in place while you are working.

1.Replace the parts for the bottom hinge as shown. Tighten screws. Replace the refrigerator door.

NOTE: On some models, install both the bottom hinge assembly and the leveling foot.

2.Assemble the parts for the center hinge as shown and tighten all screws. See Center Hinge graphic. Replace the freezer door.

3.Assemble the parts for the top hinge as shown in the Top Hinge graphic. Do not tighten the screws completely.

4.Line up the doors so that the bottom of the freezer door aligns evenly with the top of the refrigerator door. Tighten all screws.

7

Page 7
Image 7
Whirlpool whirlpool manual Refrigerator Doors, Style 1 Remove Doors and Hinges, Style 1 Replace Doors and Hinges

whirlpool specifications

Whirlpool, a leading name in home appliances, offers a wide range of washing machines designed to provide efficient cleaning and convenience. Renowned for their innovative technologies and user-friendly features, Whirlpool washing machines cater to a diverse range of washing needs.

One of the standout features of Whirlpool washing machines is their load sensing technology. This smart feature detects the weight of the load and automatically adjusts the water levels and cycle duration, ensuring optimal water and energy use. This not only enhances performance but also contributes to sustainability by minimizing unnecessary water consumption.

Whirlpool also incorporates advanced washing cycles in their machines. The EcoWash cycle, for instance, is designed for efficient cleaning while using less water and energy, making it an ideal choice for environmentally conscious consumers. Additionally, the Delicate cycle ensures that fragile fabrics receive a gentle wash, protecting them from damage while effectively removing dirt.

Another notable characteristic is the FreshCare option, available in several Whirlpool models. This technology periodically tumbles the laundry after the cycle has finished, preventing wrinkles and musty odors, and keeping clothes fresh for hours. This is particularly useful for those who might not be able to move their laundry immediately after the wash cycle concludes.

Whirlpool washing machines also come equipped with an intuitive control panel featuring a range of pre-set programs. Users can easily select the desired wash type based on fabric type and soil level, ensuring tailored care for garments. Many models also offer a delay start feature, allowing users to schedule their wash cycles to start at a convenient time.

Durability and ease of maintenance are other key characteristics of Whirlpool washers. Many of their models come with a reliable stainless steel drum, which is both resistant to rust and capable of handling large loads without compromising performance. The self-cleaning technology found in select models further enhances longevity by automatically washing the drum and maintaining optimal hygiene.

In conclusion, Whirlpool washing machines combine cutting-edge technology and thoughtful design to deliver effective, efficient, and user-friendly laundry solutions. With features like load sensing, diverse washing cycles, FreshCare technology, and intuitive control options, Whirlpool continues to set the standard for innovation and reliability in the home appliance market. Whether for everyday use or special care garments, Whirlpool washing machines provide versatility and peace of mind for every household.