10
Belt table adjustments
The belt sander table can be tilted or moved in or out to accommodate the operation being performed. Loosen the locking handle to change the position of the table. Move the table to the desired position and tighten the locking handle.
NOTE: The lock handle is spring loaded. Reposition the handle by pulling out on the handle and turning the handle on the serrated locking stud. Release the handle and turn the locking handle to tighten or loosen the table.
WARNING: To avoid trapping the work or fingers between the table and sanding belt, the table edge should be positioned a maximum of
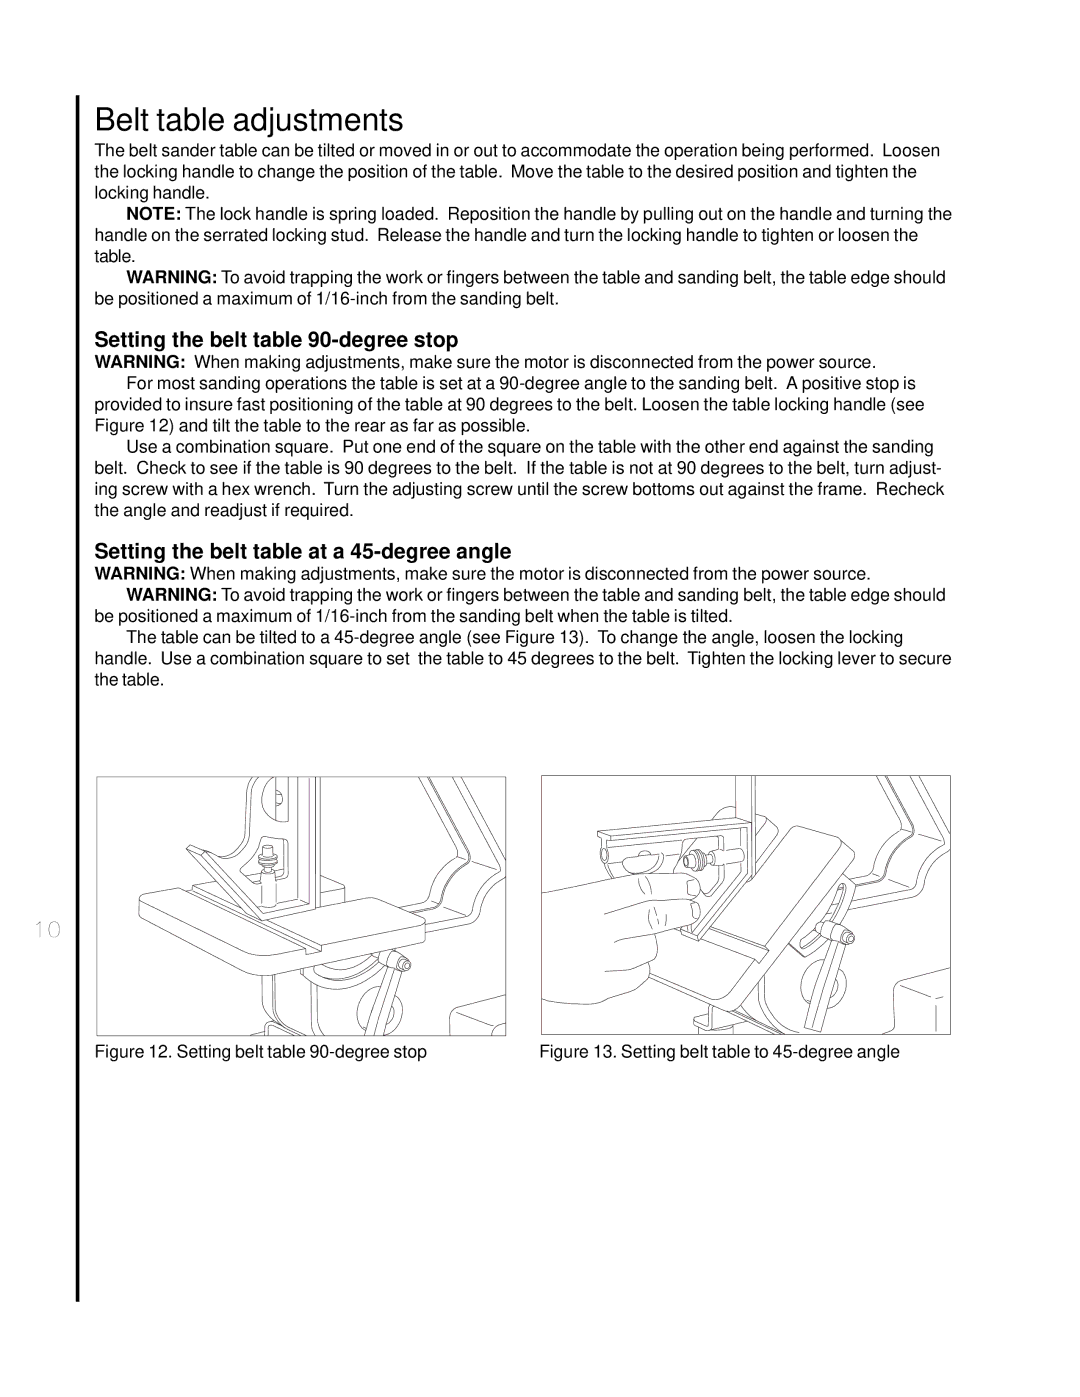
Setting the belt table 90-degree stop
WARNING: When making adjustments, make sure the motor is disconnected from the power source.
For most sanding operations the table is set at a
Use a combination square. Put one end of the square on the table with the other end against the sanding belt. Check to see if the table is 90 degrees to the belt. If the table is not at 90 degrees to the belt, turn adjust- ing screw with a hex wrench. Turn the adjusting screw until the screw bottoms out against the frame. Recheck the angle and readjust if required.
Setting the belt table at a 45-degree angle
WARNING: When making adjustments, make sure the motor is disconnected from the power source. WARNING: To avoid trapping the work or fingers between the table and sanding belt, the table edge should
be positioned a maximum of
The table can be tilted to a
Figure 12. Setting belt table | Figure 13. Setting belt table to |