2.Remove the screw and spring from the handle assembly. Separate the handle and stud.
3.Set the table in place against the sander.
4.Put the flat washer provided in the sander carton on the stud.
5.Install the stud through the belt table bracket and into the sander housing. Tighten the stud finger tight.
6.Install the handle over the stud. Install the spring and screw into the stud.
7.To tighten the handle (and secure the table), pull out on the handle. While holding the handle out, turn the handle counterclockwise. Release the handle and tighten in a clockwise direction. Repeat as required to secure the table.
Figure 3. Installing stud in table bracket
Setup
Fastening sander to supporting surface
During operation the sander may have a tendency to slide or move about on the bench or table. It is recom- mended that the sander be fastened to the bench or table. Two holes are supplied in the sander base plate for easy mounting.
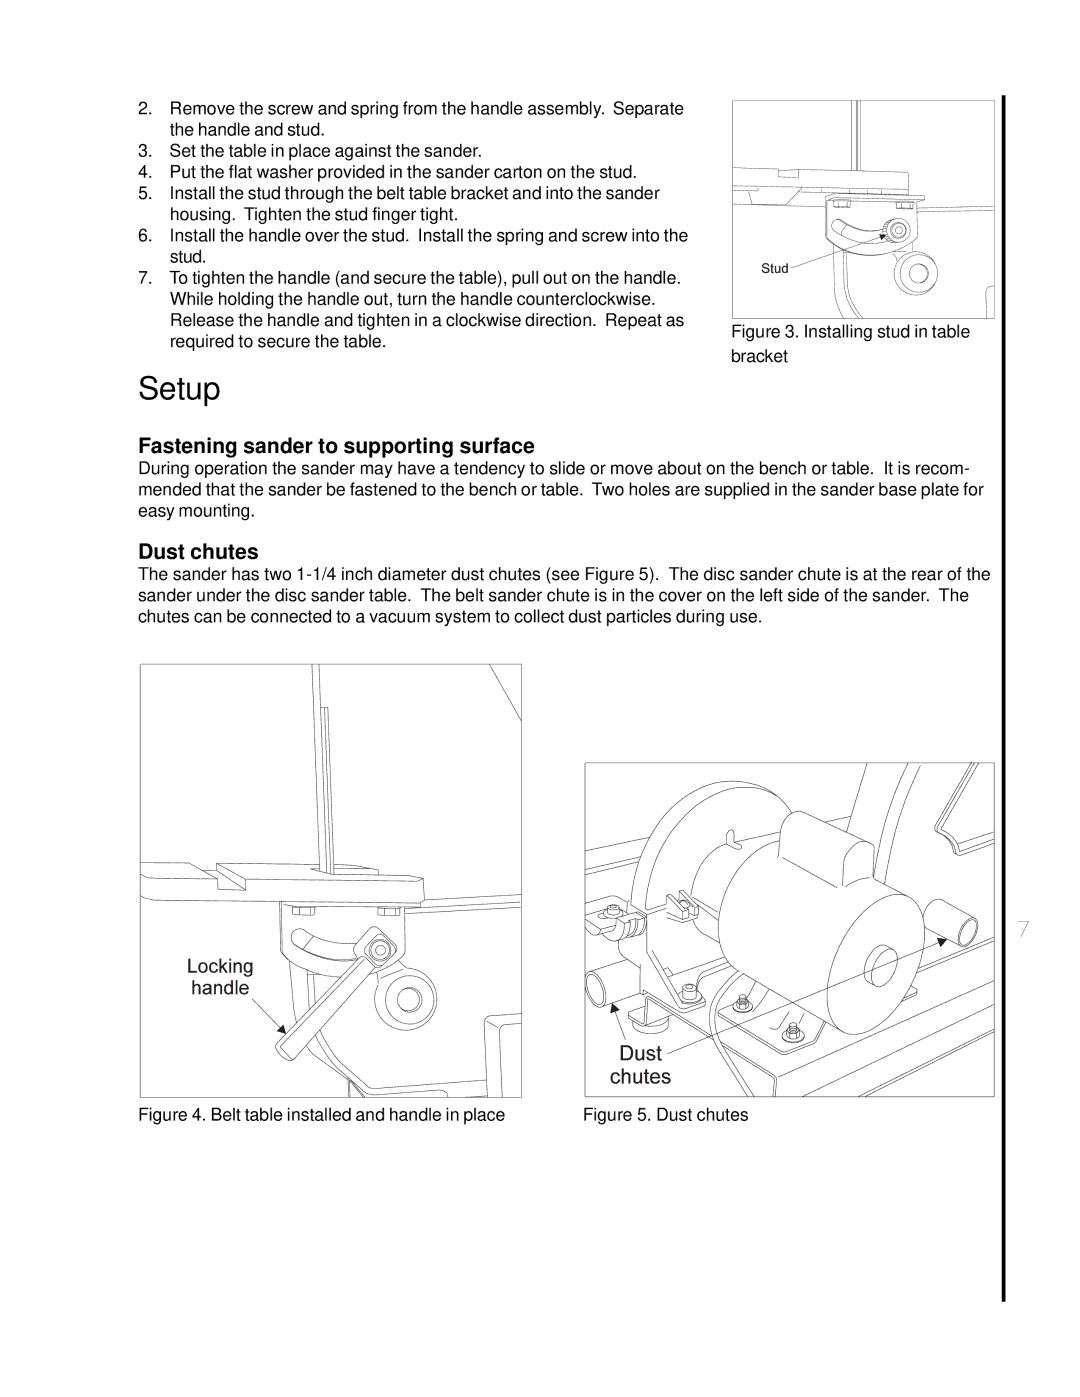
Dust chutes
The sander has two
Figure 4. Belt table installed and handle in place | Figure 5. Dust chutes |
7