4. Tighten both handles securely.
![]() To avoid trapping the workpiece or fingers between the table and abrasive disc, the table edge should be positioned a maximum of 1/16” from the abrasive disc.
To avoid trapping the workpiece or fingers between the table and abrasive disc, the table edge should be positioned a maximum of 1/16” from the abrasive disc.
Use of the Miter Gauge
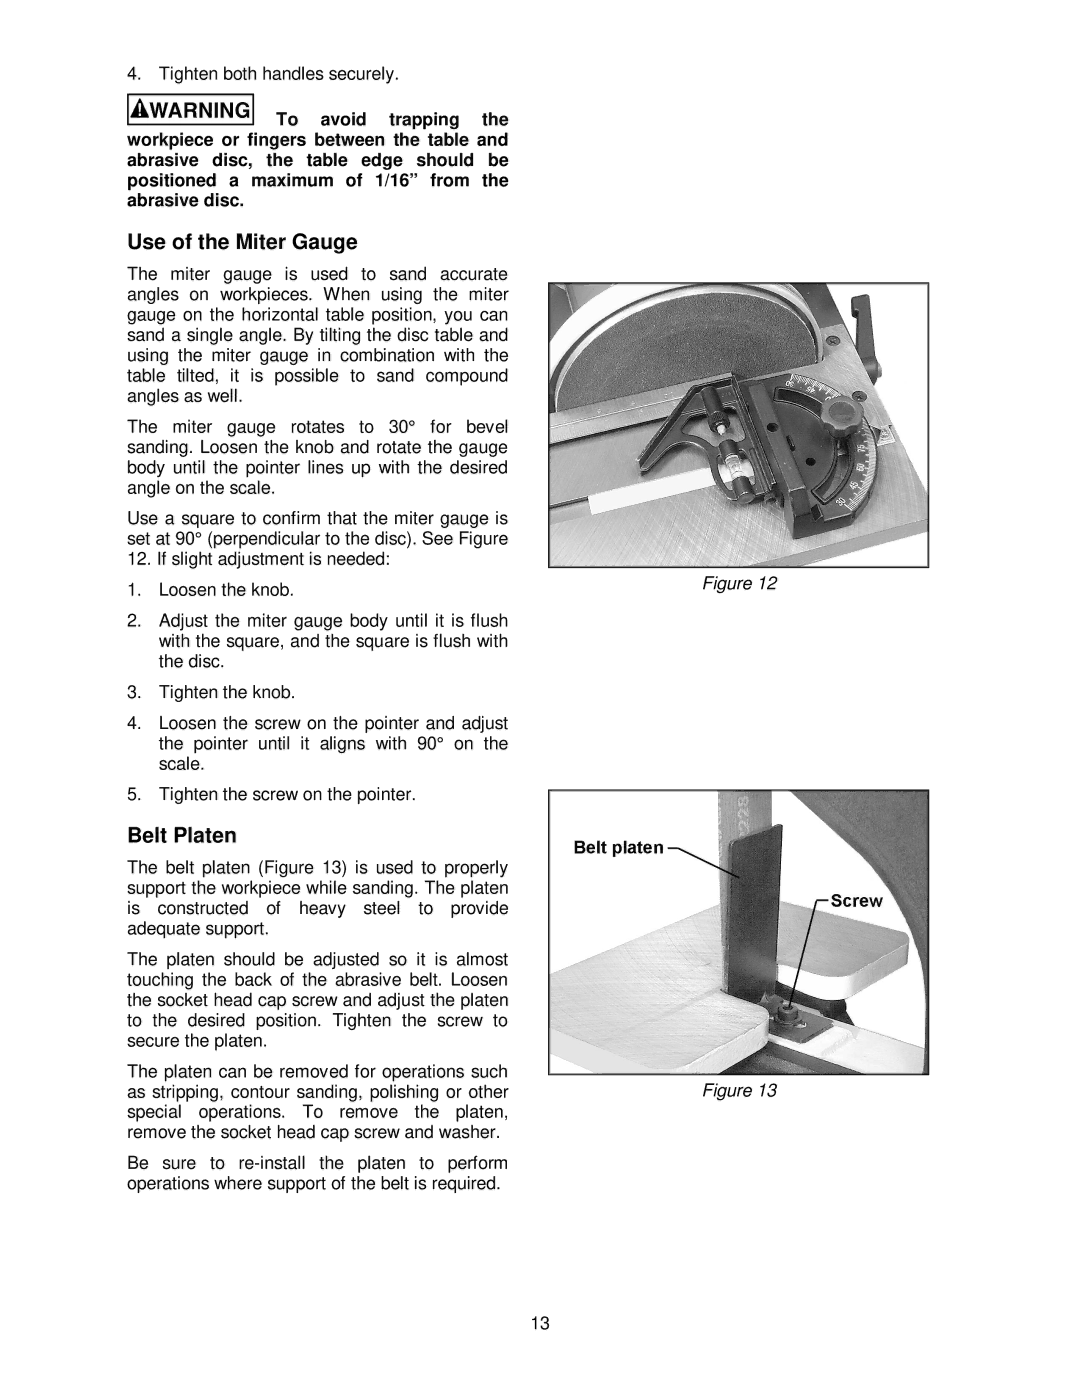
The miter gauge is used to sand accurate angles on workpieces. When using the miter gauge on the horizontal table position, you can sand a single angle. By tilting the disc table and using the miter gauge in combination with the table tilted, it is possible to sand compound angles as well.
The miter gauge rotates to 30° for bevel sanding. Loosen the knob and rotate the gauge body until the pointer lines up with the desired angle on the scale.
Use a square to confirm that the miter gauge is set at 90° (perpendicular to the disc). See Figure
12. If slight adjustment is needed:
1.Loosen the knob.
2.Adjust the miter gauge body until it is flush with the square, and the square is flush with the disc.
3.Tighten the knob.
4.Loosen the screw on the pointer and adjust the pointer until it aligns with 90° on the scale.
5.Tighten the screw on the pointer.
Belt Platen
The belt platen (Figure 13) is used to properly support the workpiece while sanding. The platen is constructed of heavy steel to provide adequate support.
The platen should be adjusted so it is almost touching the back of the abrasive belt. Loosen the socket head cap screw and adjust the platen to the desired position. Tighten the screw to secure the platen.
The platen can be removed for operations such as stripping, contour sanding, polishing or other special operations. To remove the platen, remove the socket head cap screw and washer.
Be sure to
Figure 12
Figure 13
13