Abrasive Belt Replacement
1.Unplug the Sander from the power source.
2.Unscrew and remove the two knobs on the belt cover.
3.Remove the belt cover.
4.Rotate the tension handle (Figure 6) to loosen the belt, and remove the old belt from around the wheels.
5.Install the new belt around the wheels.
IMPORTANT: Some sanding belts have a directional arrow printed on the inside of the belt. In these cases, the belt must be installed so the directional arrow is in the same direction that the machine is running. Refer to the rotation arrow on top of the belt cover.
6.Install the belt cover and the two knobs.
7.Start the sander and check the belt tracking before sanding operations (See “Tracking the Abrasive Belt”).
Tracking the Abrasive Belt
“Tracking” refers to the manner in which the abrasive belt is positioned on the wheels during operation. The belt should remain in vertical position without shifting to one side or the other of the wheel. If any shifting occurs, the belt needs to be tracked properly, as follows:
1.Disconnect sander from power source.
2.Remove the side cover, and make sure the belt is placed evenly over the center of the wheels. Loosen the tension and
3.Move the belt by rotating the disc with your hand (do not turn on the power yet). Observe the movement of the belt on the top wheel.
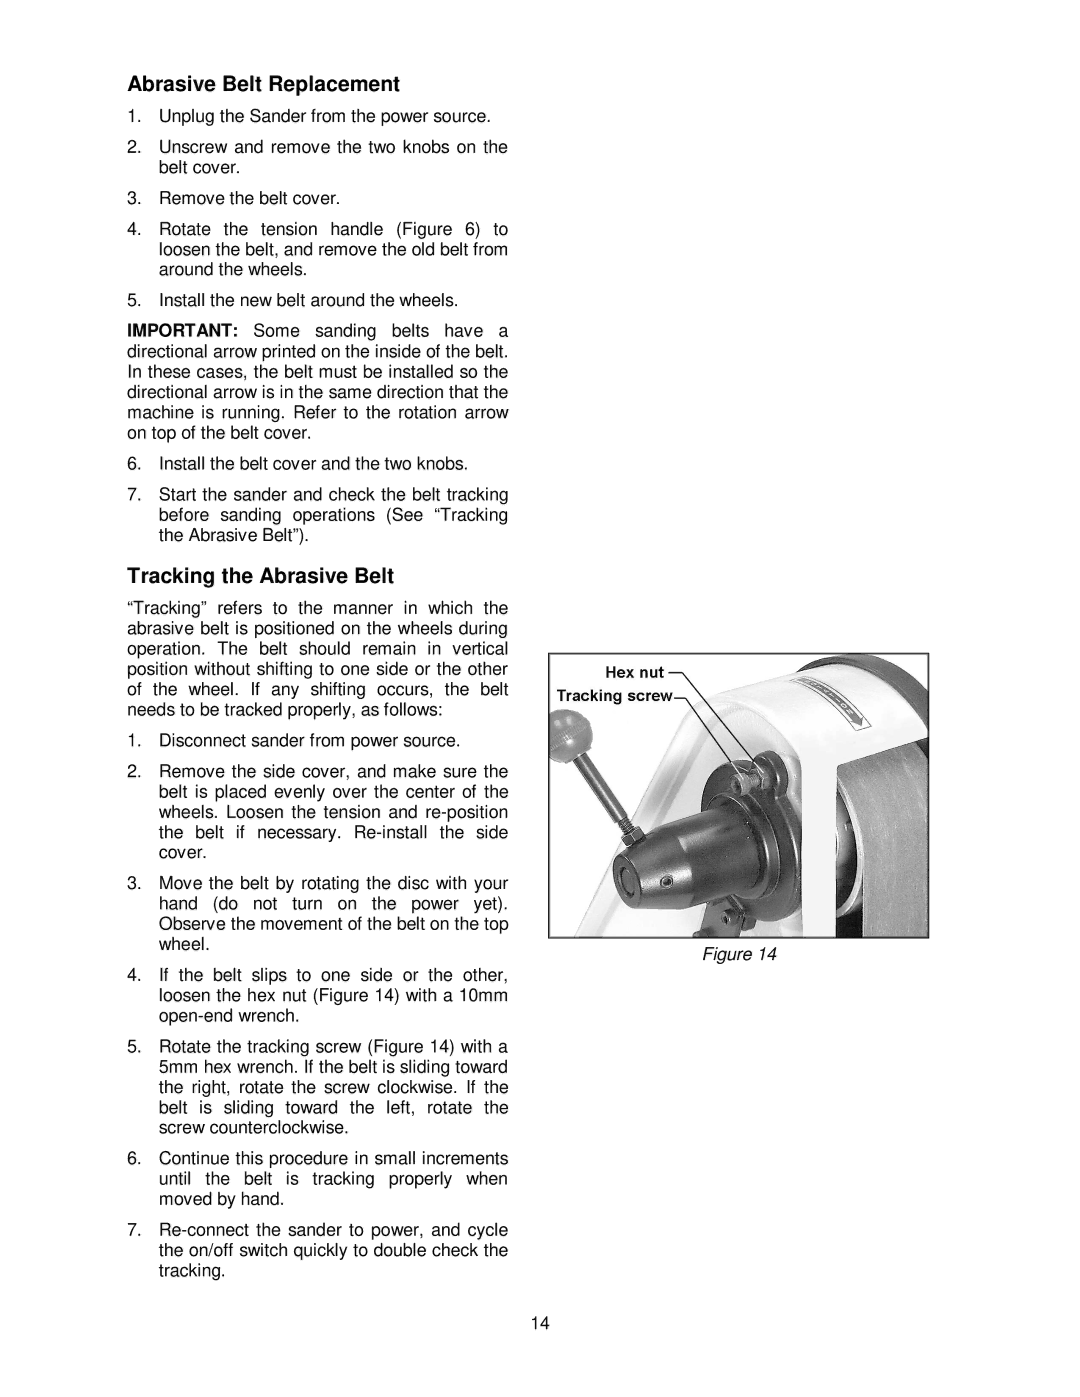
4.If the belt slips to one side or the other, loosen the hex nut (Figure 14) with a 10mm
5.Rotate the tracking screw (Figure 14) with a 5mm hex wrench. If the belt is sliding toward the right, rotate the screw clockwise. If the belt is sliding toward the left, rotate the screw counterclockwise.
6.Continue this procedure in small increments until the belt is tracking properly when moved by hand.
7.
Figure 14
14