6.SOLUTION STRAINER
The solution strainer is located in front of the left front wheel. The solution strainer protects the solenoid valve from debris. If there is little or no solution flow to the ground, check the strainer for debris. Drain the solution tank and clean the solution strainer. To remove the strainer, turn the bottom part of the strainer counterclockwise until the bottom is separated. Clean out the debris from the wire mesh and
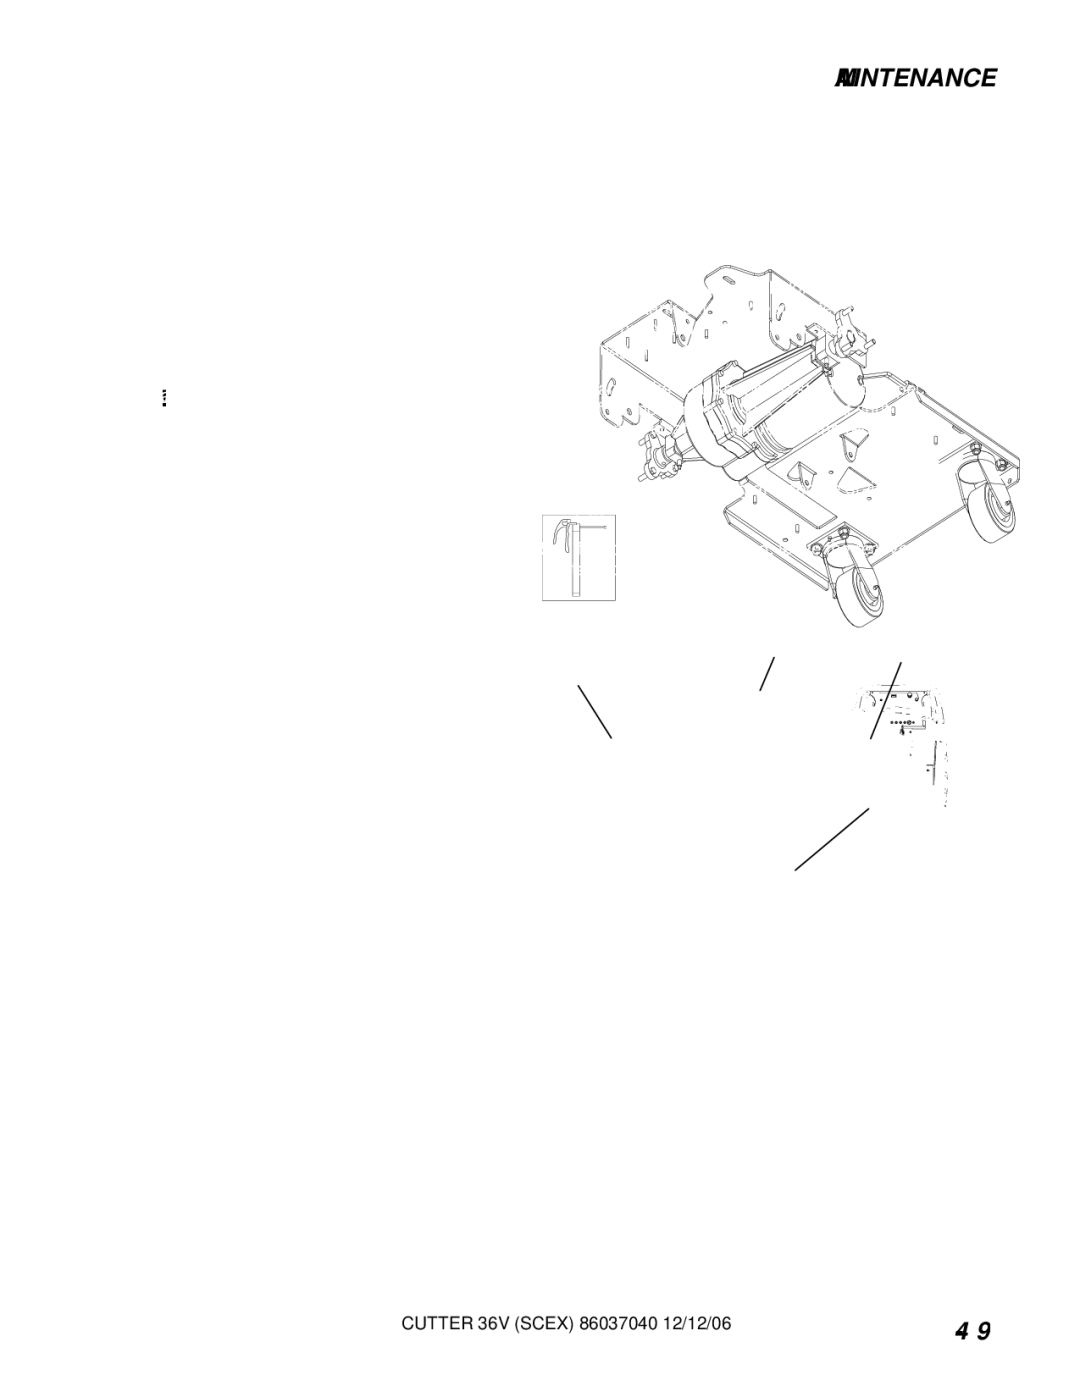
7.BRUSH MOTOR
! |
Do not use a pressure washer to clean around the brush motors. Use tap pressure only.
CHANGING BRUSH MOTORS
1.With the scrub deck in the stored position, disconnect brush motor wiring connector from harness.
2.Remove shrouds from scrub deck to access and remove scrub brushes or pad drivers.
3.Remove retaining bolt, lock washer, flat washer and star drive from brush motor shaft.
4.Remove 4 brush motor mounting bolts located under scrub deck.
5.Remove brush motor.
6.Reverse steps to install.
MAINTENANCE
8.Reset end cap and realign with scribe marks on motor barrel. Reinstall the two attach bolts from cap into base.
9.Maintain alignment between motor barrel base and cap.
GREASING AXLE:
NOTE: Use hand operated grease gun only.
BRUSH MOTOR CARBON BRUSH
REPLACEMENT
1.Scribe alignment mark on motor barrel to motor cap. Remove two bolts.
2.Remove end cap from motor.
NOTE: Motors contain two wave washers in cap. Do not lose these.
3.Release brush from spring tension. Remove screw connecting brush wire lead to brush holder. Clean brush holder to insure free movement.
4.Retract spring and install new brush. Install connector screw and lead.
5.When all new brushes are installed. Place all in retracted position, held into brush holder by spring tension.
6.Carefully place end cap onto bearing on motor shaft.
NOTE: Use care to assure wave washer alignment.
7.With end cap in partially installed position, release all brushes to contact position with motor commutator.
NOTE: Failure to insure all brushes are released will result in motor failure.
CUTTER 36V (SCEX) 86037040 12/12/06 | |
|