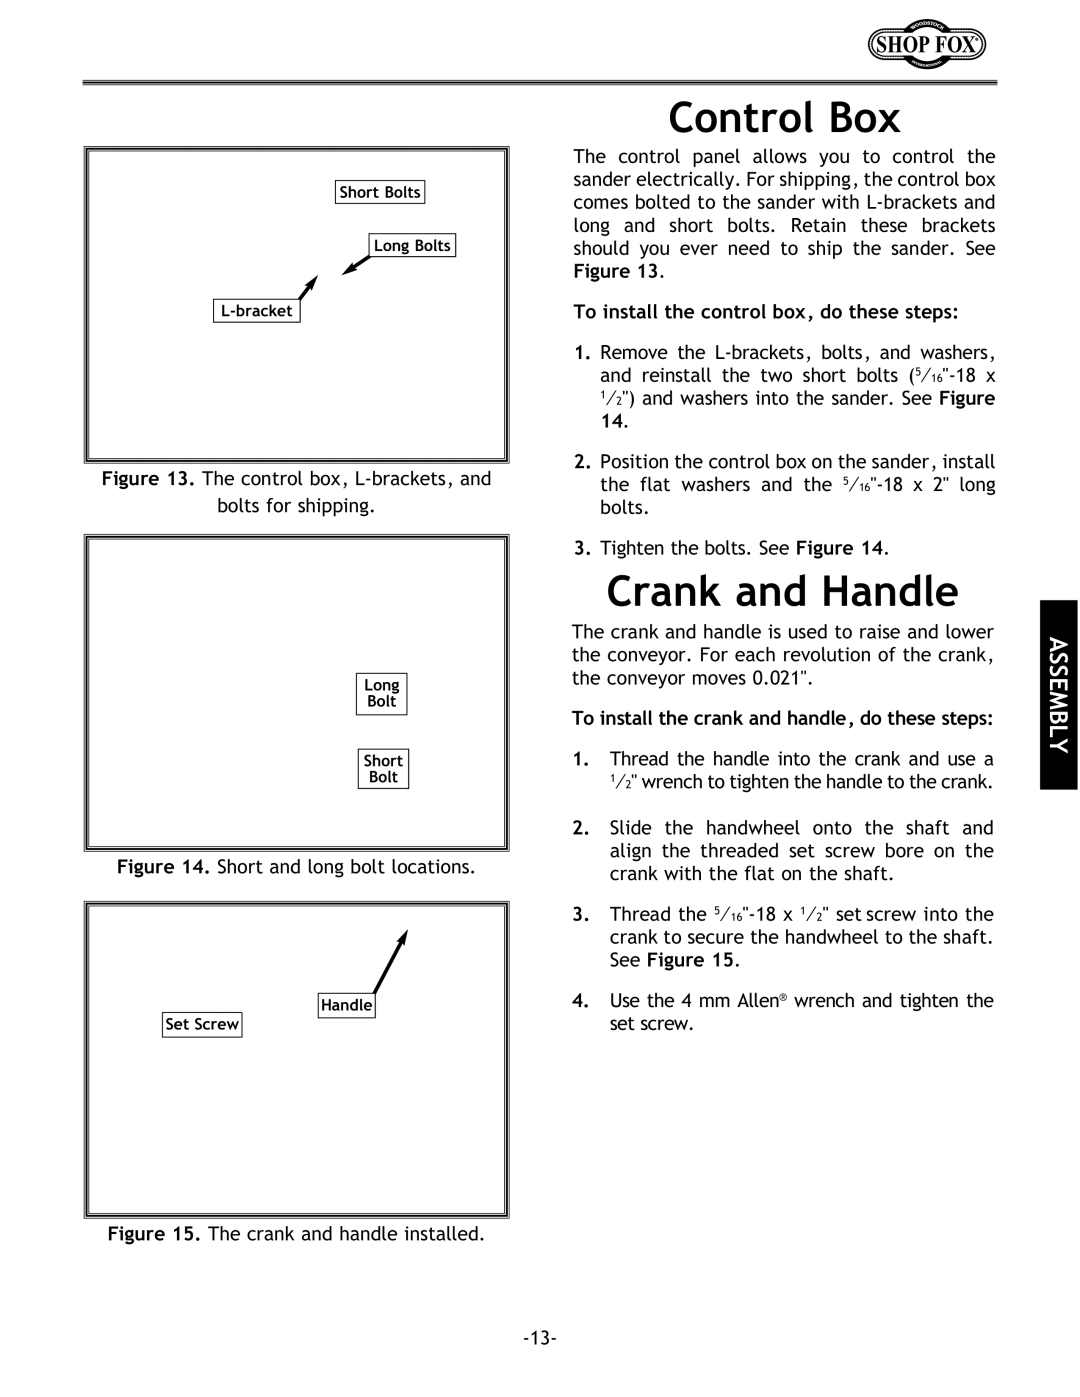
Short Bolts
Long Bolts
Figure 13. The control box, L-brackets, and
bolts for shipping.
Long
Bolt
Short
Bolt
Figure 14. Short and long bolt locations.
Handle
Set Screw
Figure 15. The crank and handle installed.
Control Box
The control panel allows you to control the sander electrically. For shipping, the control box comes bolted to the sander with
To install the control box, do these steps:
1.Remove the
1⁄2") and washers into the sander. See Figure 14.
2.Position the control box on the sander, install the flat washers and the
3.Tighten the bolts. See Figure 14.
Crank and Handle
The crank and handle is used to raise and lower the conveyor. For each revolution of the crank, the conveyor moves 0.021".
To install the crank and handle, do these steps:
1.Thread the handle into the crank and use a
1⁄2" wrench to tighten the handle to the crank.
2.Slide the handwheel onto the shaft and align the threaded set screw bore on the crank with the flat on the shaft.
3.Thread the
4.Use the 4 mm Allen® wrench and tighten the set screw.
ASSEMBLY