W1751 25"
SET UP
Assembly
This assembly section covers how to install the platen, handwheel crank, air supply, ducting, and the sanding belt.
���������������������������������������
�������������������������������������
Platen
1.Facing the front of the sander, open the left hand access door with the included door handle.
2.Remove the door handle, and set it aside.
3.Turn the sanding head lock lever counterclockwise and remove the lever and the steel spacer block.
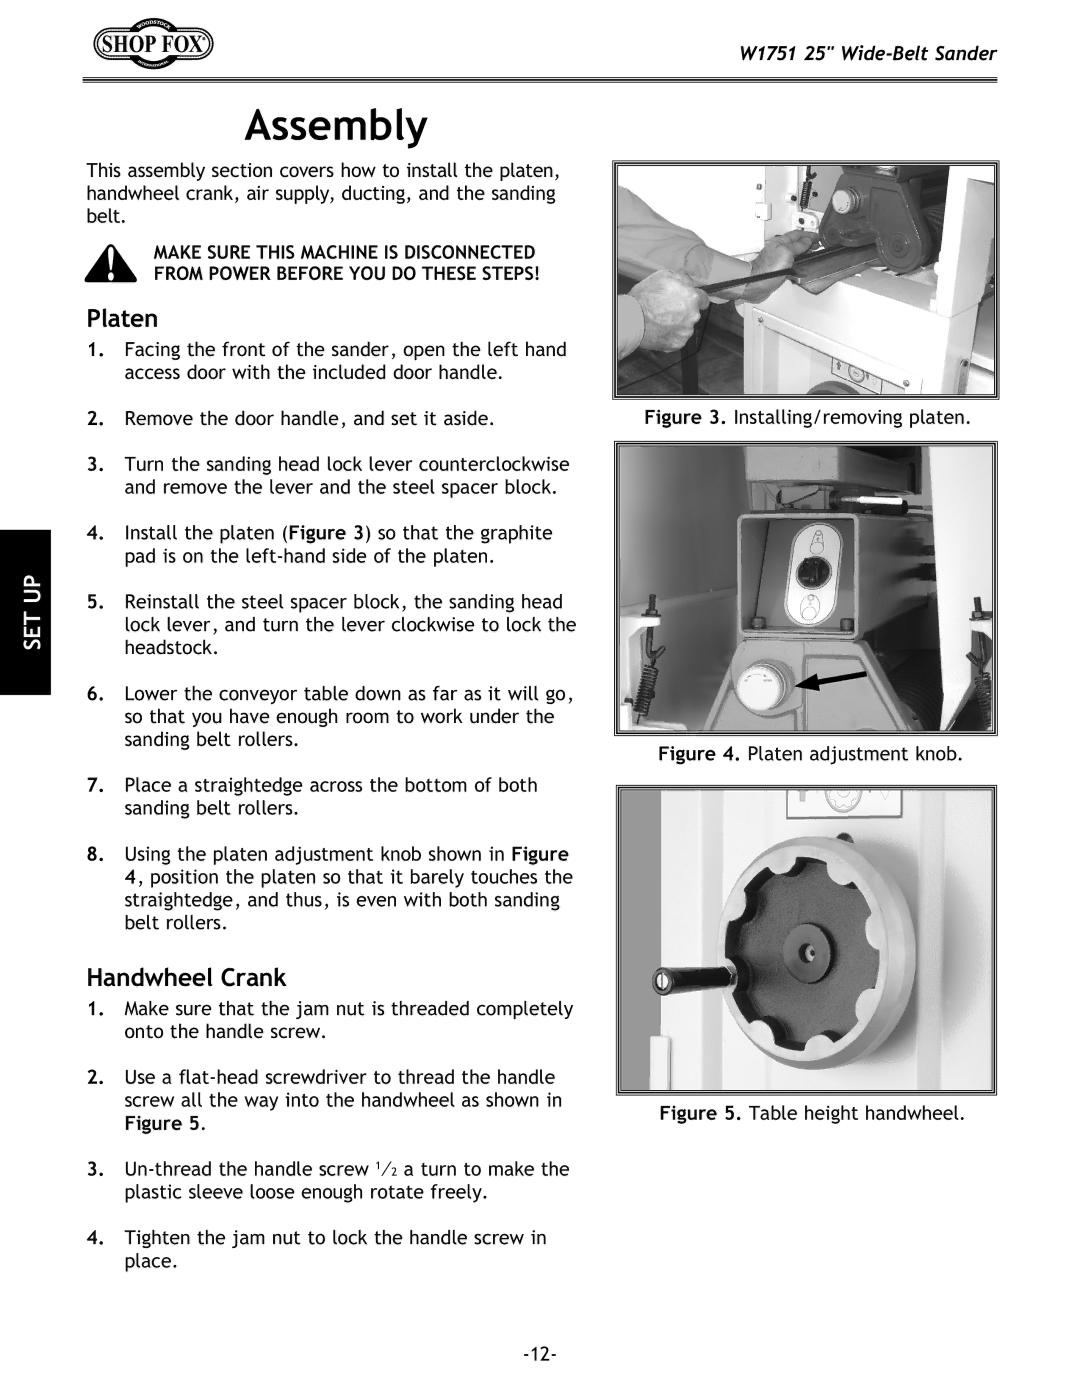
4.Install the platen (Figure 3) so that the graphite pad is on the
5.Reinstall the steel spacer block, the sanding head lock lever, and turn the lever clockwise to lock the headstock.
6.Lower the conveyor table down as far as it will go, so that you have enough room to work under the sanding belt rollers.
7.Place a straightedge across the bottom of both sanding belt rollers.
8.Using the platen adjustment knob shown in Figure 4, position the platen so that it barely touches the straightedge, and thus, is even with both sanding belt rollers.
Handwheel Crank
1.Make sure that the jam nut is threaded completely onto the handle screw.
2.Use a
Figure 5.
3.