Converting Wyse VX0LE to ThinOS | 5 |
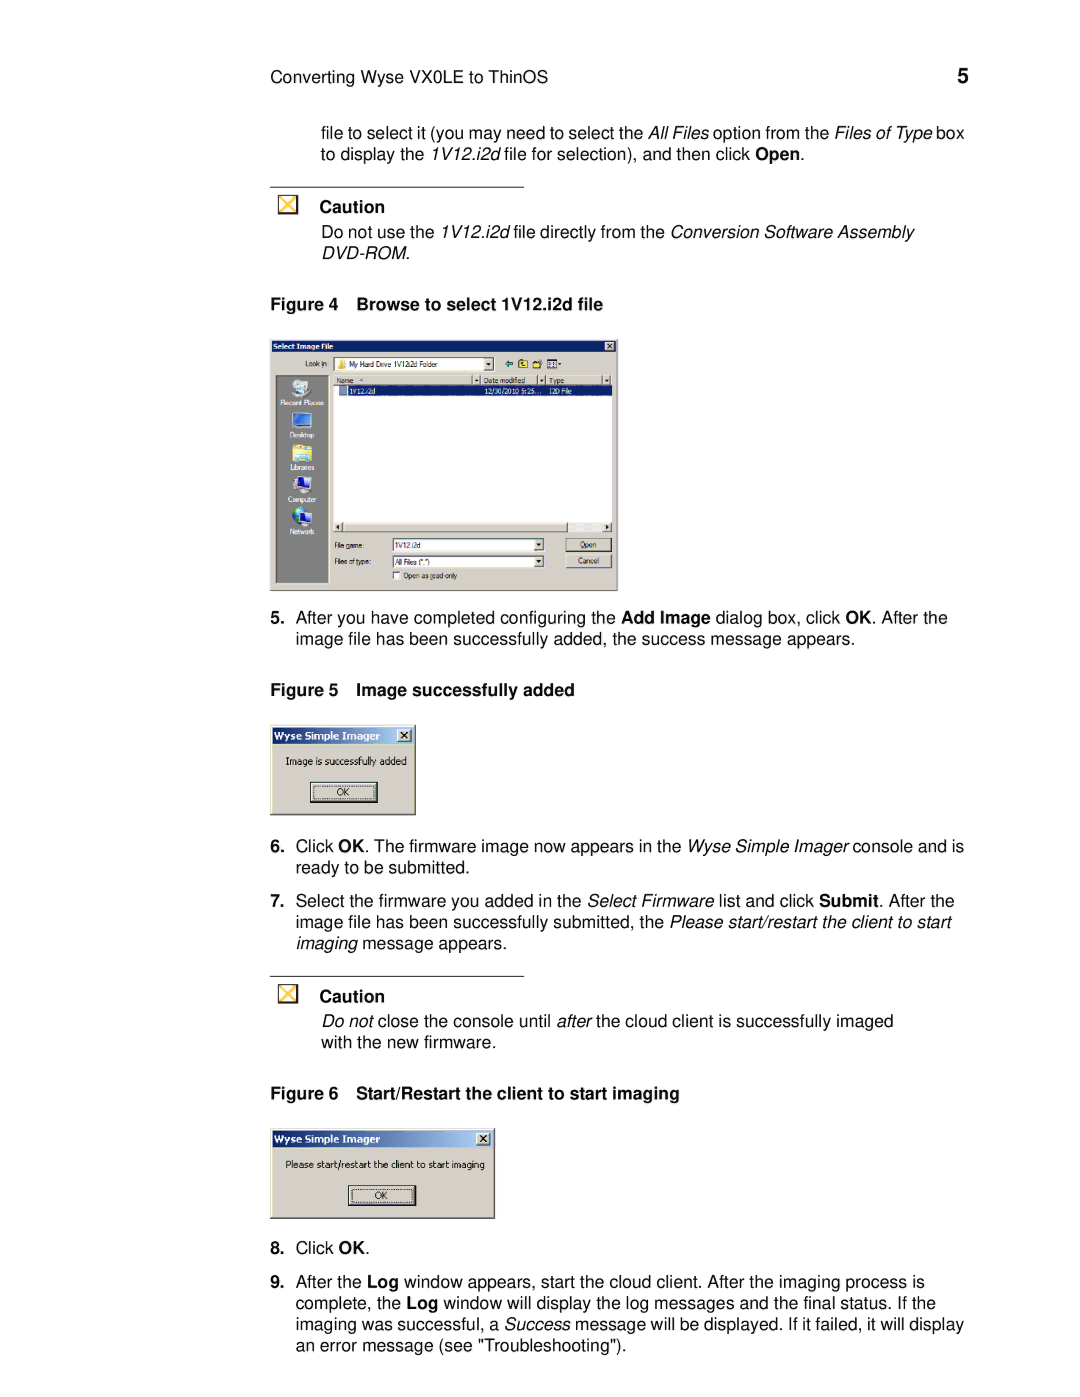
file to select it (you may need to select the All Files option from the Files of Type box to display the 1V12.i2d file for selection), and then click Open.
Caution
Do not use the 1V12.i2d file directly from the Conversion Software Assembly
Figure 4 Browse to select 1V12.i2d file
5.After you have completed configuring the Add Image dialog box, click OK. After the image file has been successfully added, the success message appears.
Figure 5 Image successfully added
6.Click OK. The firmware image now appears in the Wyse Simple Imager console and is ready to be submitted.
7.Select the firmware you added in the Select Firmware list and click Submit. After the image file has been successfully submitted, the Please start/restart the client to start imaging message appears.
Caution
Do not close the console until after the cloud client is successfully imaged with the new firmware.
Figure 6 Start/Restart the client to start imaging
8.Click OK.
9.After the Log window appears, start the cloud client. After the imaging process is complete, the Log window will display the log messages and the final status. If the imaging was successful, a Success message will be displayed. If it failed, it will display an error message (see "Troubleshooting").
