Converting Wyse VX0LE to ThinOS | 7 |
Procedures: Using Wyse Device Manager
Step 1: Access the DVD-ROM from the Correct WDM Server
Access the Conversion Software Assembly
Step 2: Copy the WDM VX0LE 128MB ThinOS Conversion Folder (on the
1.Open the VX0LE 128MB ThinOS Conversion Images folder on the Conversion Software Assembly
2.Copy the WDM VX0LE 128MB ThinOS Conversion folder (contained in the VX0LE 128MB ThinOS Conversion Images folder) to C:\WDM_Packages.
Step 3: Register and Deploy the WDM Package
Use WDM to register and deploy the WDM package as you normally would. For more information on registering a package from a script file (.rsp), see Administrators Guide: Wyse Device ManagerTM.
Step 4: Attach a Wyse Conversion Label on Each Converted Cloud Client
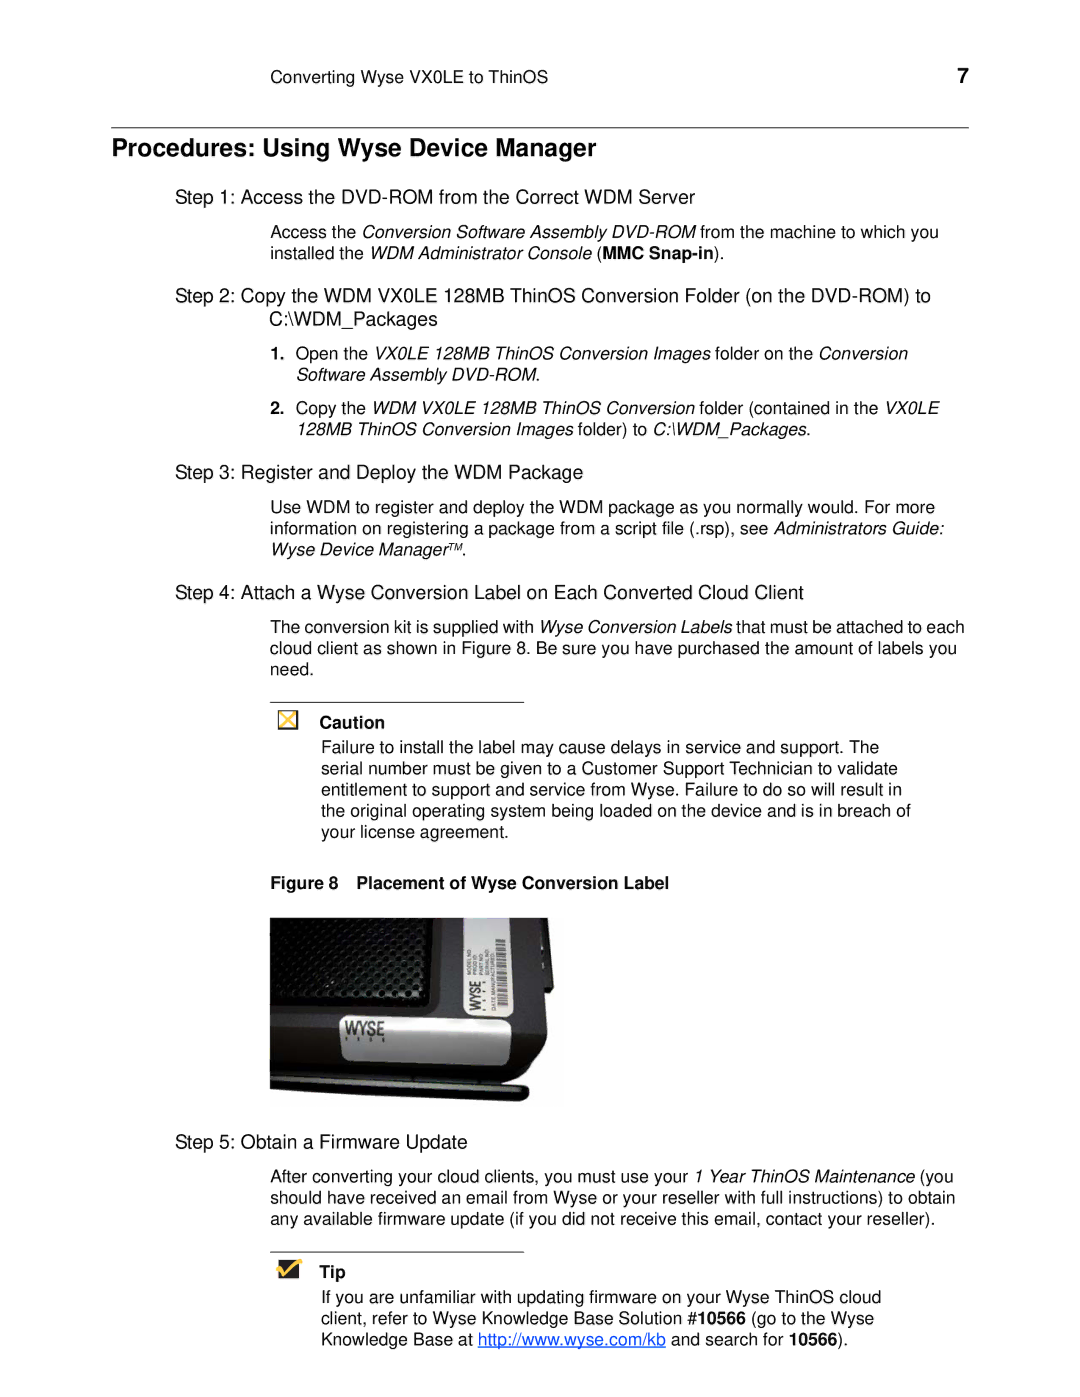
The conversion kit is supplied with Wyse Conversion Labels that must be attached to each cloud client as shown in Figure 8. Be sure you have purchased the amount of labels you need.
Caution
Failure to install the label may cause delays in service and support. The serial number must be given to a Customer Support Technician to validate entitlement to support and service from Wyse. Failure to do so will result in the original operating system being loaded on the device and is in breach of your license agreement.
Figure 8 Placement of Wyse Conversion Label
Step 5: Obtain a Firmware Update
After converting your cloud clients, you must use your 1 Year ThinOS Maintenance (you should have received an email from Wyse or your reseller with full instructions) to obtain any available firmware update (if you did not receive this email, contact your reseller).
Tip
If you are unfamiliar with updating firmware on your Wyse ThinOS cloud client, refer to Wyse Knowledge Base Solution #10566 (go to the Wyse Knowledge Base at http://www.wyse.com/kb and search for 10566).