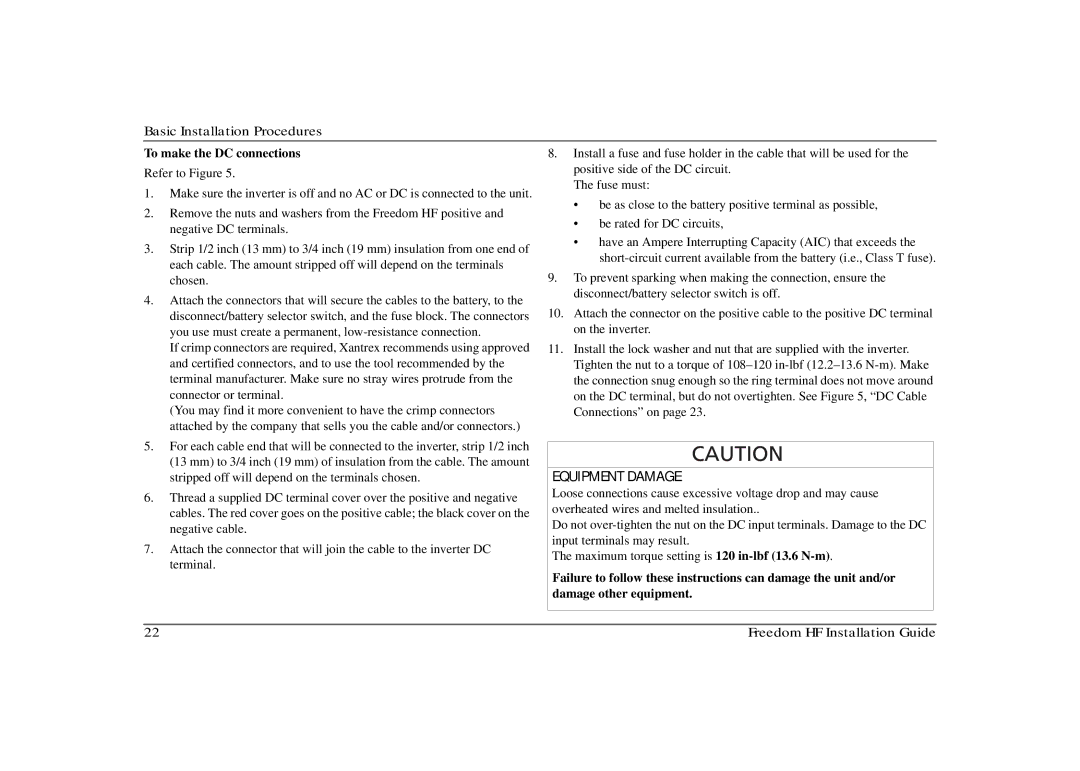
806-1055-02 806-1840, 806-1055, 806-1020, 806-1840-01, 806-1840-02 specifications
Xantrex Technology is renowned for its innovative power solutions, and among its extensive product lineup, the model numbers 806-1840-02, 806-1840-01, 806-1020, 806-1055, and 806-1055-02 stand out for their sophisticated features and reliable performance. These models are primarily designed to meet the diverse energy needs in off-grid, mobile, and backup power applications.The Xantrex 806 family is characterized by its versatility and high efficiency. One of the standout features across these models is their pure sine wave inverter technology. This technology ensures that the power output closely mimics utility-provided electricity, making it safe to use with sensitive electronics such as computers and medical equipment. The clean, reliable power allows users to operate a variety of appliances without the risk of damaging electrical devices.
Another key characteristic is the ability of these inverters to provide a robust surge capability. This is crucial for starting up heavy equipment or appliances that require a higher initial power draw, such as refrigerators and air conditioners. Users can feel confident knowing that these inverters can handle demanding loads without compromising performance.
Scalability is also a notable feature of the Xantrex 806 models. Users can easily integrate multiple units to expand their power capacity, making them suitable for anything from small RVs to larger off-grid installations. The inverters include advanced communication features, allowing for easy monitoring and management of energy consumption via remote control systems.
Furthermore, these models incorporate user-friendly designs with features aimed at enhancing usability. For instance, the LED indicators provide real-time information about the operational status and battery levels, enabling users to quickly assess their power system’s performance.
Durability and reliability are critical considerations for any power solution, and the Xantrex 806 series meets these demands effectively. Built with high-quality materials, these inverters are designed to withstand the rigors of daily use in various environments, from remote camping sites to urban settings. With built-in safety features such as overload protection, short circuit protection, and thermal shutdown, they provide peace of mind for users.
In summary, the Xantrex Technology models 806-1840-02, 806-1840-01, 806-1020, 806-1055, and 806-1055-02 exemplify advanced engineering in power inverter technology. With their pure sine wave output, impressive surge capability, scalability, and durable construction, they offer reliable solutions for users seeking effective energy management in diverse applications.

