
CDR-HD 1500 specifications
The Yamaha CDR-HD 1500 stands out as a versatile and innovative CD recorder and hard disk drive unit that caters to both audio enthusiasts and professional users alike. With its sleek design and robust functionality, it serves as an essential tool for those looking to create high-quality audio recordings.One of the main features of the CDR-HD 1500 is its integrated 80GB hard disk drive, which provides ample storage for digital recordings. This feature allows users to record directly to the hard drive, enabling high-fidelity sound capture without the need for physical media. The hard drive can store thousands of hours of audio, making it ideal for archiving entire music collections, transferring vinyl records, or creating compilation CDs.
Another notable characteristic is the optical CD recorder, capable of creating audio CDs from both the hard drive and directly from analog sources. Users can connect their audio equipment via the two analog inputs or utilize the built-in digital input options, which include optical and coaxial connections. This versatility ensures that users can digitize their music collection from numerous sources while preserving sound quality.
The CDR-HD 1500 employs advanced technologies for an enhanced listening experience, including Yamaha's 24-bit WAV format, which maintains audio fidelity during recording and playback. Additionally, it supports MP3 encoding, offering users a more compressed format suitable for digital devices while still providing exceptional sound quality.
Another significant feature is the user-friendly interface, which is designed for straightforward navigation. The intuitive control panel allows users to easily browse tracks, create playlists, and manage recordings. The LCD display provides essential information, including track details and recording status, enhancing the overall user experience.
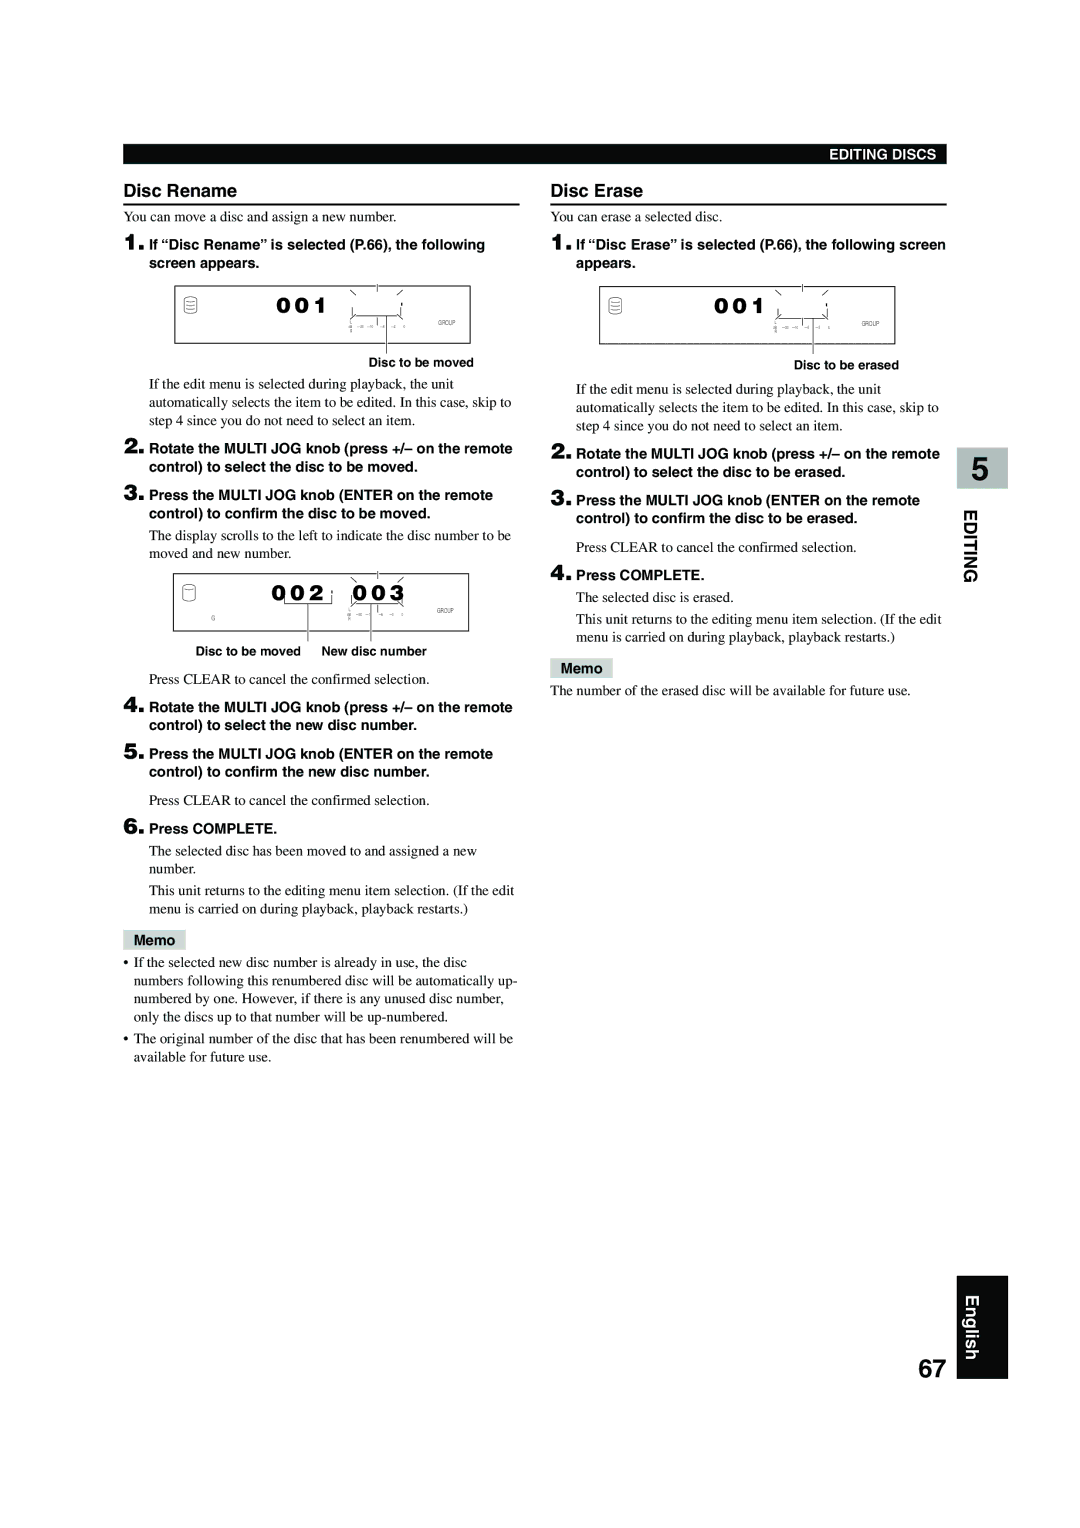
The CDR-HD 1500 also includes various editing functions, such as track splitting and fade in/out features. These tools give users the flexibility to adjust their recordings to suit their preferences, thus making it a powerful tool for audio production.
Overall, the Yamaha CDR-HD 1500 combines robust recording capabilities with user-friendly features and superior audio quality. Whether for home use or professional applications, it represents an invaluable addition to any audio setup, bridging the gap between analog and digital formats while catering to a wide range of user needs.