Preparation
Setups before the initial playback
We recommend to setup some of the basic menu items before the initial playback.
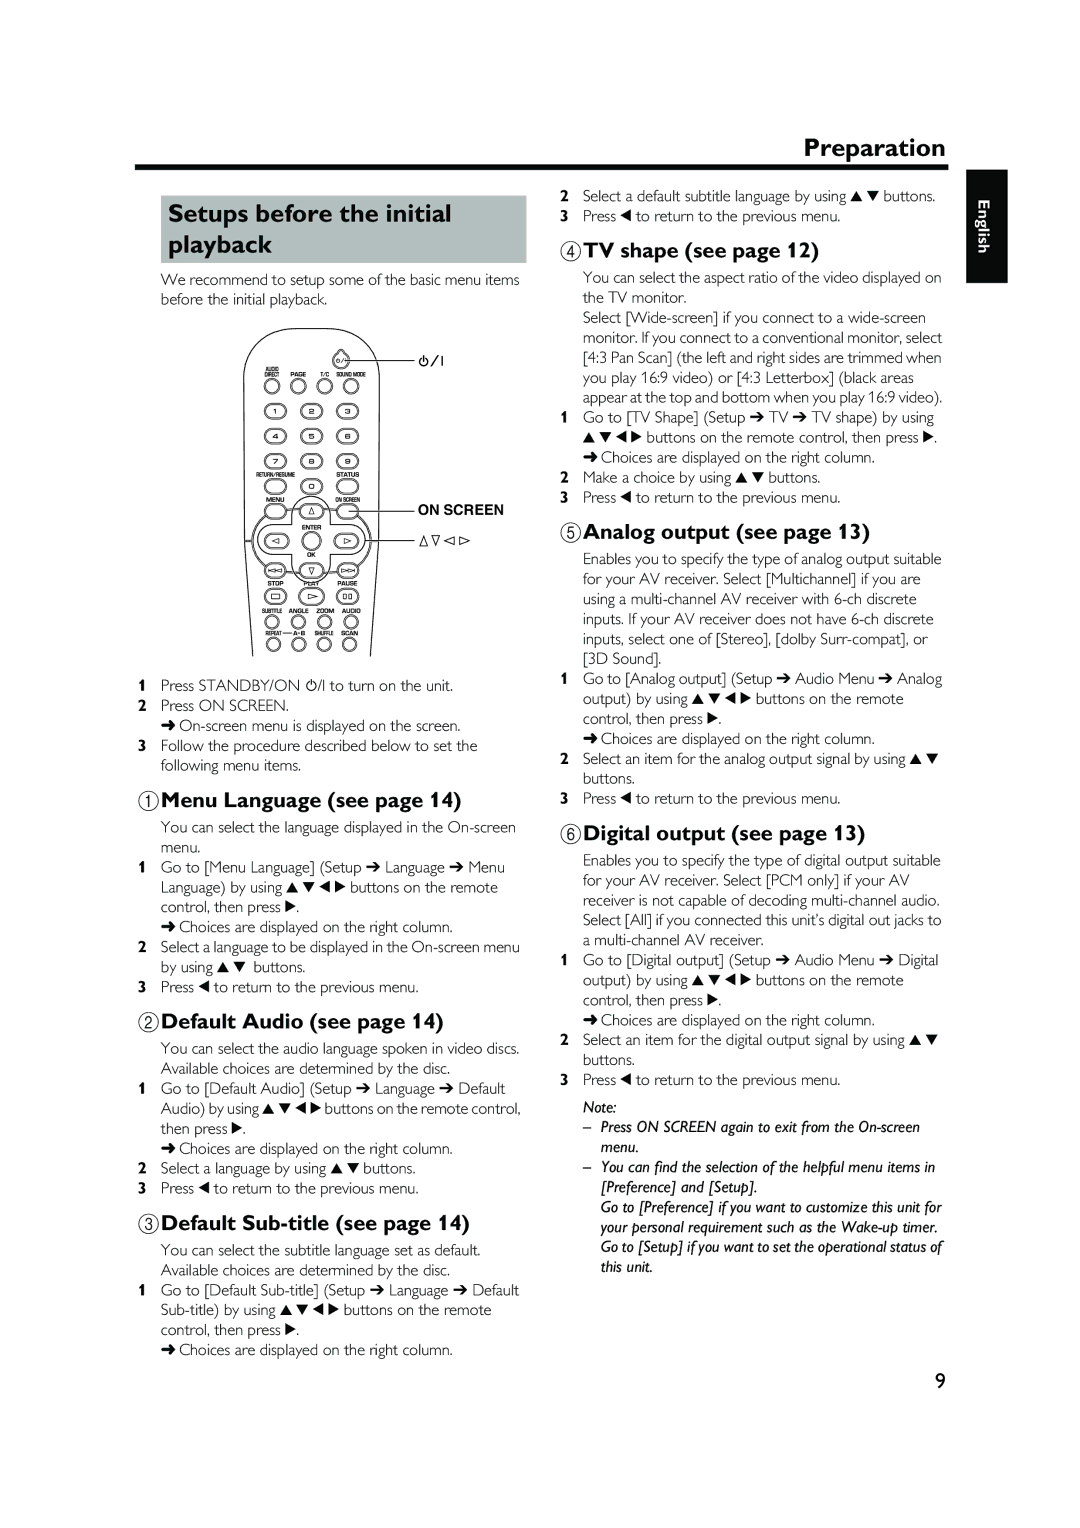
ON SCREEN
1Press STANDBY/ON ![]() /I to turn on the unit.
/I to turn on the unit.
2Press ON SCREEN.
➜
3Follow the procedure described below to set the following menu items.
1Menu Language (see page 14)
You can select the language displayed in the
1Go to [Menu Language] (Setup ➔ Language ➔ Menu Language) by using v w t u buttons on the remote control, then press u.
➜ Choices are displayed on the right column.
2Select a language to be displayed in the
3Press t to return to the previous menu.
2Default Audio (see page 14)
You can select the audio language spoken in video discs. Available choices are determined by the disc.
1Go to [Default Audio] (Setup ➔ Language ➔ Default Audio) by using v w t u buttons on the remote control, then press u.
➜ Choices are displayed on the right column.
2Select a language by using v w buttons.
3Press t to return to the previous menu.
3Default Sub-title (see page 14)
You can select the subtitle language set as default. Available choices are determined by the disc.
1Go to [Default
➜ Choices are displayed on the right column.
2Select a default subtitle language by using v w buttons.
3Press t to return to the previous menu.
4TV shape (see page 12)
You can select the aspect ratio of the video displayed on the TV monitor.
Select
1Go to [TV Shape] (Setup ➔ TV ➔ TV shape) by using v w t u buttons on the remote control, then press u. ➜ Choices are displayed on the right column.
2Make a choice by using v w buttons.
3Press t to return to the previous menu.
5Analog output (see page 13)
Enables you to specify the type of analog output suitable for your AV receiver. Select [Multichannel] if you are using a
1Go to [Analog output] (Setup ➔ Audio Menu ➔ Analog output) by using v w t u buttons on the remote control, then press u.
➜ Choices are displayed on the right column.
2Select an item for the analog output signal by using v w buttons.
3Press t to return to the previous menu.
6Digital output (see page 13)
Enables you to specify the type of digital output suitable for your AV receiver. Select [PCM only] if your AV receiver is not capable of decoding
1Go to [Digital output] (Setup ➔ Audio Menu ➔ Digital output) by using v w t u buttons on the remote control, then press u.
➜ Choices are displayed on the right column.
2Select an item for the digital output signal by using v w buttons.
3Press t to return to the previous menu.
Note:
– Press ON SCREEN again to exit from the
– You can find the selection of the helpful menu items in [Preference] and [Setup].
Go to [Preference] if you want to customize this unit for your personal requirement such as the
English
9
