
HTR-6150 specifications
The Yamaha HTR-6150 is a versatile and powerful home theater receiver designed to enhance your audio and video experience. This receiver is a testament to Yamaha's commitment to providing high-quality sound and cutting-edge technology, making it an ideal choice for both home theater enthusiasts and casual listeners alike.One of the standout features of the HTR-6150 is its ability to deliver rich, immersive sound through multiple channels. With 5.1-channel surround sound, it allows users to take full advantage of movies, music, and video games by creating a multidimensional audio experience. The built-in Dolby Digital and DTS decoding processes ensure that users enjoy high-fidelity sound that meets modern standards in home entertainment.
The HTR-6150 also supports various audio formats, allowing for wider compatibility with different media sources. It includes inputs for HDMI, component, and composite video, enabling connections to a variety of devices, including Blu-ray players, gaming consoles, and cable boxes. The presence of multiple HDMI inputs facilitates easy switching between devices without the need for constant rearranging of cables.
In terms of power, the Yamaha HTR-6150 boasts a robust amplifier section, delivering 100 watts per channel, which is sufficient to drive most speakers with ease. This power output ensures that the receiver can reproduce sound at loud volumes without sacrificing clarity or detail, allowing you to enjoy every nuance of your favorite media.
Another notable technology embedded in the HTR-6150 is Yamaha's proprietary YPAO (Yamaha Parametric room Acoustic Optimizer). This feature automatically calibrates the receiver's audio output to suit the acoustic characteristics of your specific room, ensuring that sound performance is optimized no matter the environment. By measuring the sound in your room and making necessary adjustments, YPAO enhances the overall listening experience.
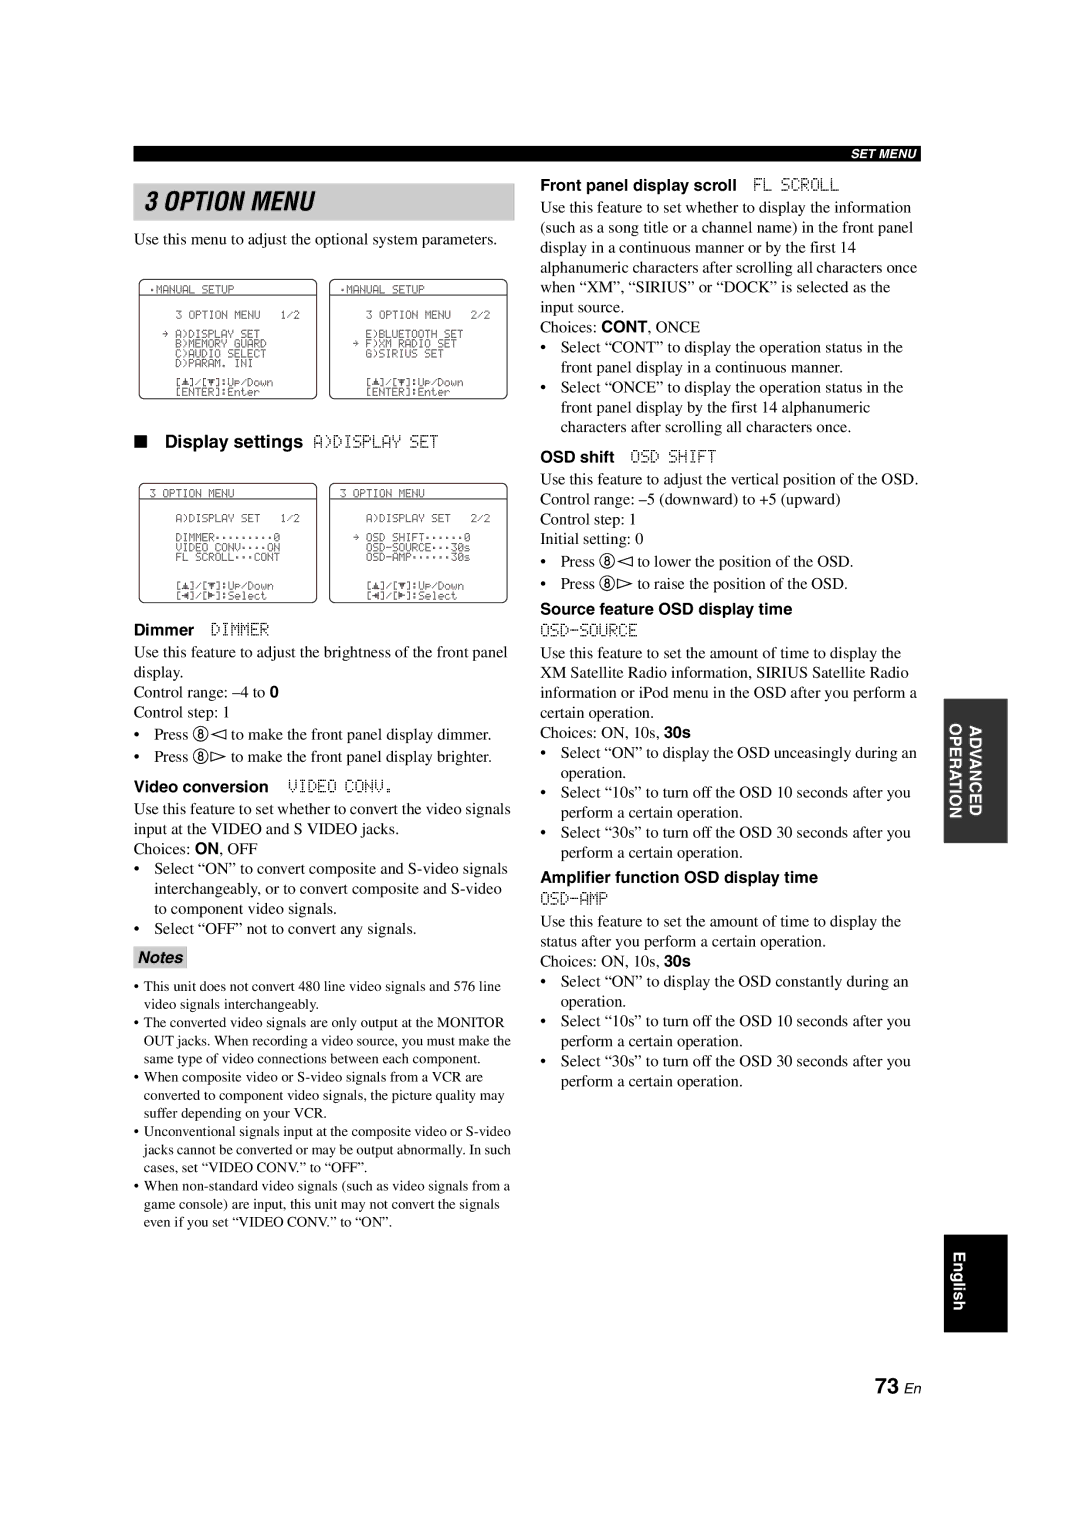
A user-friendly interface enhances the usability of the HTR-6150. With an informative on-screen display, navigating through settings and options is straightforward. The included remote control also offers convenient access to all functions, making it easy to switch between sources and adjust volume levels.
Overall, the Yamaha HTR-6150 is a well-rounded home theater receiver that brings together powerful audio capabilities, advanced technology, and user-friendly features. It is an excellent solution for anyone looking to elevate their home entertainment setup with quality sound and versatile functionality. Whether you are watching movies, playing games, or enjoying music, the HTR-6150 delivers an engaging audio experience that truly enhances your enjoyment.