Manuals
/
Zephyr
/
Kitchen Appliance
/
Ventilation Hood
Zephyr
ALL-M90ABX installation instructions RANGE HOOD - Installation instructions, Duo Is
Models:
ALL-E42AW X
ALL-M90AW X
ALL-M90ABX
ALL-E42ABX
1
1
25
25
Download
25 pages
46.15 Kb
1
2
3
4
5
6
7
8
<
>
Specs
Install
Replacement Parts
Dimension
Maintenance
Connect the electrical conduit to the Field Wiring Compartment using listed onduit fittings
Safety
Power Supply Connection
with the condenser, using the screw on the bra- cket. type A Fig
Page 1
Image 1
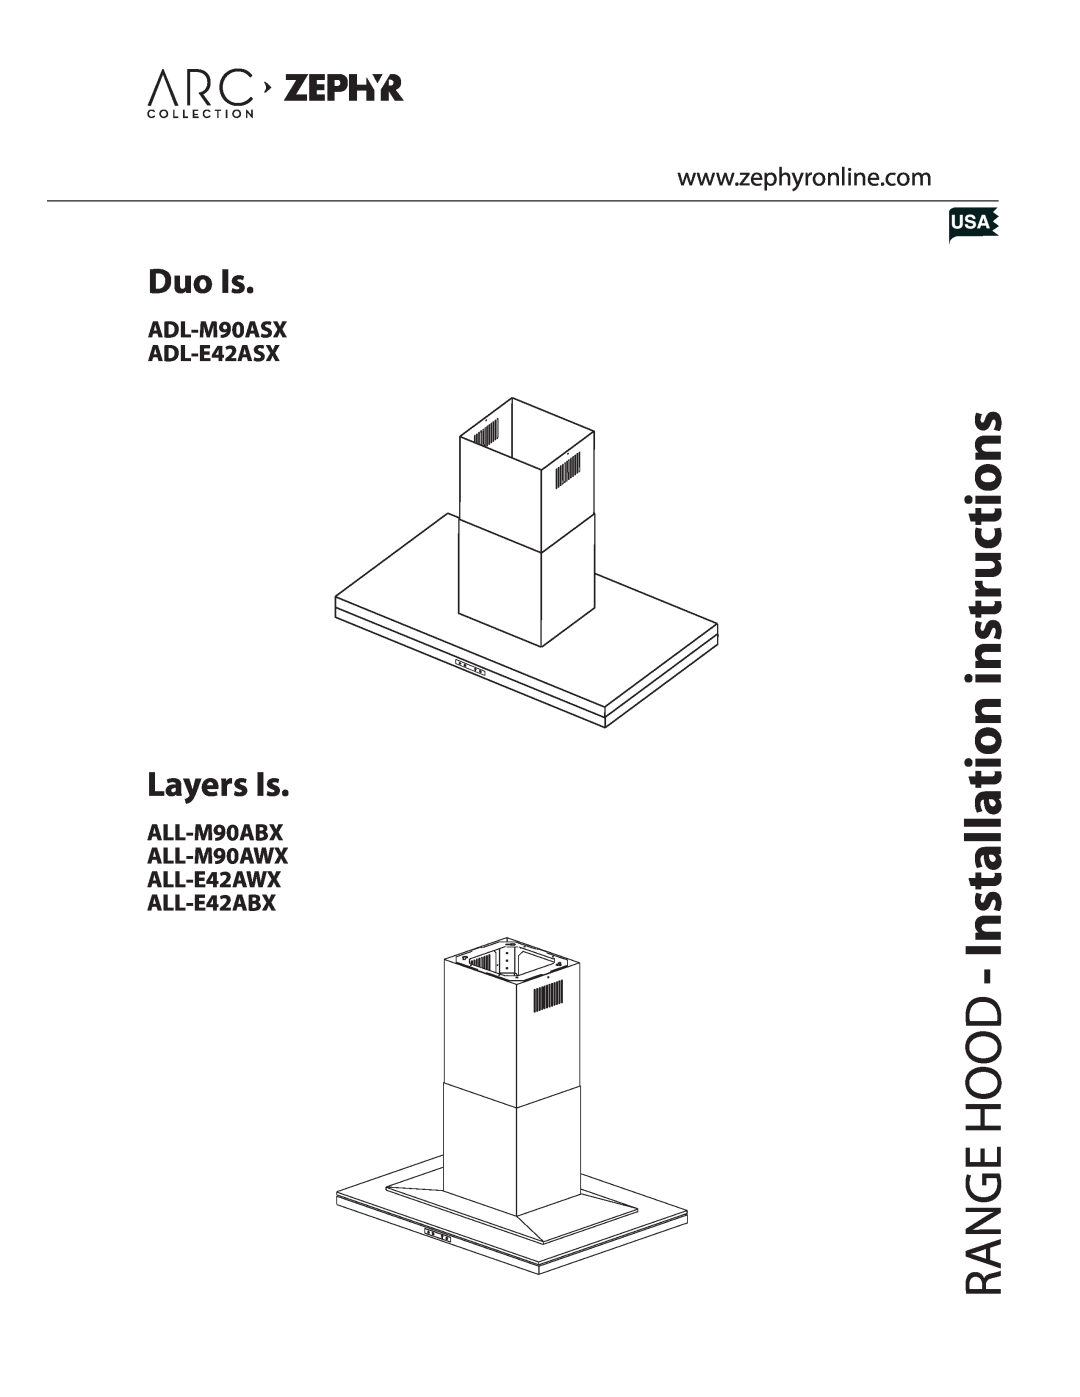
Duo Is.
ADL-M90ASX
ADL-E42ASX
Layers Is.
ALL-M90ABX
ALL-M90AWX
ALL-E42AWX
ALL-E42ABX
www.zephyronline.com
RANGE HOOD
- Installation instructions
Page 2
Page 1
Image 1
Page 2
Contents
Duo Is
RANGE HOOD - Installation instructions
Layers Is
ADL-M90ASX ADL-E42ASX
HOTTE PER CUISINE - Notice d’utilisation...Pag
INSTALLATION
Contents
IMPORTANT SAFETY INSTRUCTIONS FOR RESIDENTIAL USE ONLY
Safety instructions
PLEASE READ ENTIRE INSTRUCTIONS BEFORE PROCEEDING
WARNING - TO REDUCE THE RISK OF A RANGE TOP GREASE FIRE
Safety instructions
INSTALLATION INSTRUCTIONS
WARNING - TO REDUCE THE RISK OF FIRE, USE ONLY METAL DUCTWORK
Safety instructions
Models ADL-M90ASX / ADL-E42ASX
List of Materials
TYPE
DESCRIPTION
TYPE A B C
Models ALL-M90ABX / ALL-M90AWX / ALL-E42AWX / ALL-E42ABX
List of Materials
DESCRIPTION
Maximum Duct Length
Ducting Calculation Sheet
top of hood
front of hood
side of hood
Wood Trim Dimensions 1-5/8 Thickness
Models ALL-M90ABX / ALL-M90AWX / ALL-E42AWX / ALL-E42ABX
Hood Specifications
side of hood
top of hood
For external and in-line blower preparation please turn to page
Installation - Internal Blower
with the condenser, using the screw on the bra- cket. type A Fig
using the 2 type B screws. Fig
Installation - Internal Blower
The hood is now ready to be installed on the wall
For internal blower instructions please turn to page
Installation - External & In-Line Blower Preparation
Installation - External & In-Line Blower Preparation
WARNING FIRE HAZARD
Installation - Ducting Options
Mounting the Range Hood
Installation
MOUNTING HEIGHTS
MOUNTING TO THE CEILING
the Range Hood
Installation - Mounting
Installation - Mounting the Range Hood
POWER SUPPLY CONNECTION
Installation - Power Supply Connection
GENERAL
BLACK = L line
Connect the electrical conduit to the Field Wiring Compartment using listed onduit fittings
Installation - Power Supply Connection
Maintencance
MAINTENANCE
OPTIONAL ACCESSORIES
REPLACEMENT PARTS
List
DESCRIPTION
Page
3LIK0500