1. Getting Started |
5.Battery Checking
Battery status, the proper battery positioning of the loaded batteries, and the remaining battery power, must be checked prior to operation of the camera.
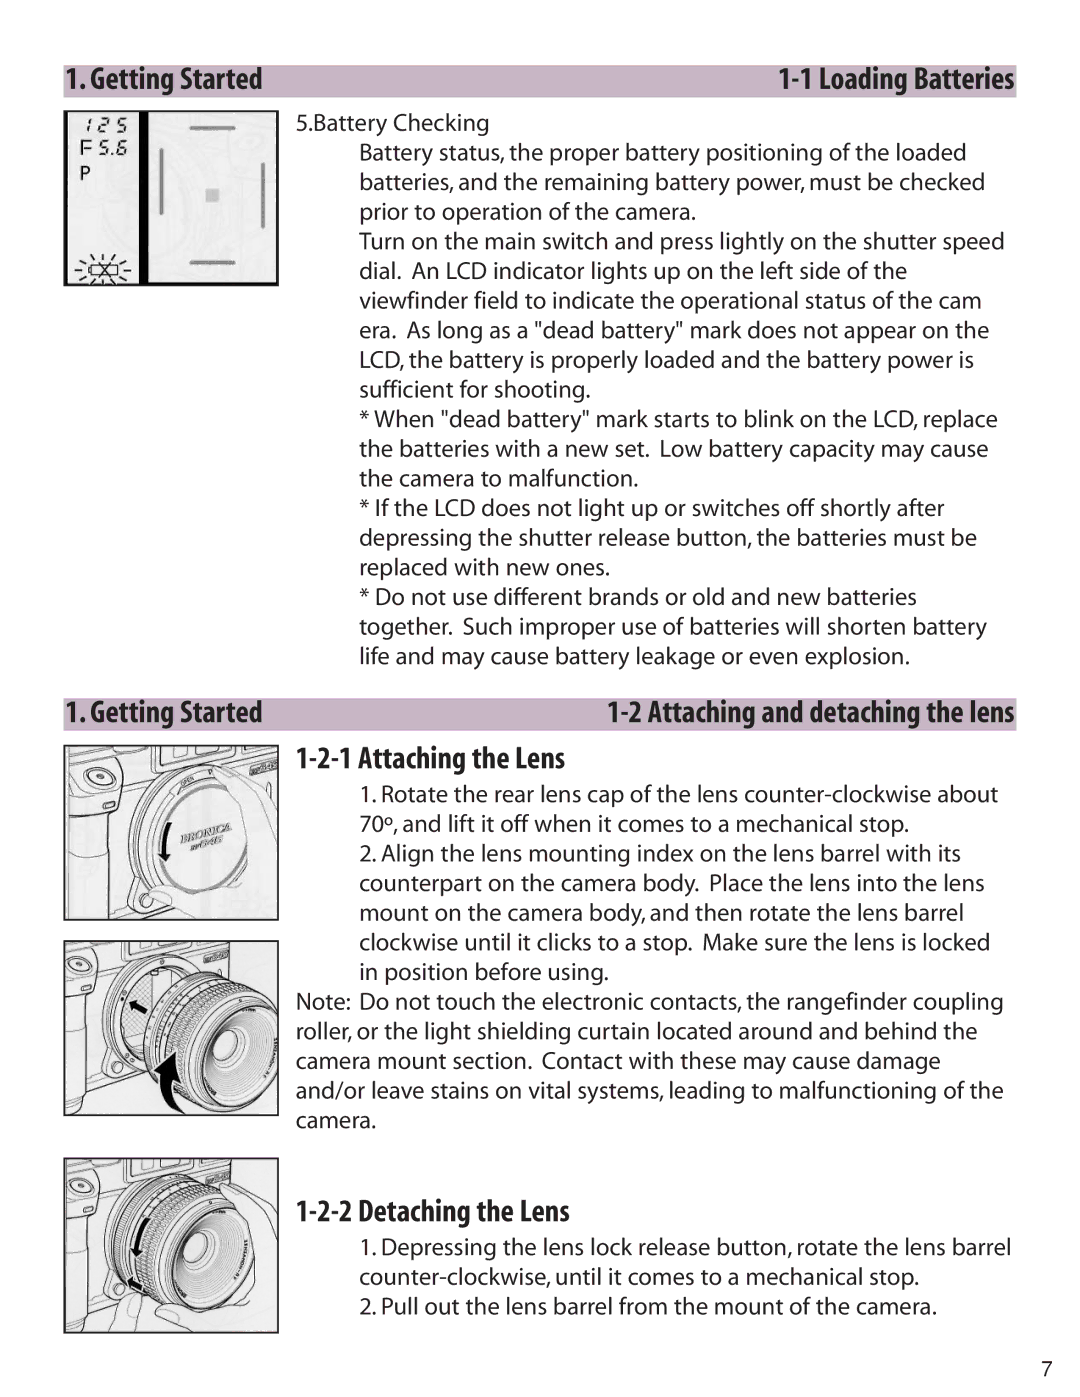
Turn on the main switch and press lightly on the shutter speed dial. An LCD indicator lights up on the left side of the viewfinder field to indicate the operational status of the cam era. As long as a "dead battery" mark does not appear on the LCD, the battery is properly loaded and the battery power is sufficient for shooting.
*When "dead battery" mark starts to blink on the LCD, replace the batteries with a new set. Low battery capacity may cause the camera to malfunction.
*If the LCD does not light up or switches off shortly after depressing the shutter release button, the batteries must be replaced with new ones.
*Do not use different brands or old and new batteries together. Such improper use of batteries will shorten battery life and may cause battery leakage or even explosion.
1. Getting Started |
1-2-1 Attaching the Lens
1.Rotate the rear lens cap of the lens
2.Align the lens mounting index on the lens barrel with its counterpart on the camera body. Place the lens into the lens mount on the camera body, and then rotate the lens barrel clockwise until it clicks to a stop. Make sure the lens is locked in position before using.
Note: Do not touch the electronic contacts, the rangefinder coupling roller, or the light shielding curtain located around and behind the camera mount section. Contact with these may cause damage and/or leave stains on vital systems, leading to malfunctioning of the camera.
1-2-2 Detaching the Lens
1.Depressing the lens lock release button, rotate the lens barrel
2.Pull out the lens barrel from the mount of the camera.
7
