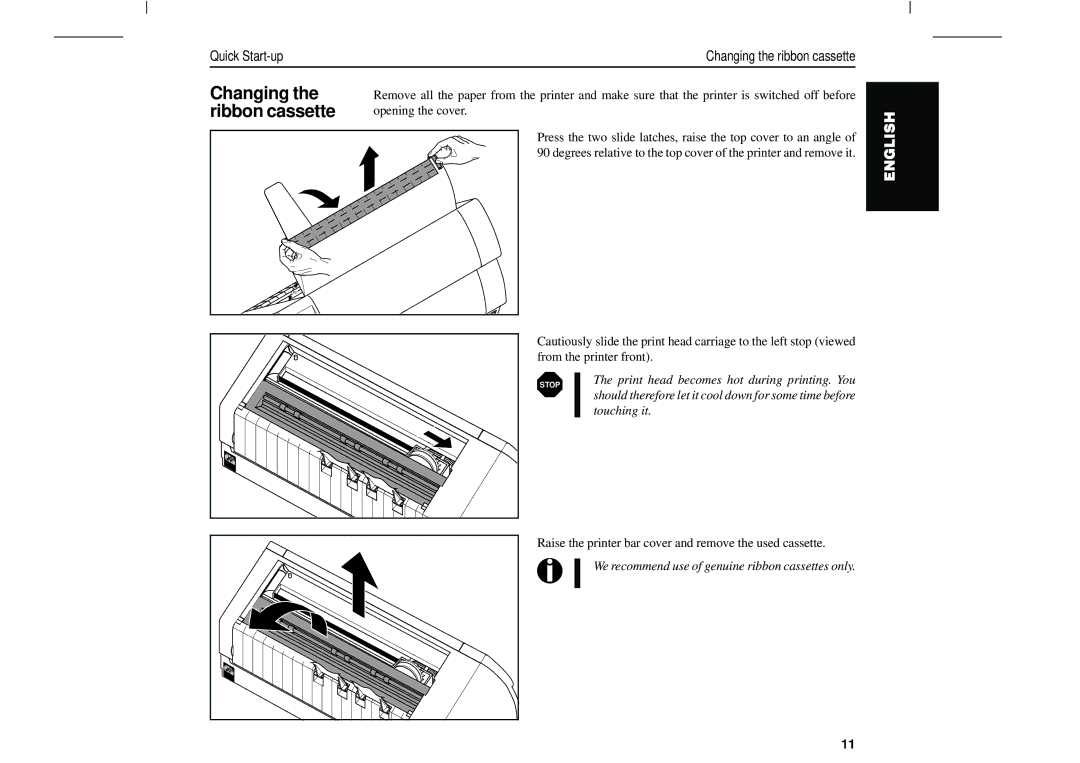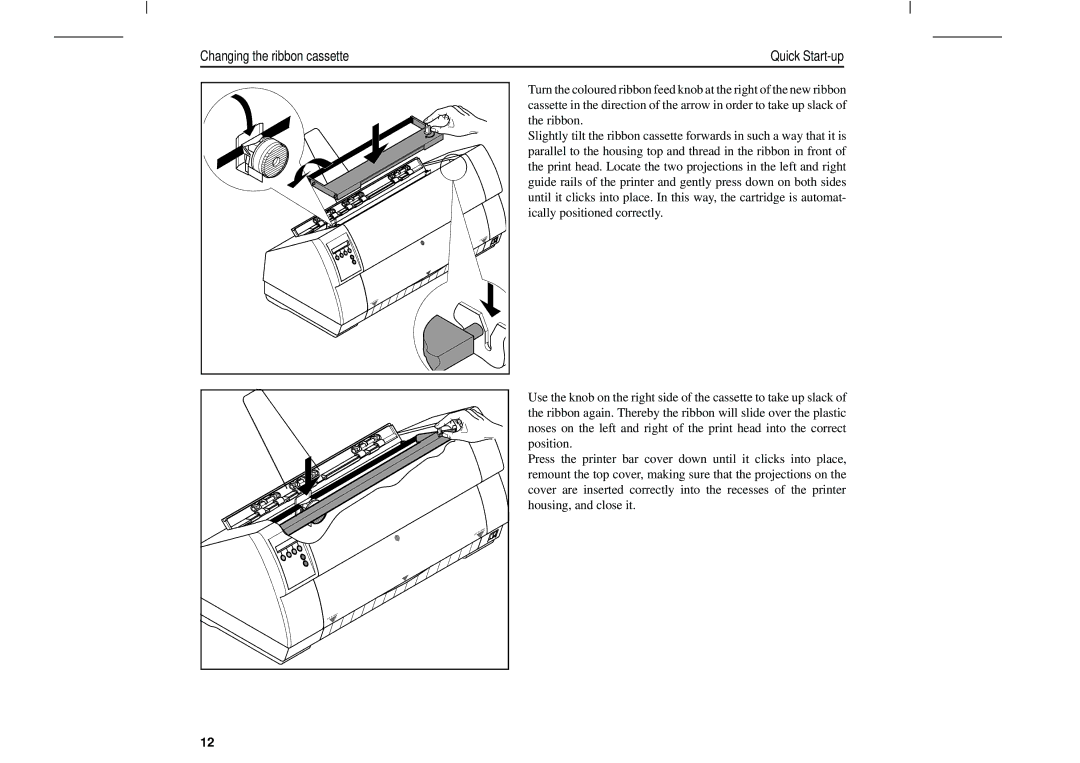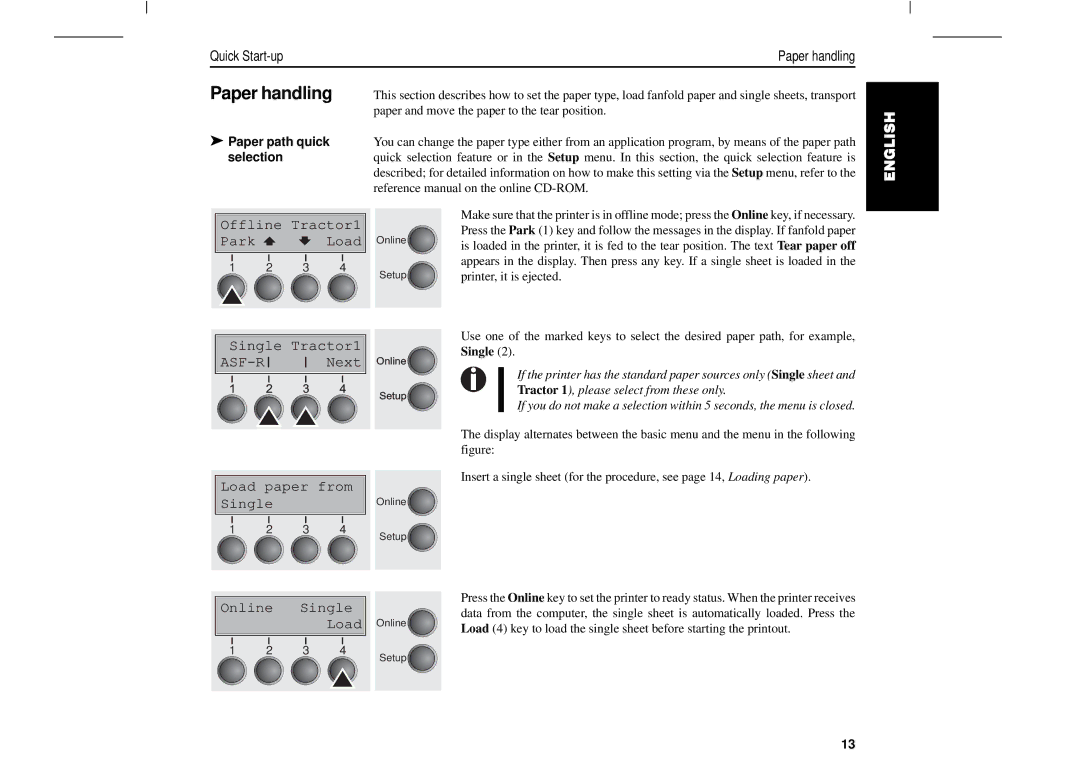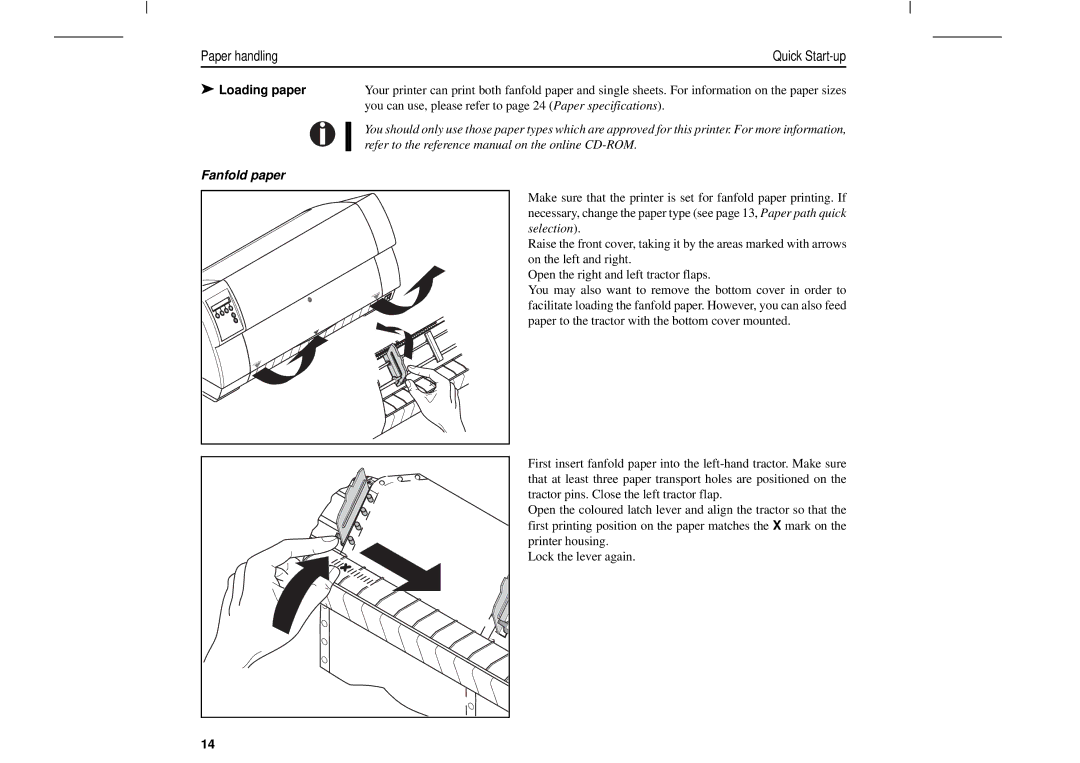
Quick | Settings |
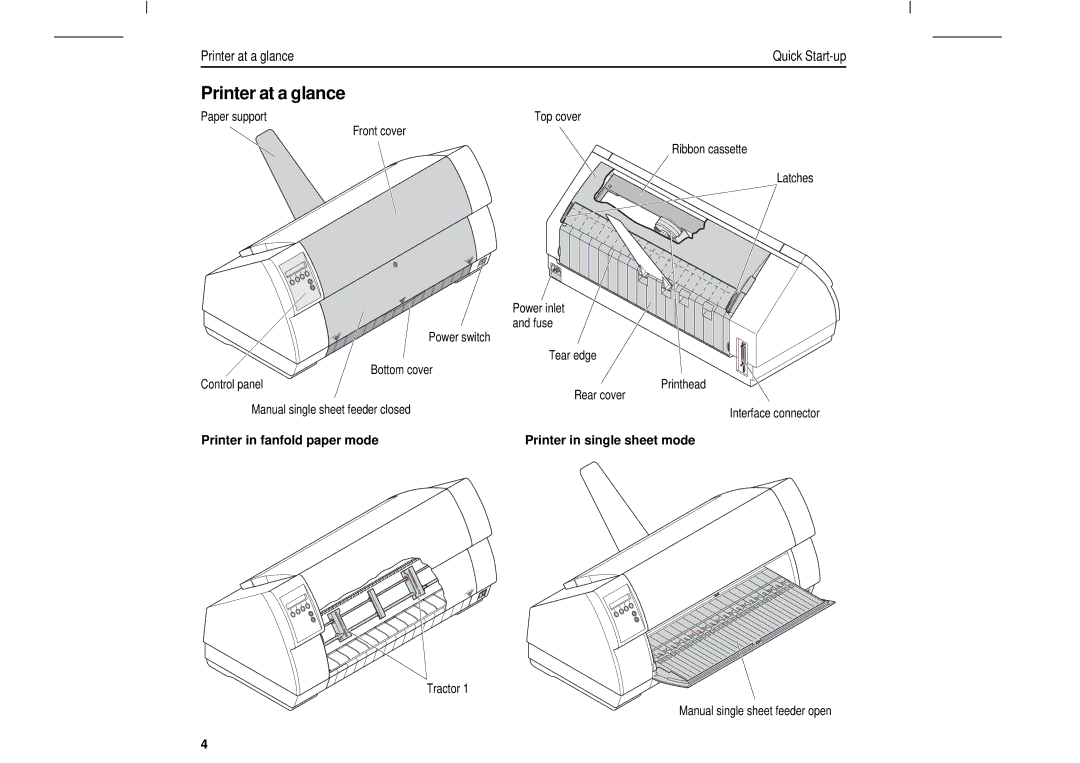
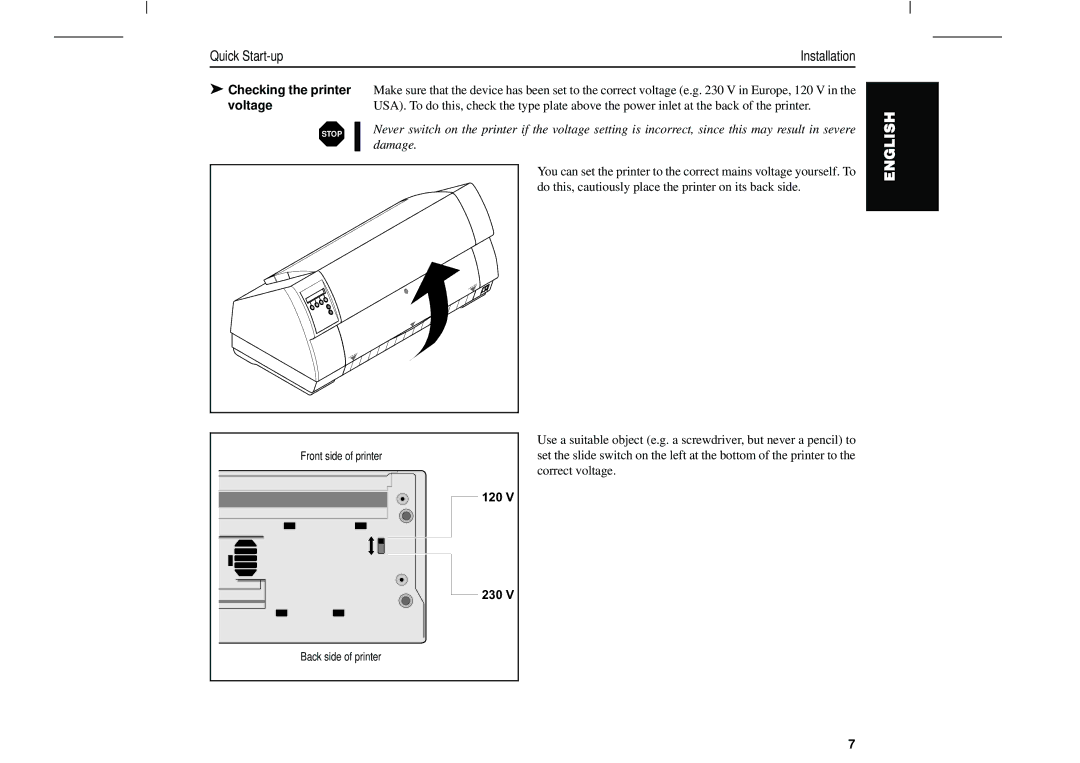
Settings | This section describes how to set the tear position, the first printing line, the print head gap as |
| well as the font and the character density. |
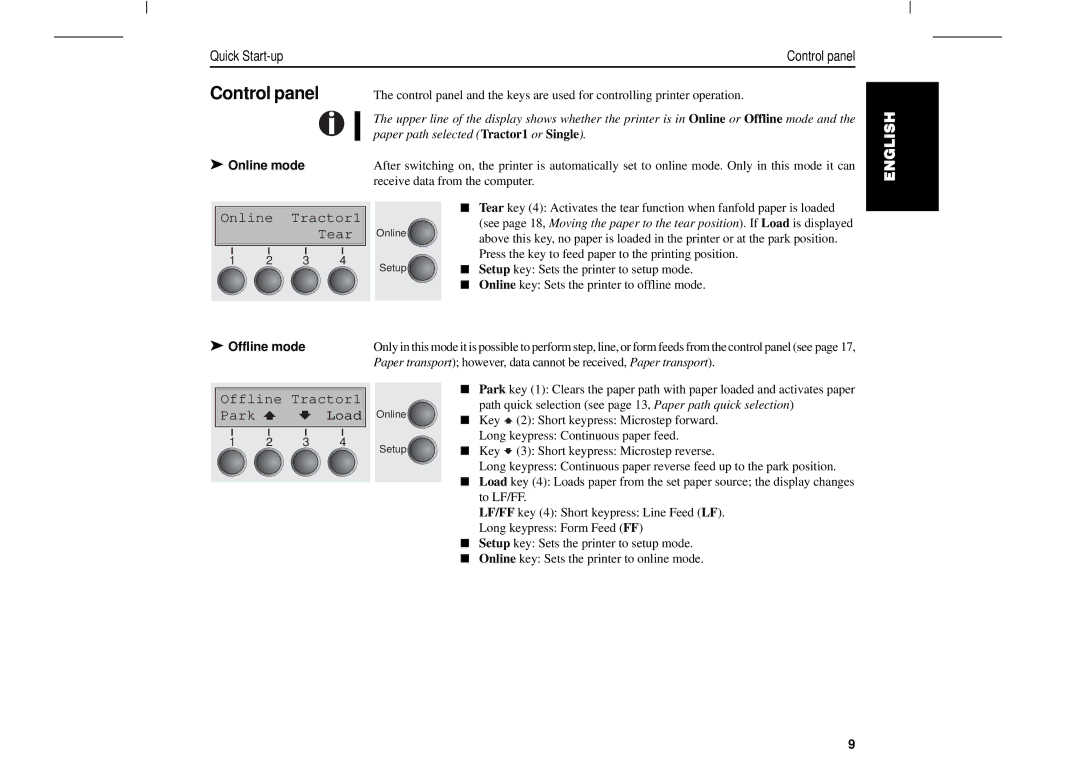
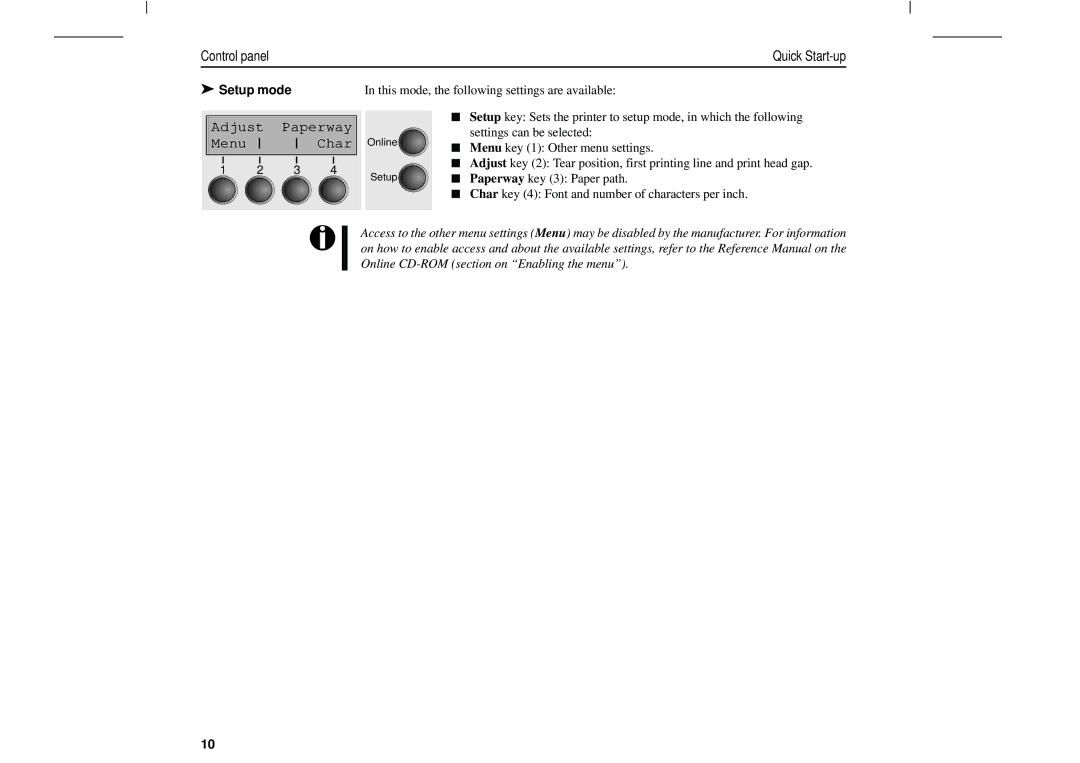
➤ Setting the tear | If the tear position of the paper is not aligned with the tear edge of the printer, you can adjust it. |
position | Loaded paper may have to be torn and repositioned to the park position. |
H SILGNE
|
|
|
|
|
|
|
|
|
|
|
|
|
|
|
|
|
|
|
|
| Adjust | Paperway |
| ||||||
| Menu |
|
|
|
| Char |
| ||
|
|
|
|
|
|
|
|
|
|
|
|
|
|
|
|
|
|
|
|
|
|
|
|
|
|
|
|
| |
1 | 2 | 3 | 4 |
| |||||
|
|
|
|
|
|
|
|
|
|
|
|
|
|
|
|
|
|
|
|
|
|
|
|
|
|
|
|
|
|
|
|
|
|
| TOF |
|
|
| |
| Head |
|
|
|
| Tear |
| ||
|
|
|
|
|
|
|
|
|
|
|
|
|
|
|
|
|
|
|
|
|
|
|
|
|
|
|
|
| |
1 | 2 | 3 | 4 |
| |||||
|
|
|
|
|
|
|
|
|
|
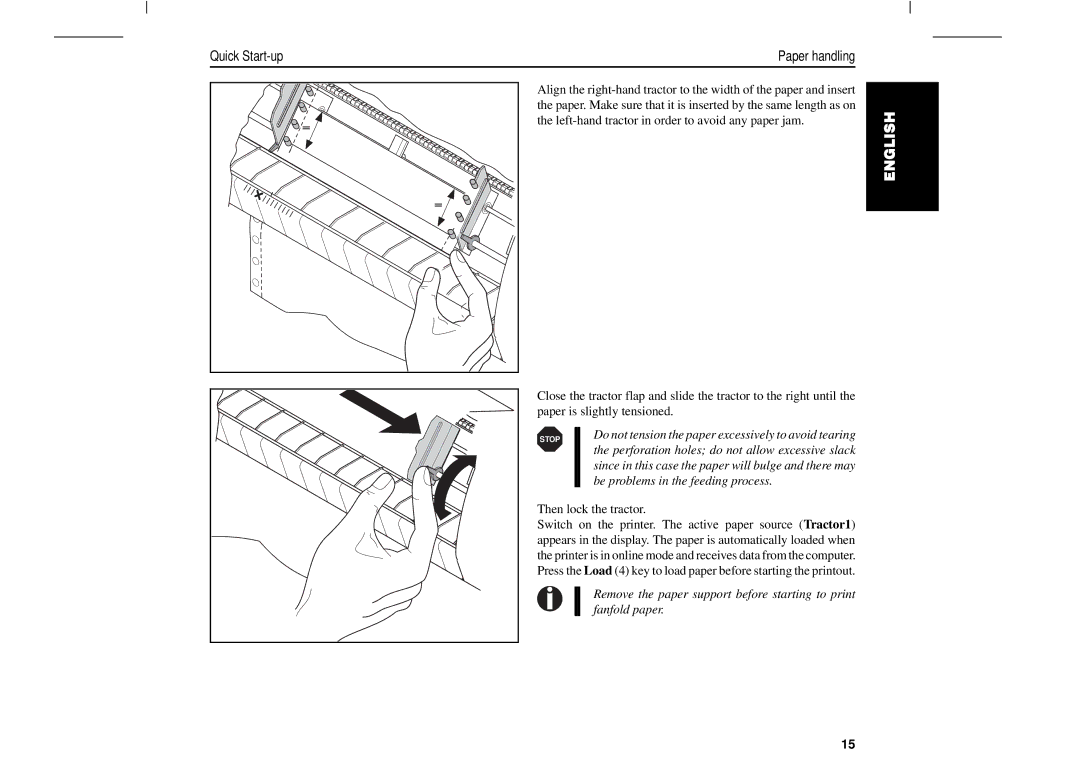
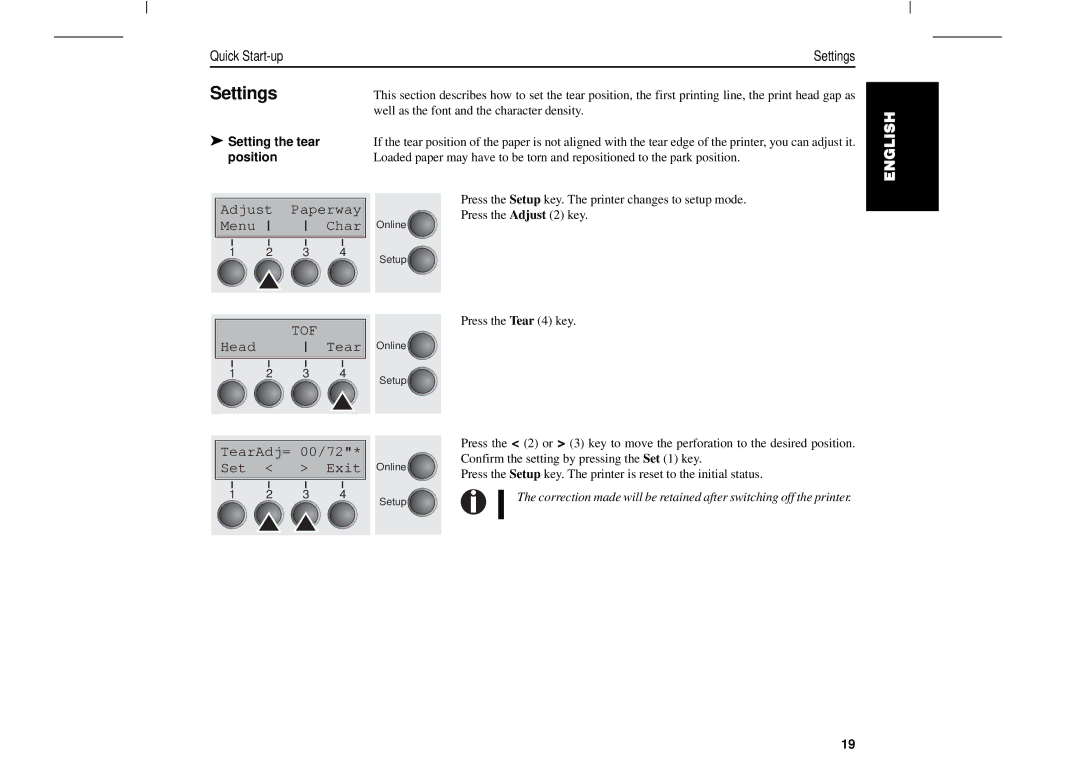
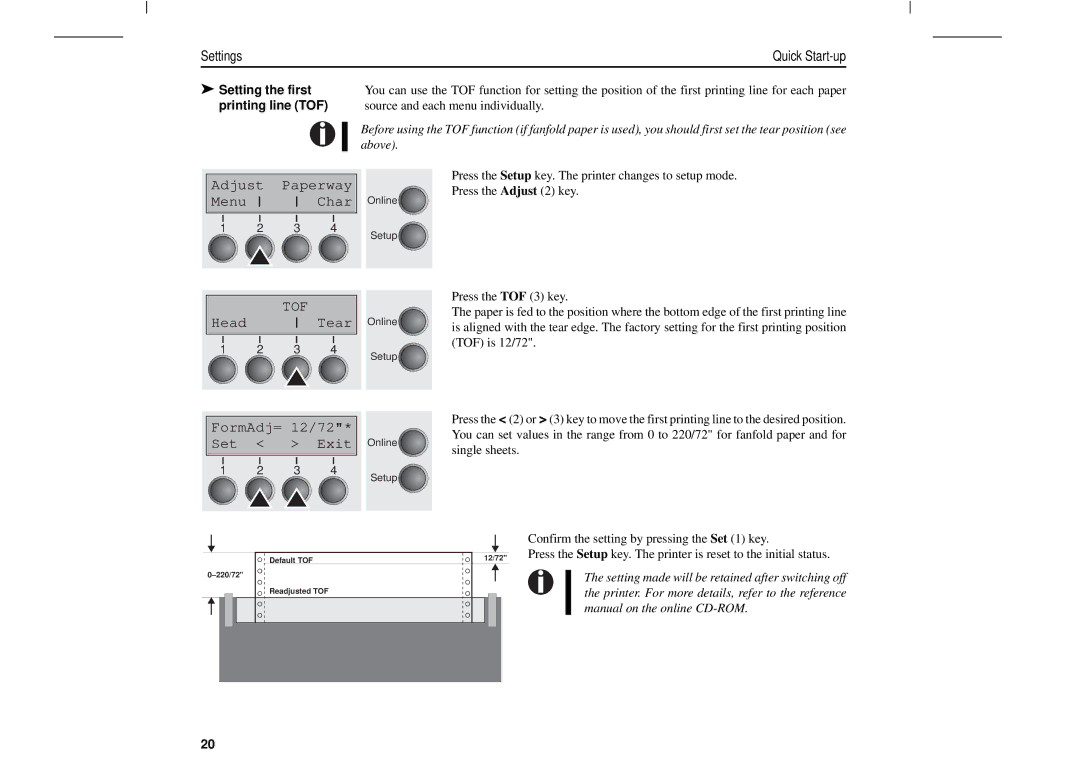
Press the Setup key. The printer changes to setup mode. Press the Adjust (2) key.
Online ![]()
![]()
Setup![]()
![]()
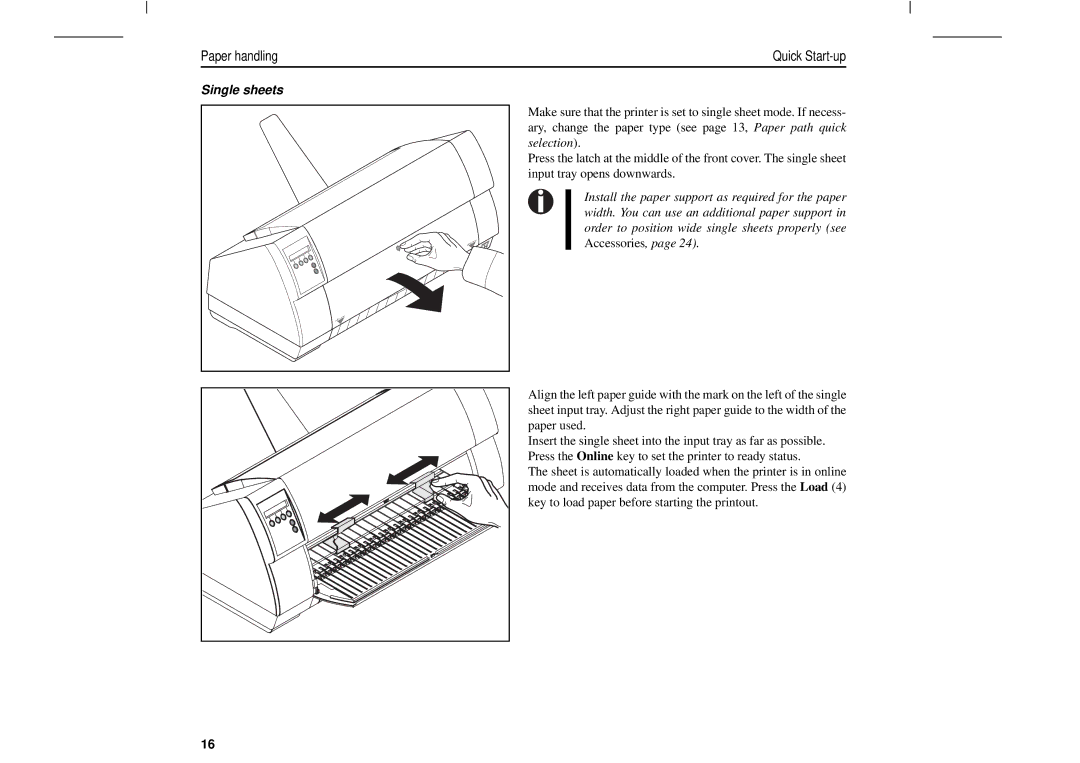
Press the Tear (4) key.
Online![]()
![]()
Setup![]()
![]()
TearAdj= 00/72"* Set < > Exit
1 2 3 4
Online![]()
![]()
Setup![]()
![]()
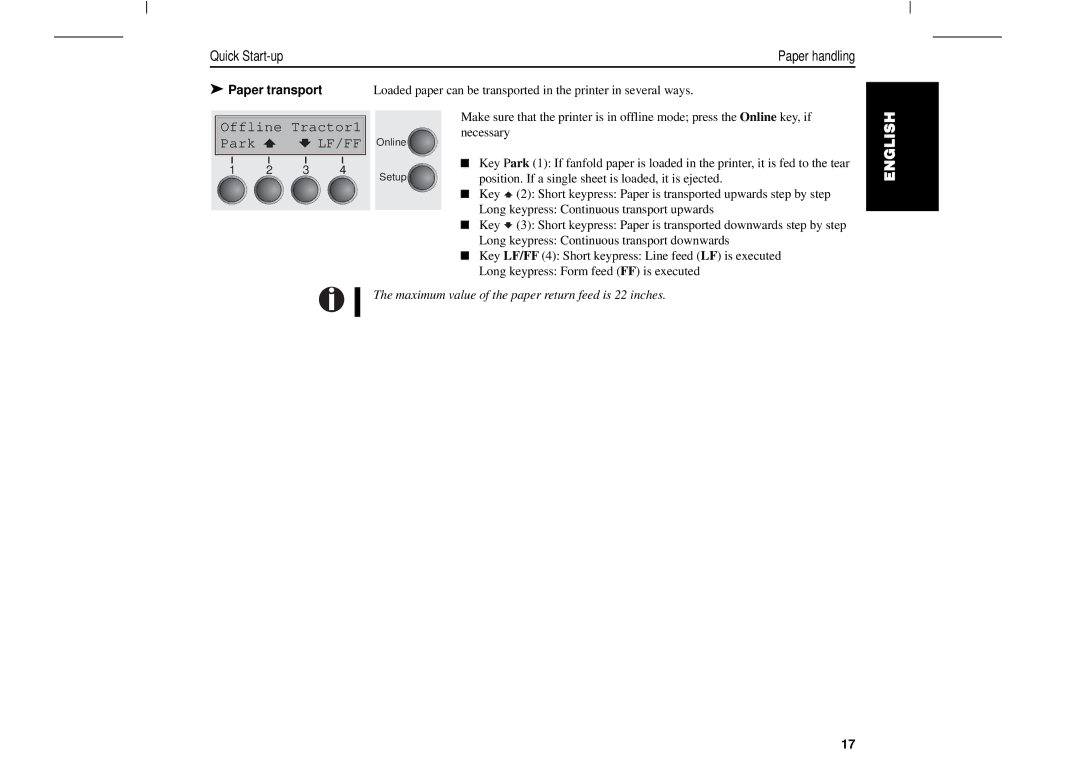
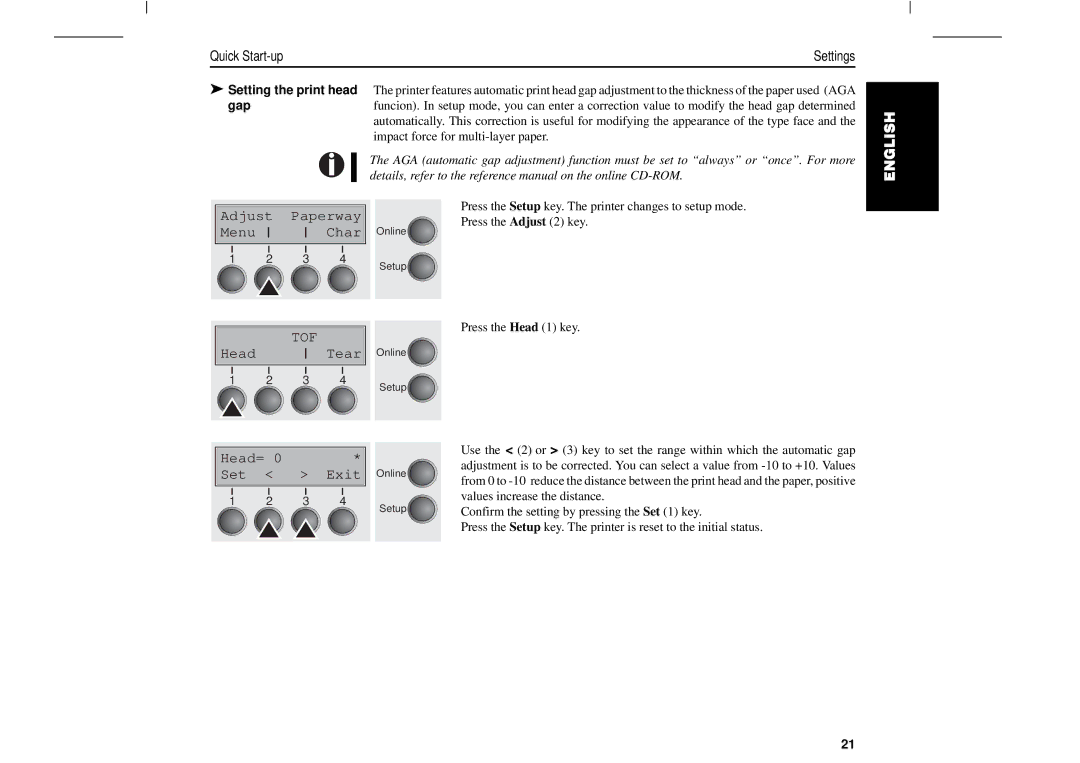
Press the < (2) or >(3) key to move the perforation to the desired position. Confirm the setting by pressing the Set (1) key.
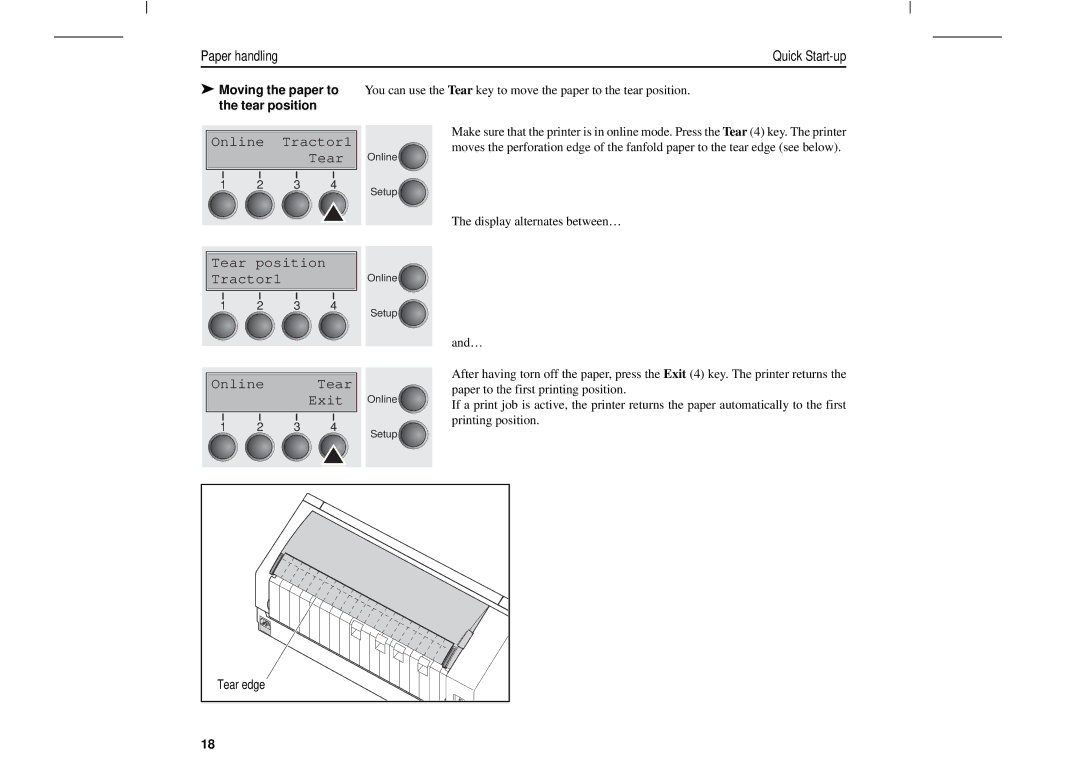
Press the Setup key. The printer is reset to the initial status.
The correction made will be retained after switching off the printer.
19
