Linksys WAP300N
How to install your WAP300N
The easiest way to install your WAP300N is to use the included Setup CD.
NOTE
The Setup CD can only help you set up the WAP300N in Access Point mode. For more information and examples of other modes, see the diagrams on pages 4 to 7.
To install your WAP300N:
1.Insert the CD into your CD or DVD drive. Make sure that the computer is already connected to your home network.
2.Click Set up your wireless access point. If you do not see this:
For Windows, find and click Computer, then
For Mac,
3.Follow the
How to open the browser-based utility
For advanced configuration of the WAP300N, you need to open the browser- based utility.
To open the browser-based utility:
1.Connect the WAP300N to your network. For example, use the included cable to connect your WAP300N to the Ethernet port on your network router or a networked computer.
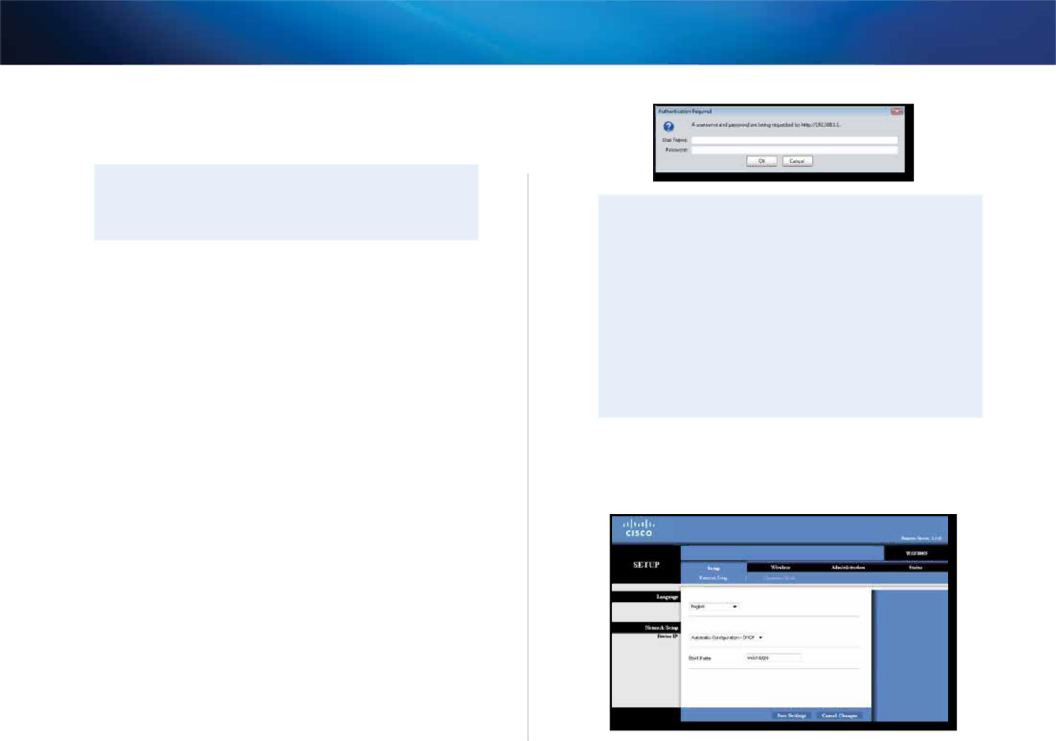
2.Open a web browser on a computer connected to your network, then enter the IP address of your WAP300N. You are prompted for a user name and password.
Setting Up: Basics
TIPS
•If the WAP300N is connected to a network with a DHCP server (usually the network router), find the device’s IP address in the DHCP client table of your router (refer to your router’s documentation for help). Use that IP address to open the
•If there is no DHCP server, or if the WAP300N is not wirelessly connected to any other device and it is connected with an Ethernet cable directly to a computer, then the WAP300N uses 10.100.1.1 as its IP address until a DHCP server is detected.
•If you set a static IP address for the WAP300N through the
3.Leave the User name field blank, then type the password you created during Setup. If you did not create a new password, use the default password admin.
4.Click OK. The main menu opens.
8