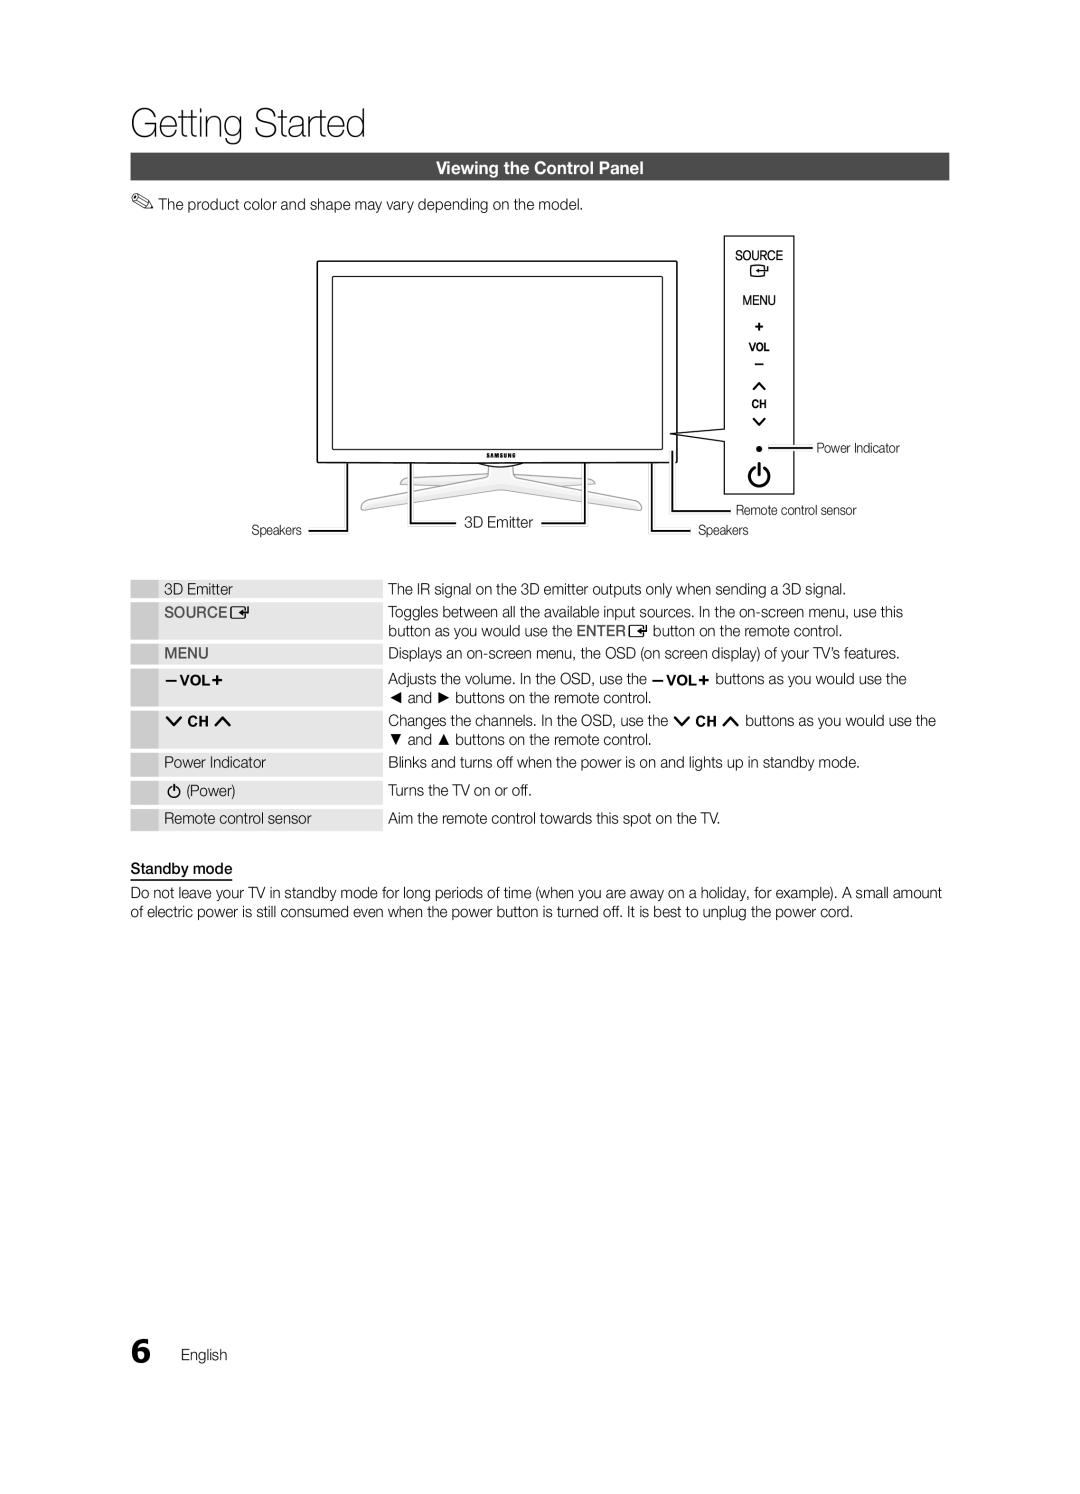
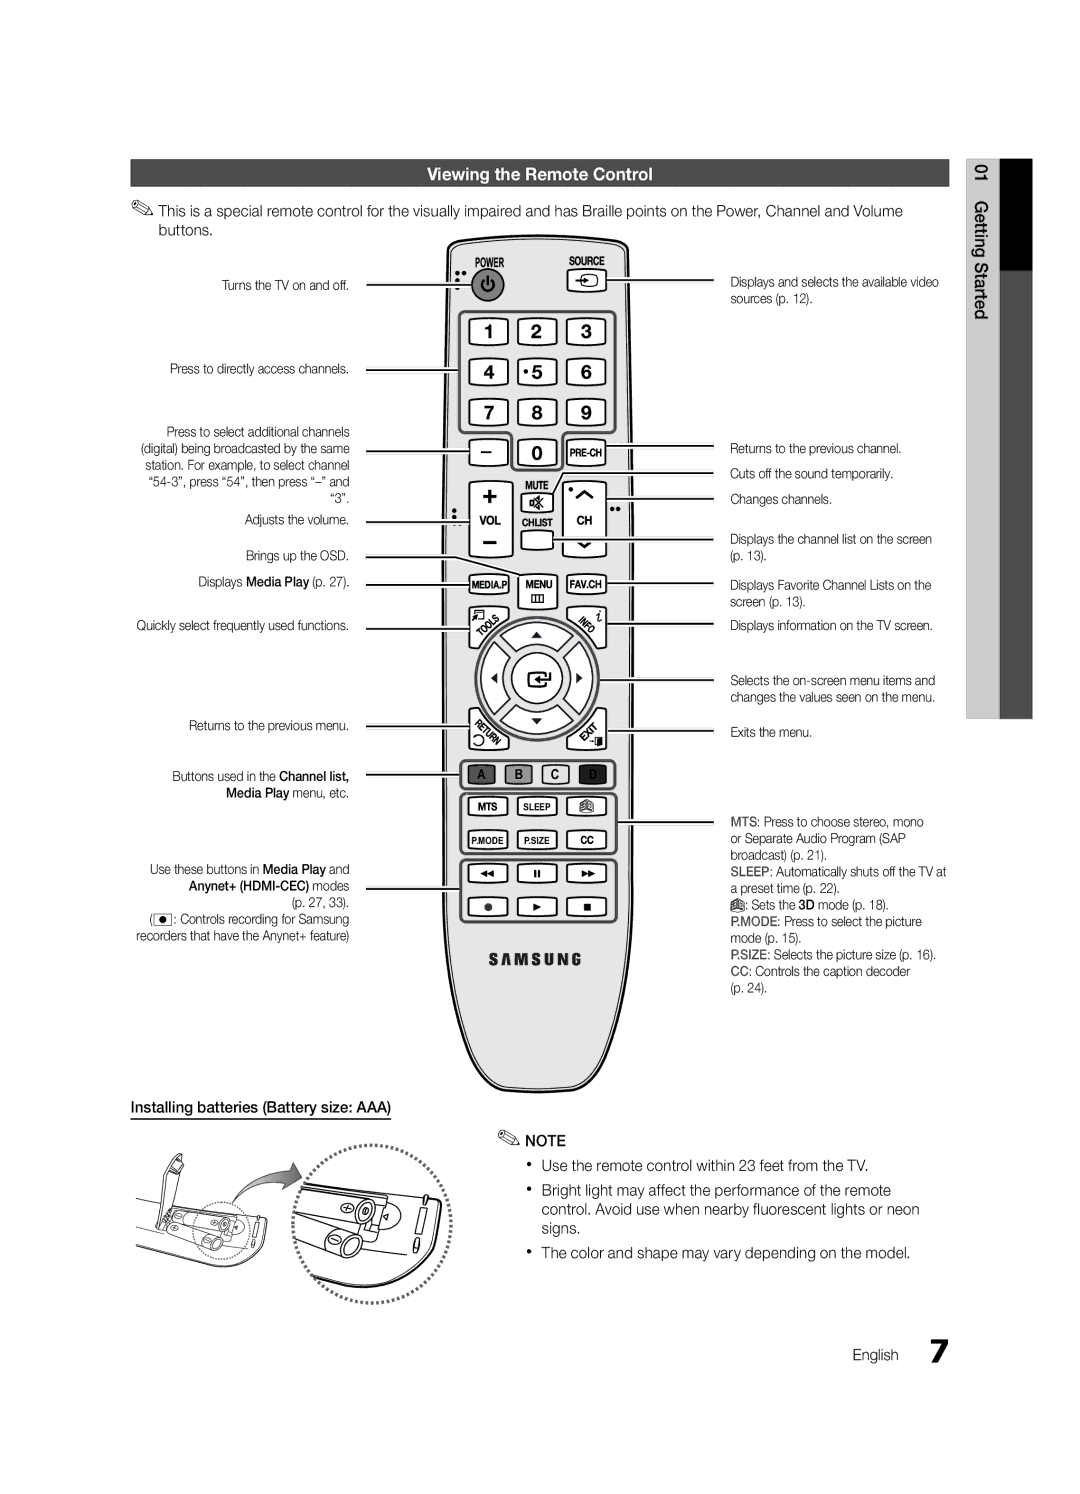
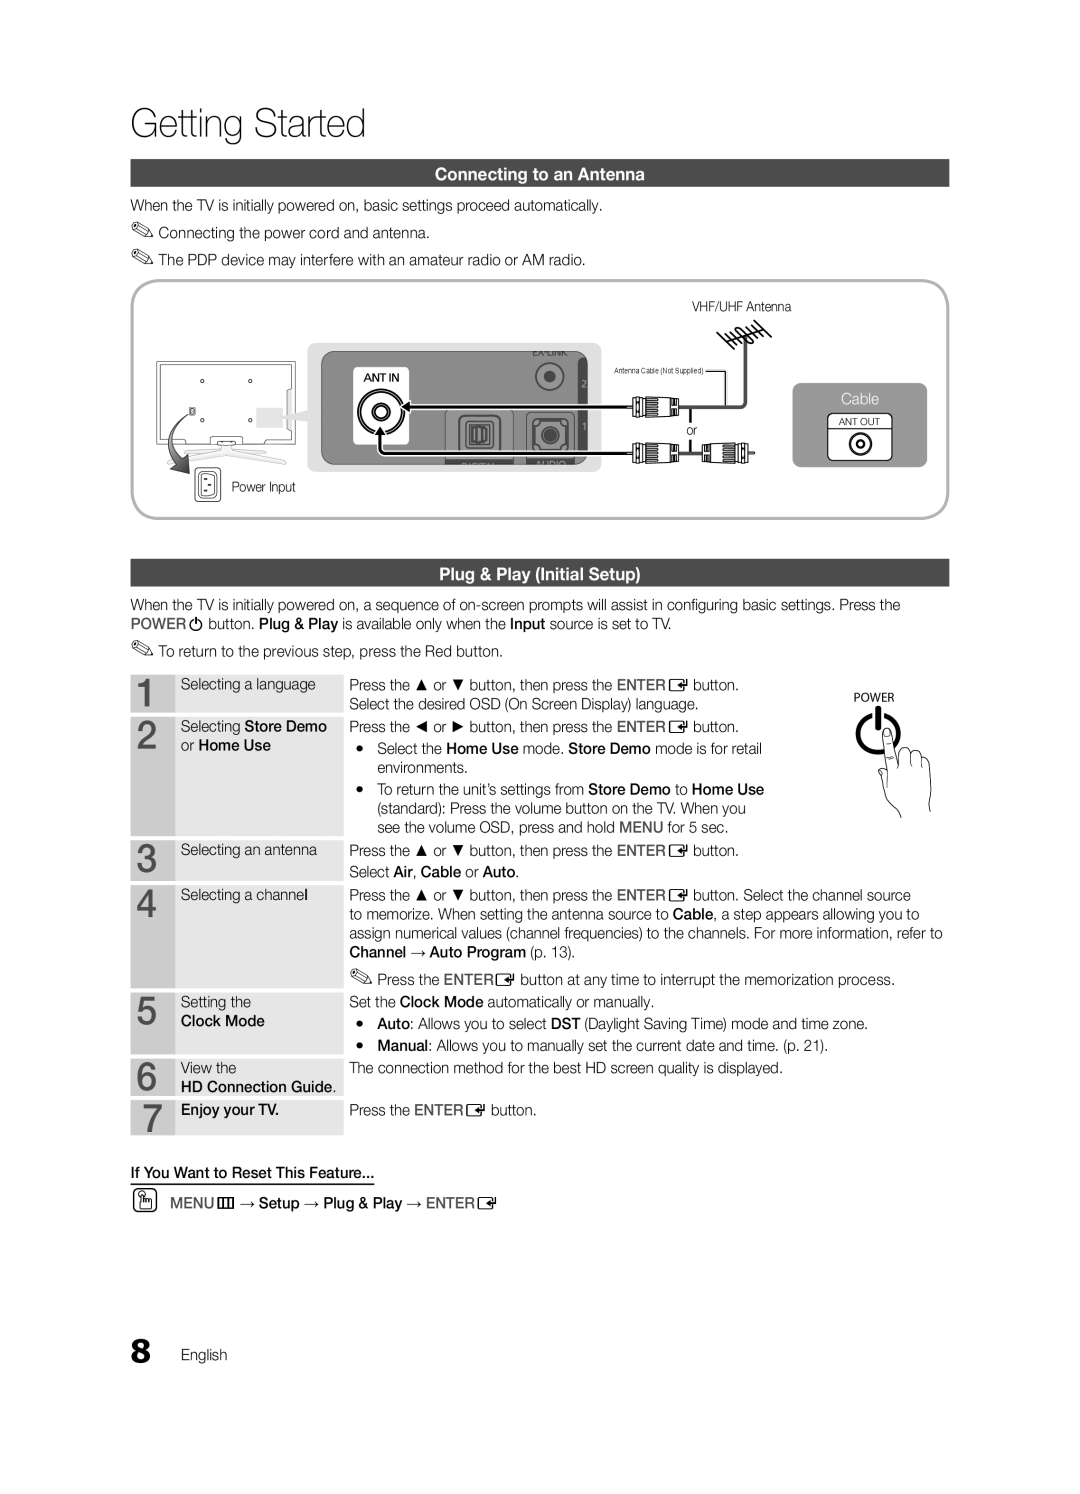
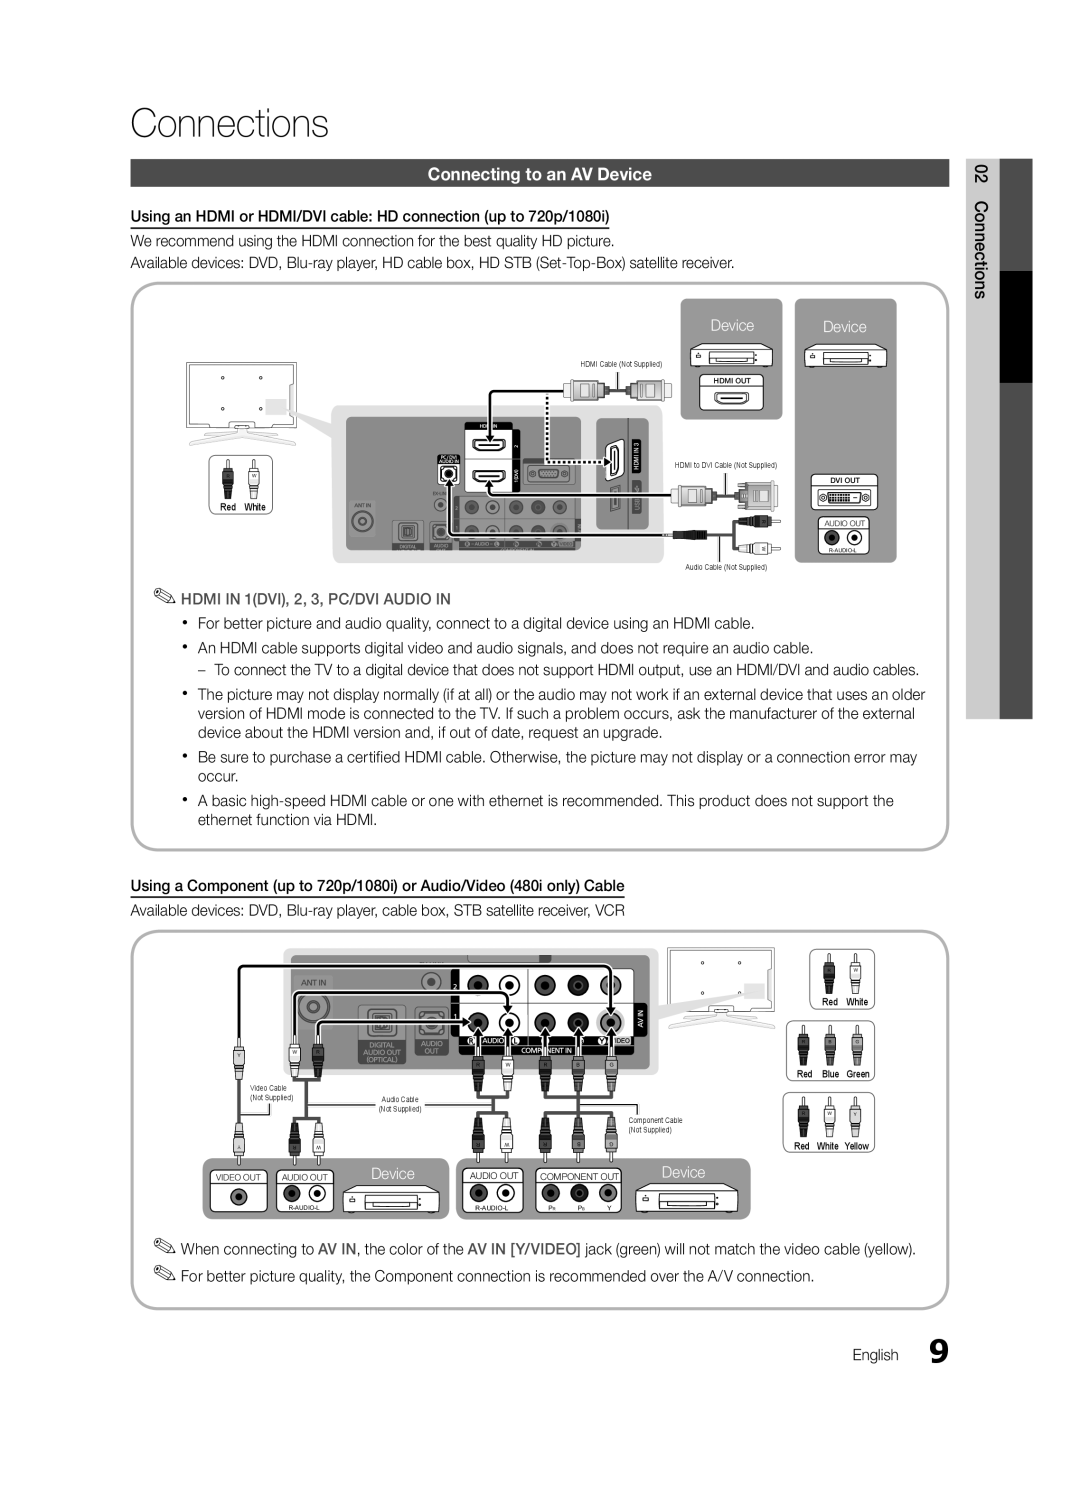
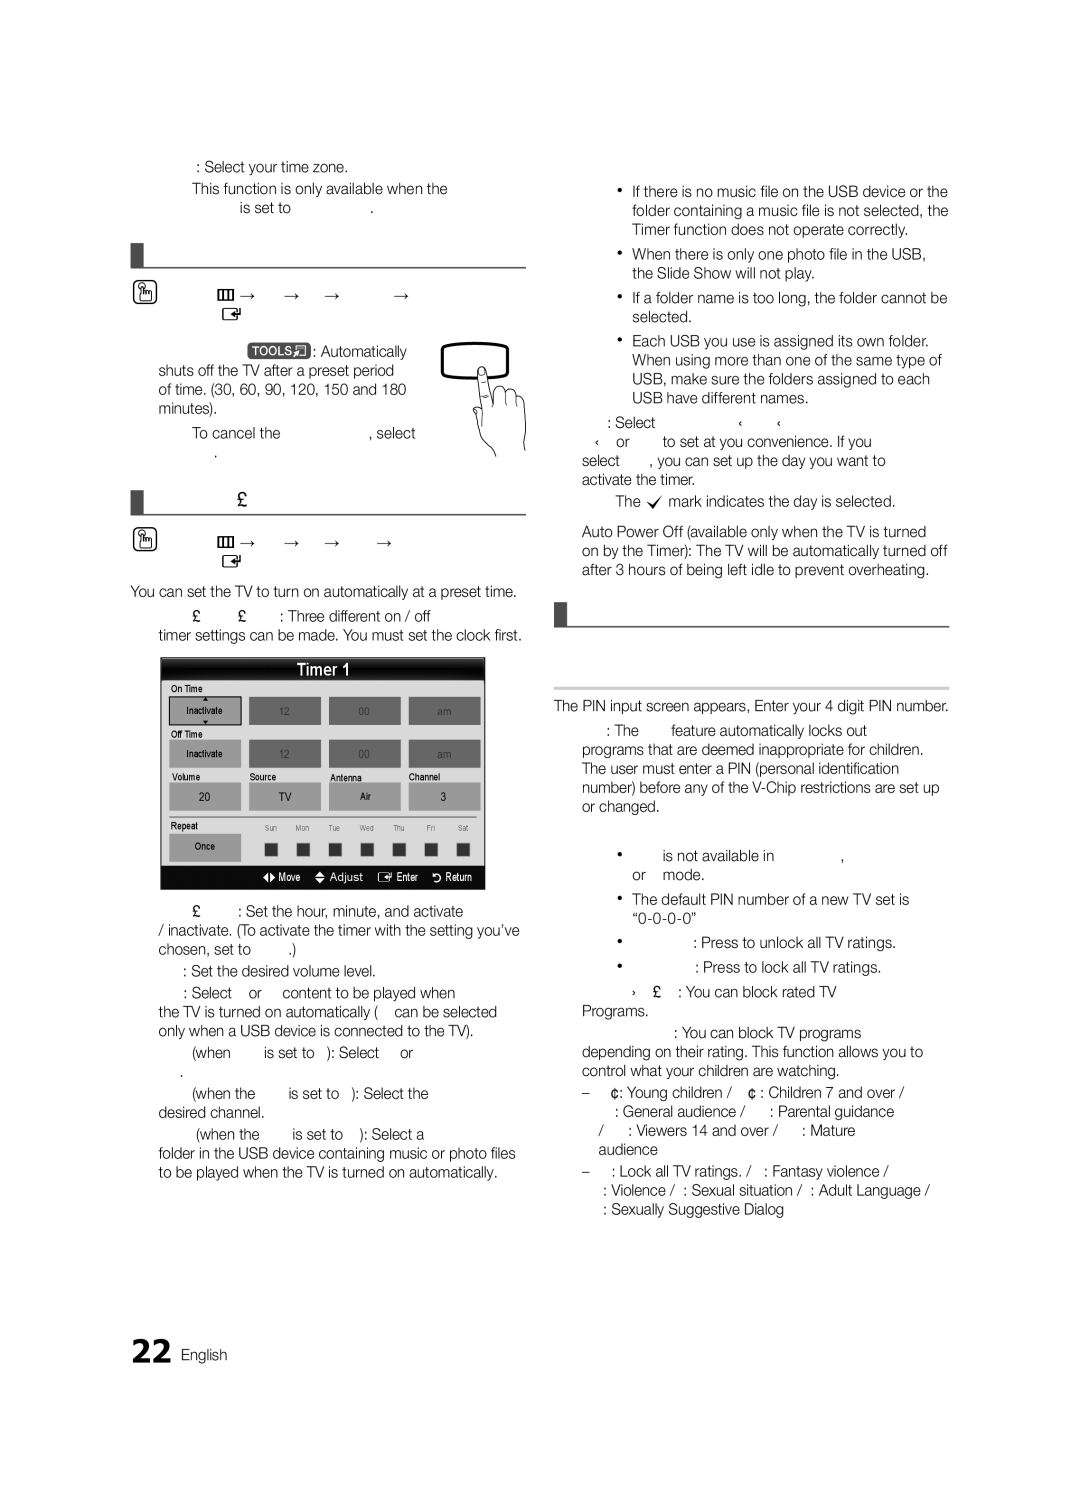
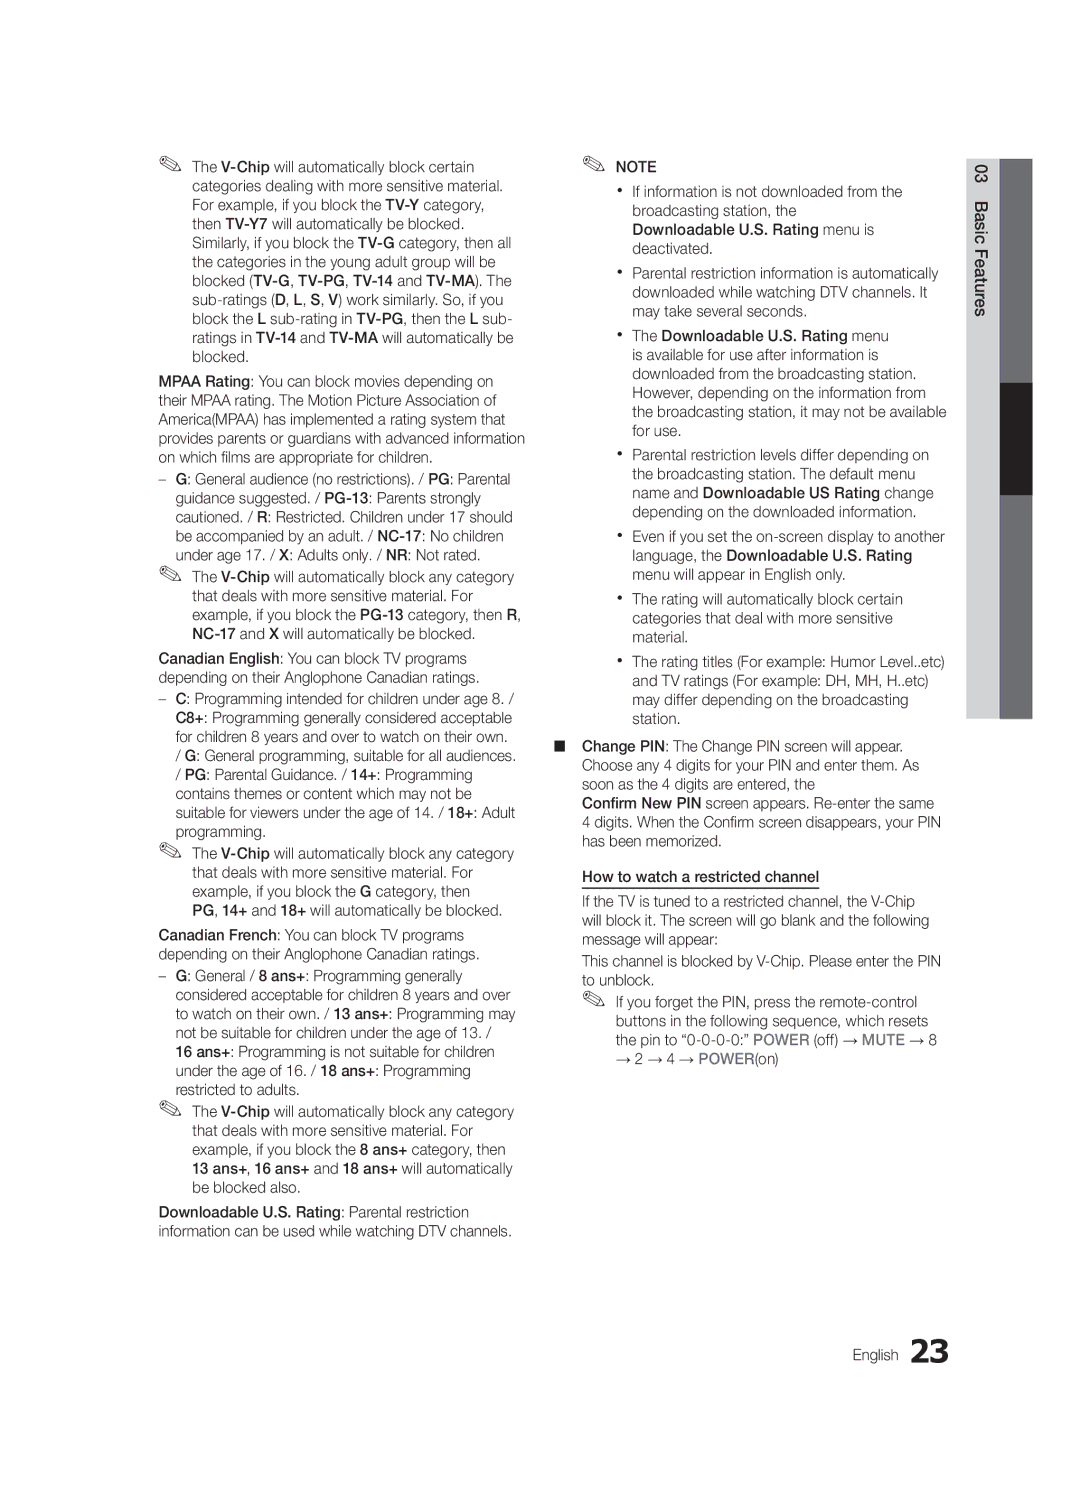
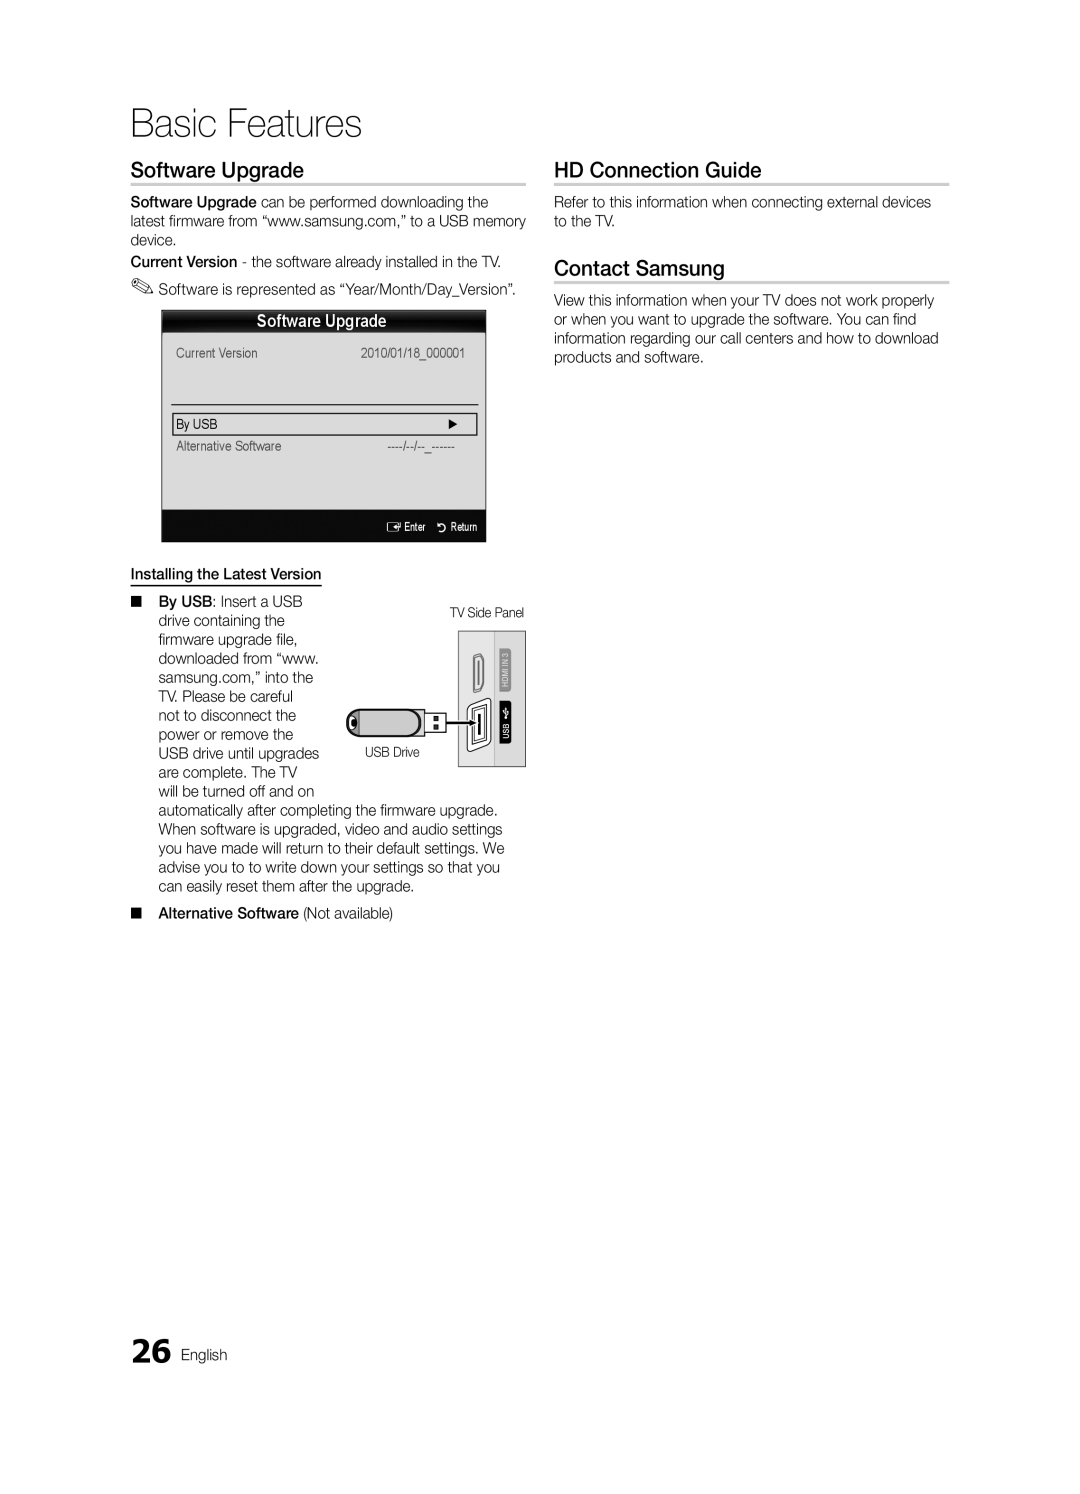
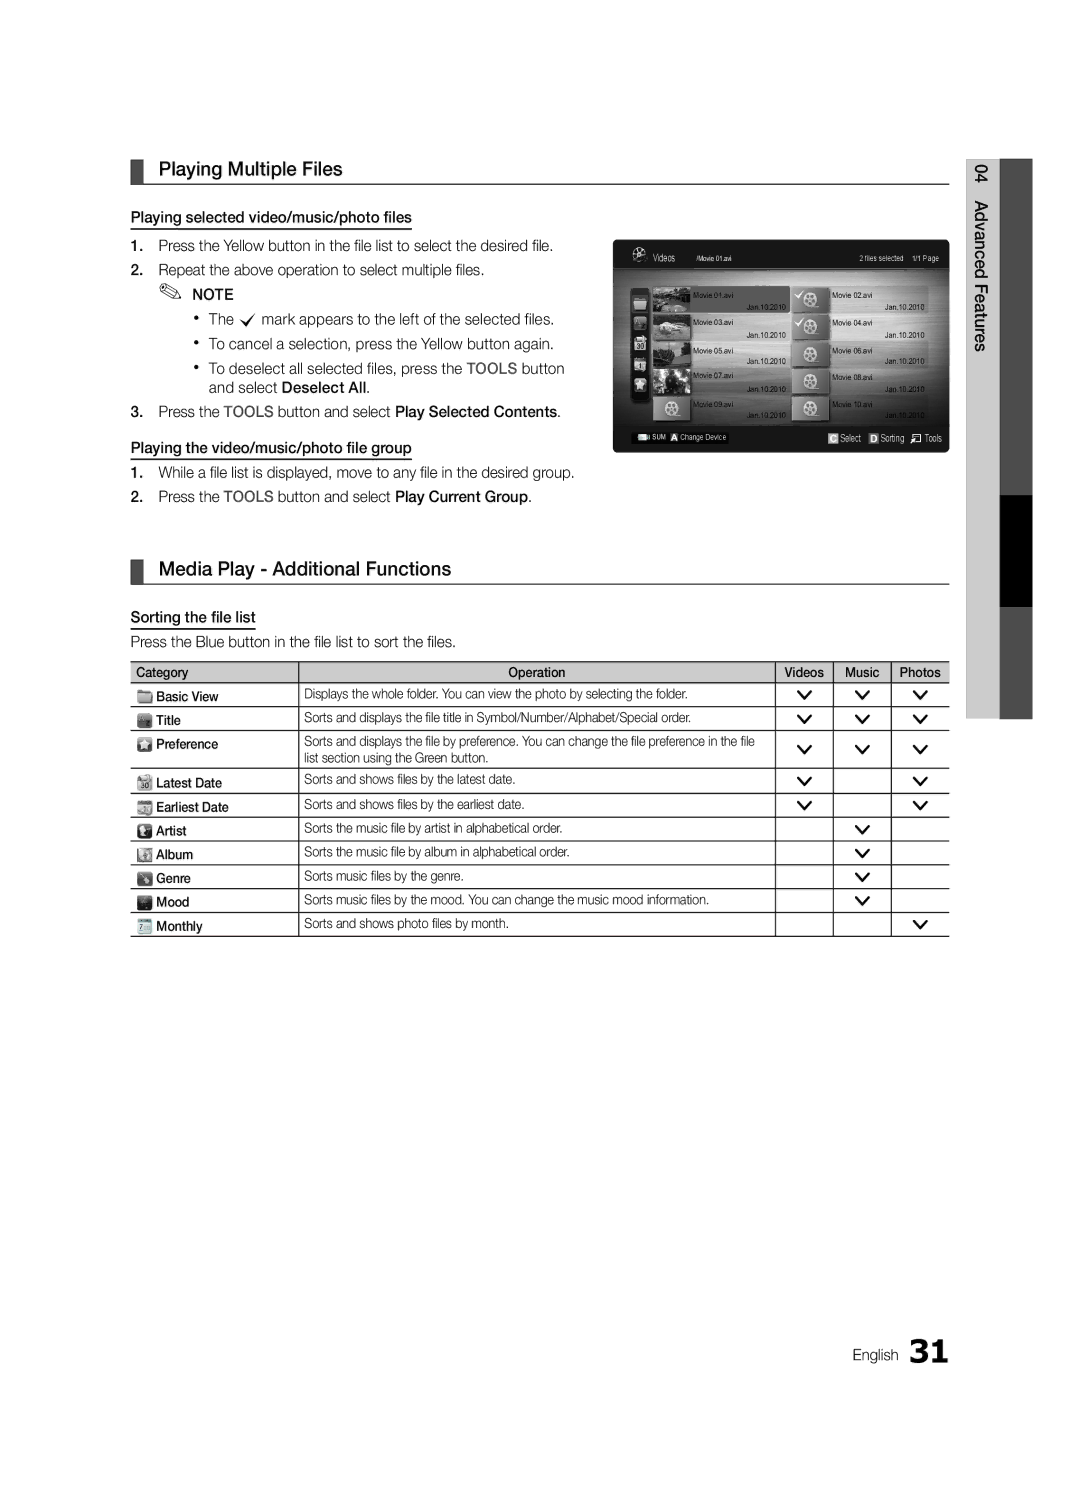
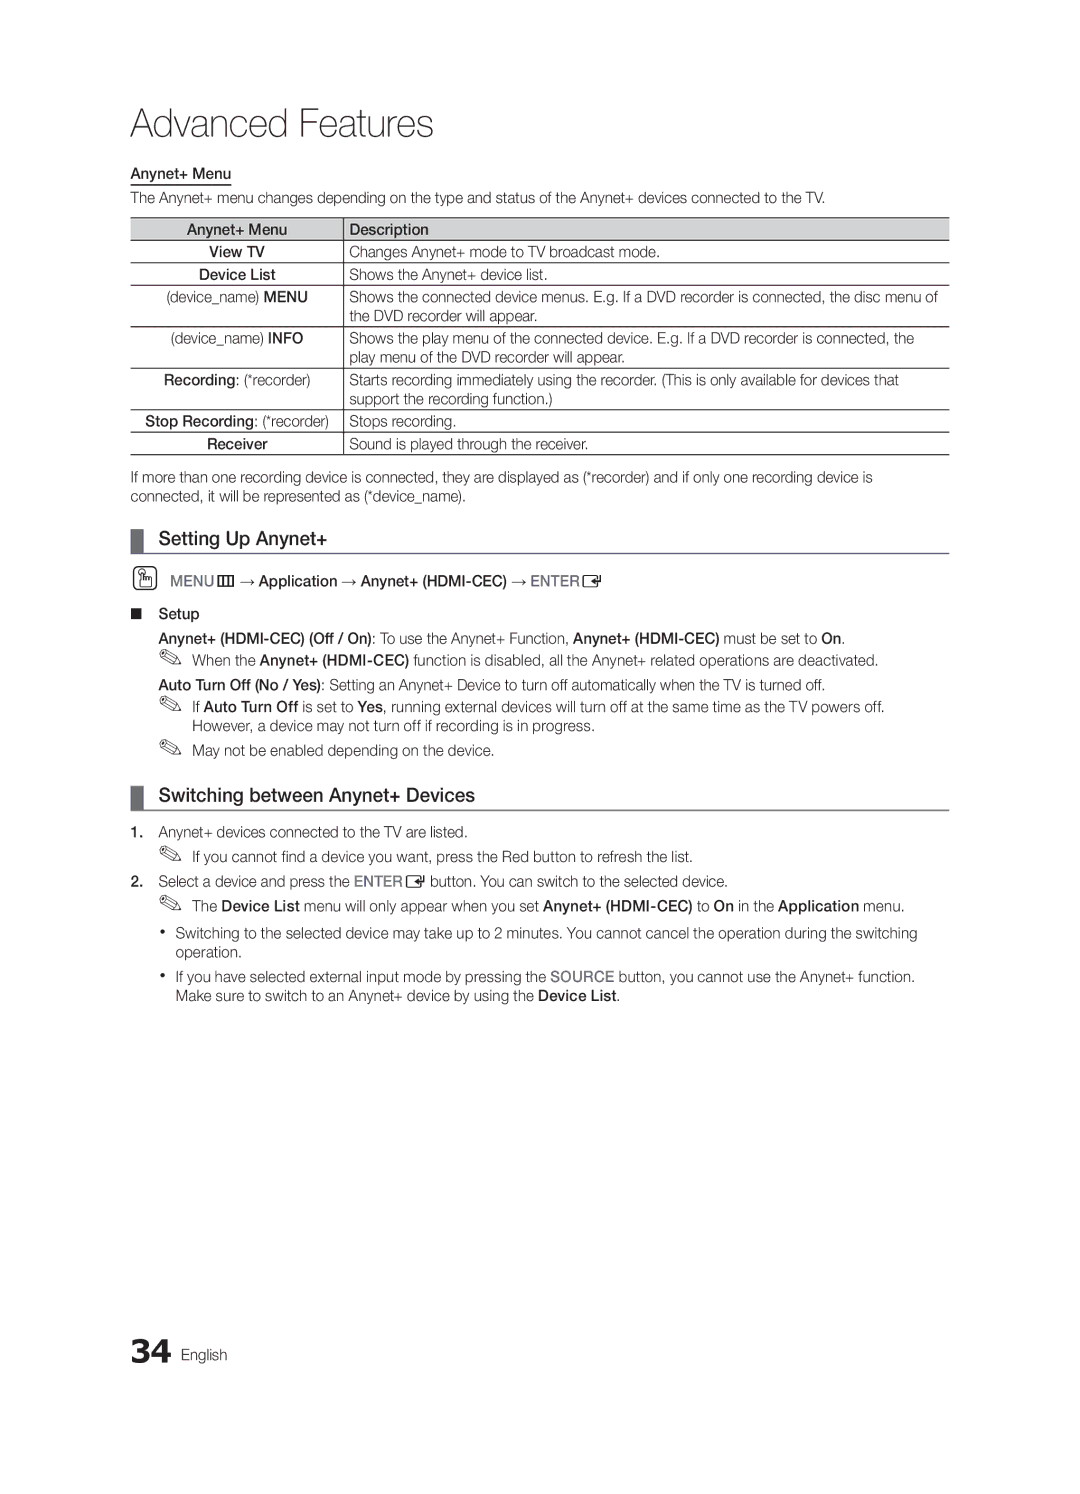
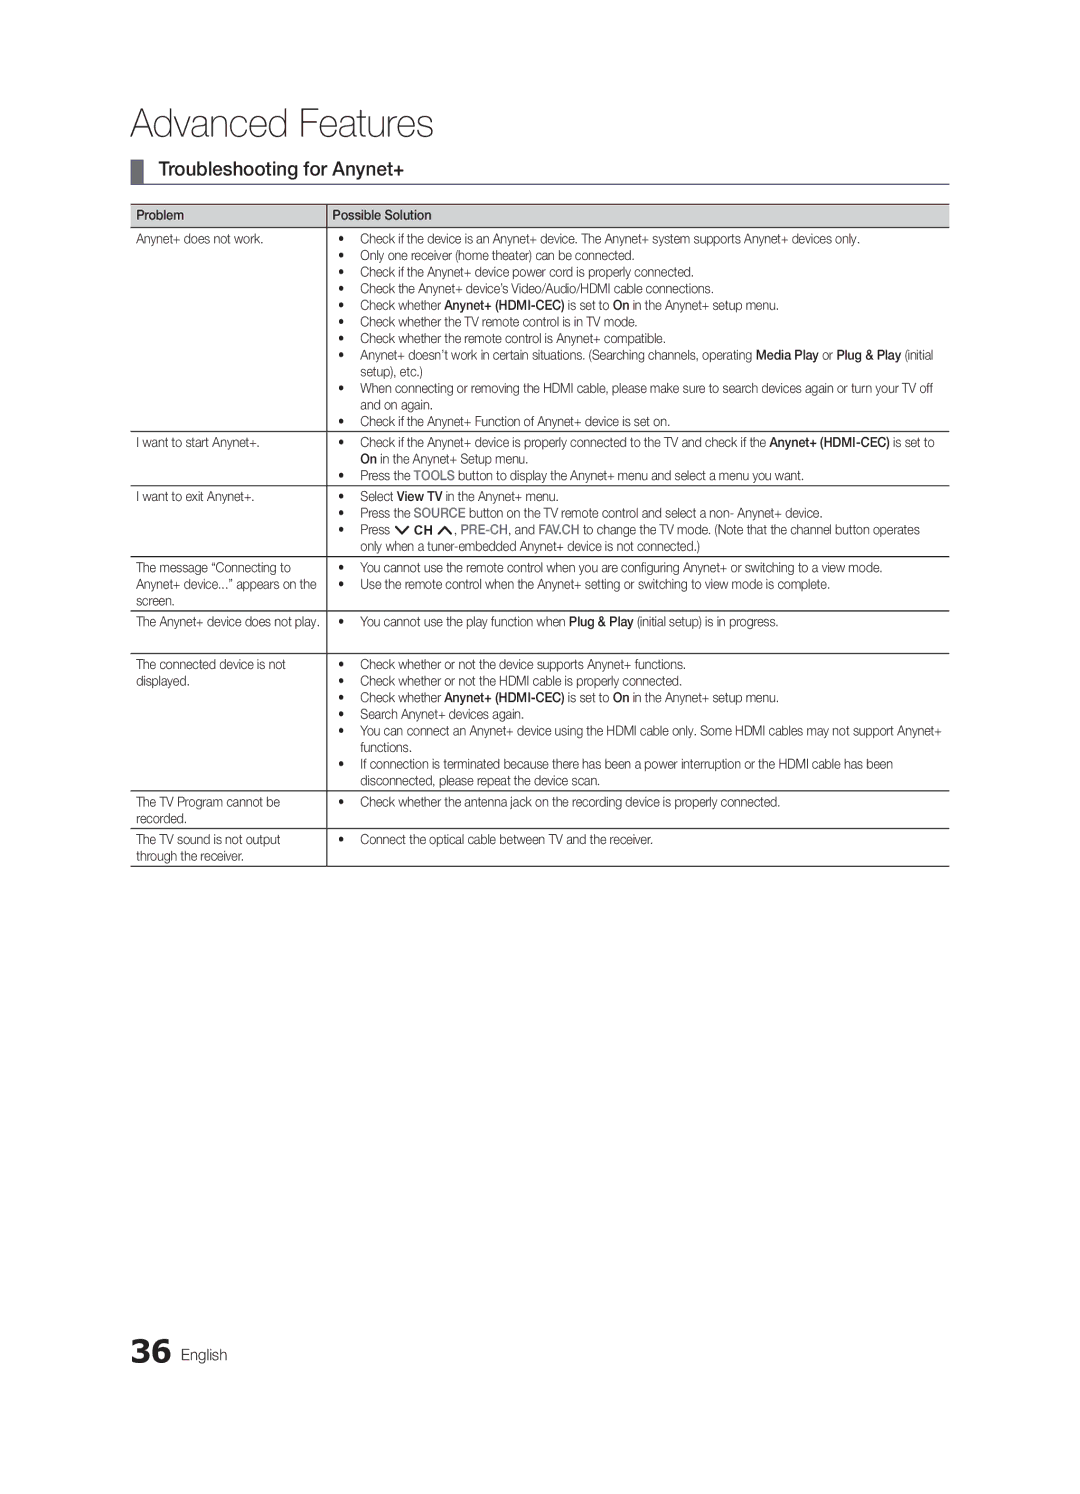
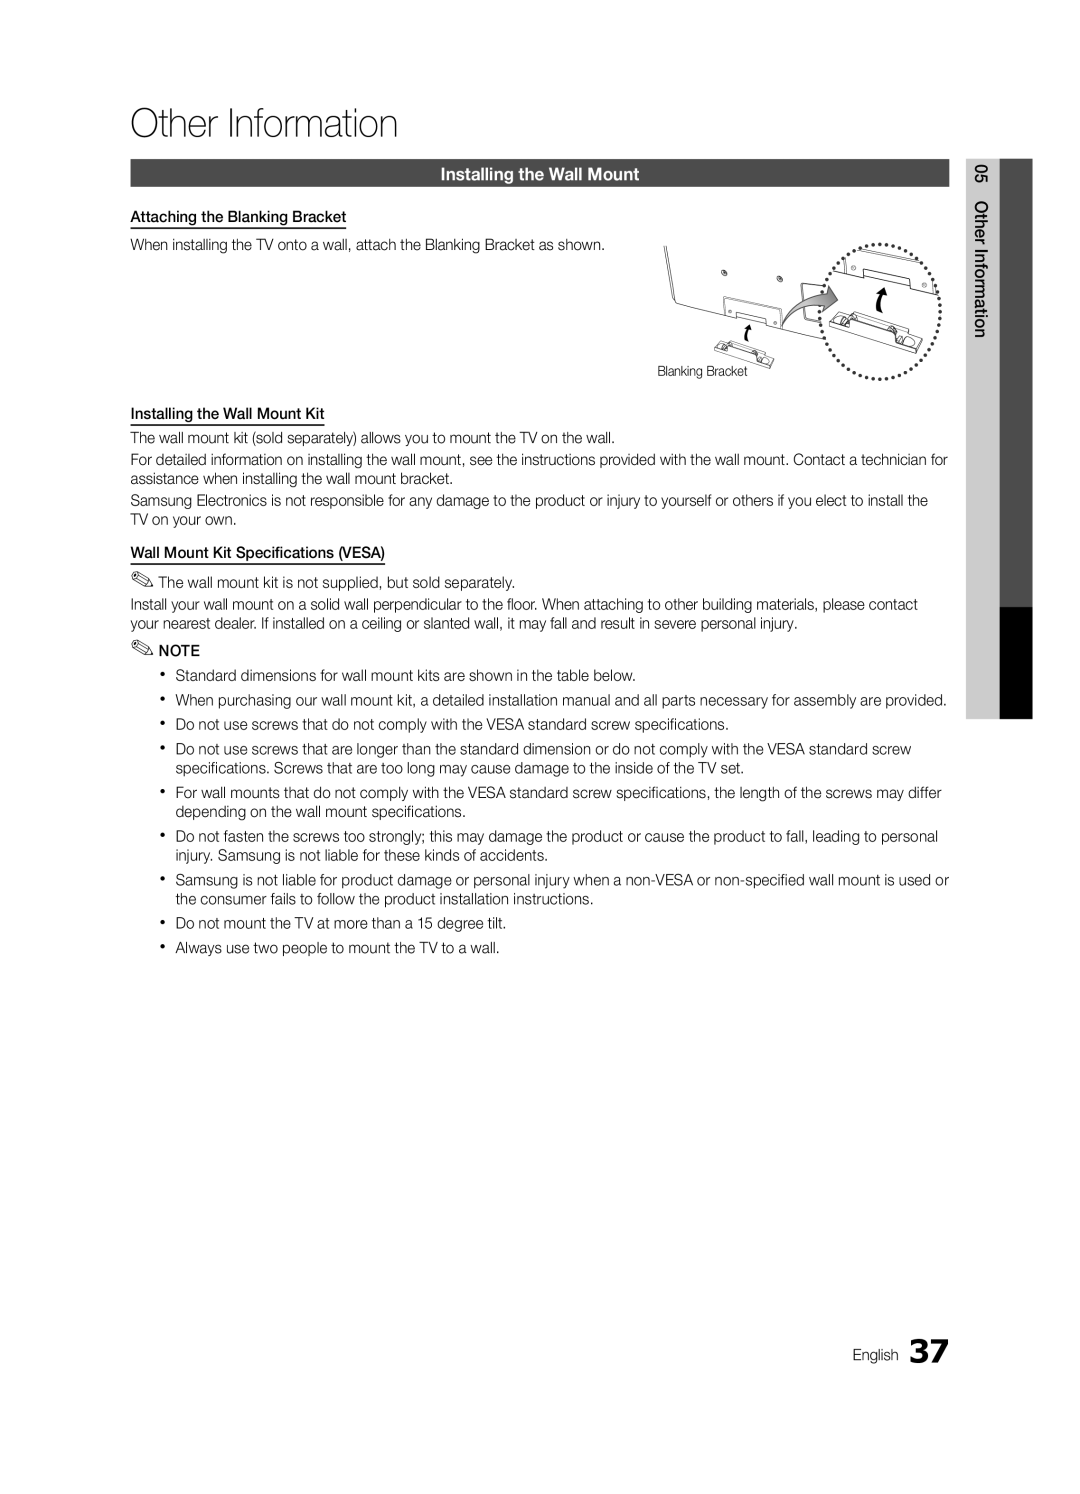
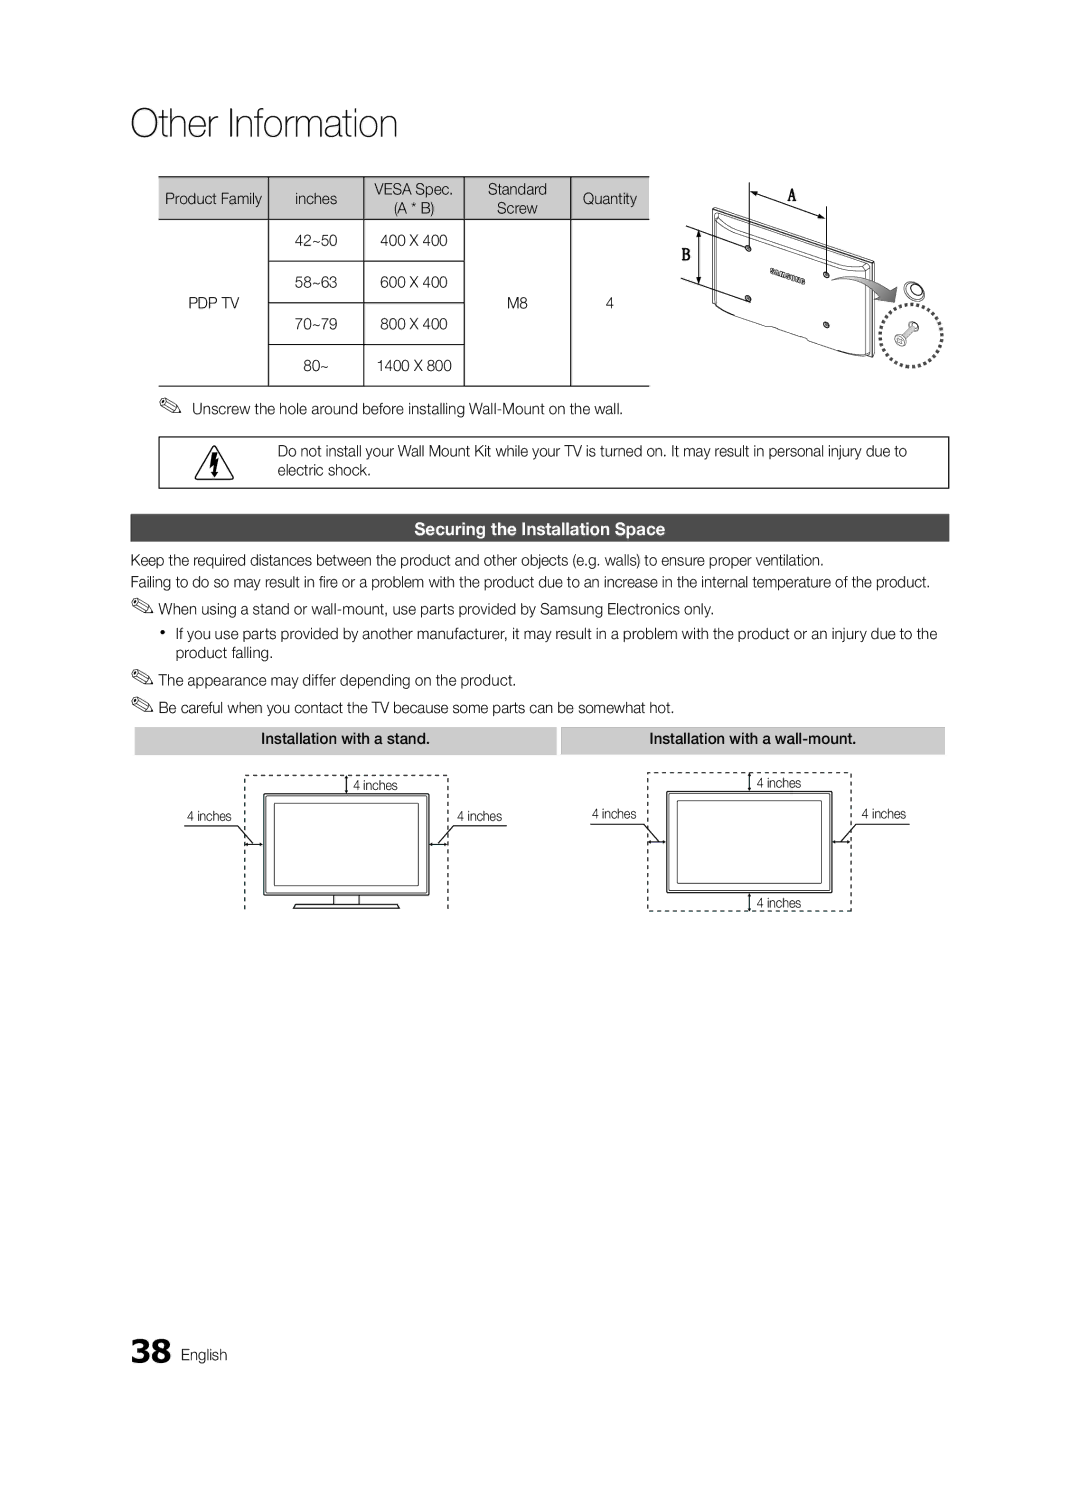
Samsung PC490-ZA 169, Zoom1, Component 480i, 480p Zoom2 DTV1080i 169, 43, Wide Fit, Screen Fit

Page 17

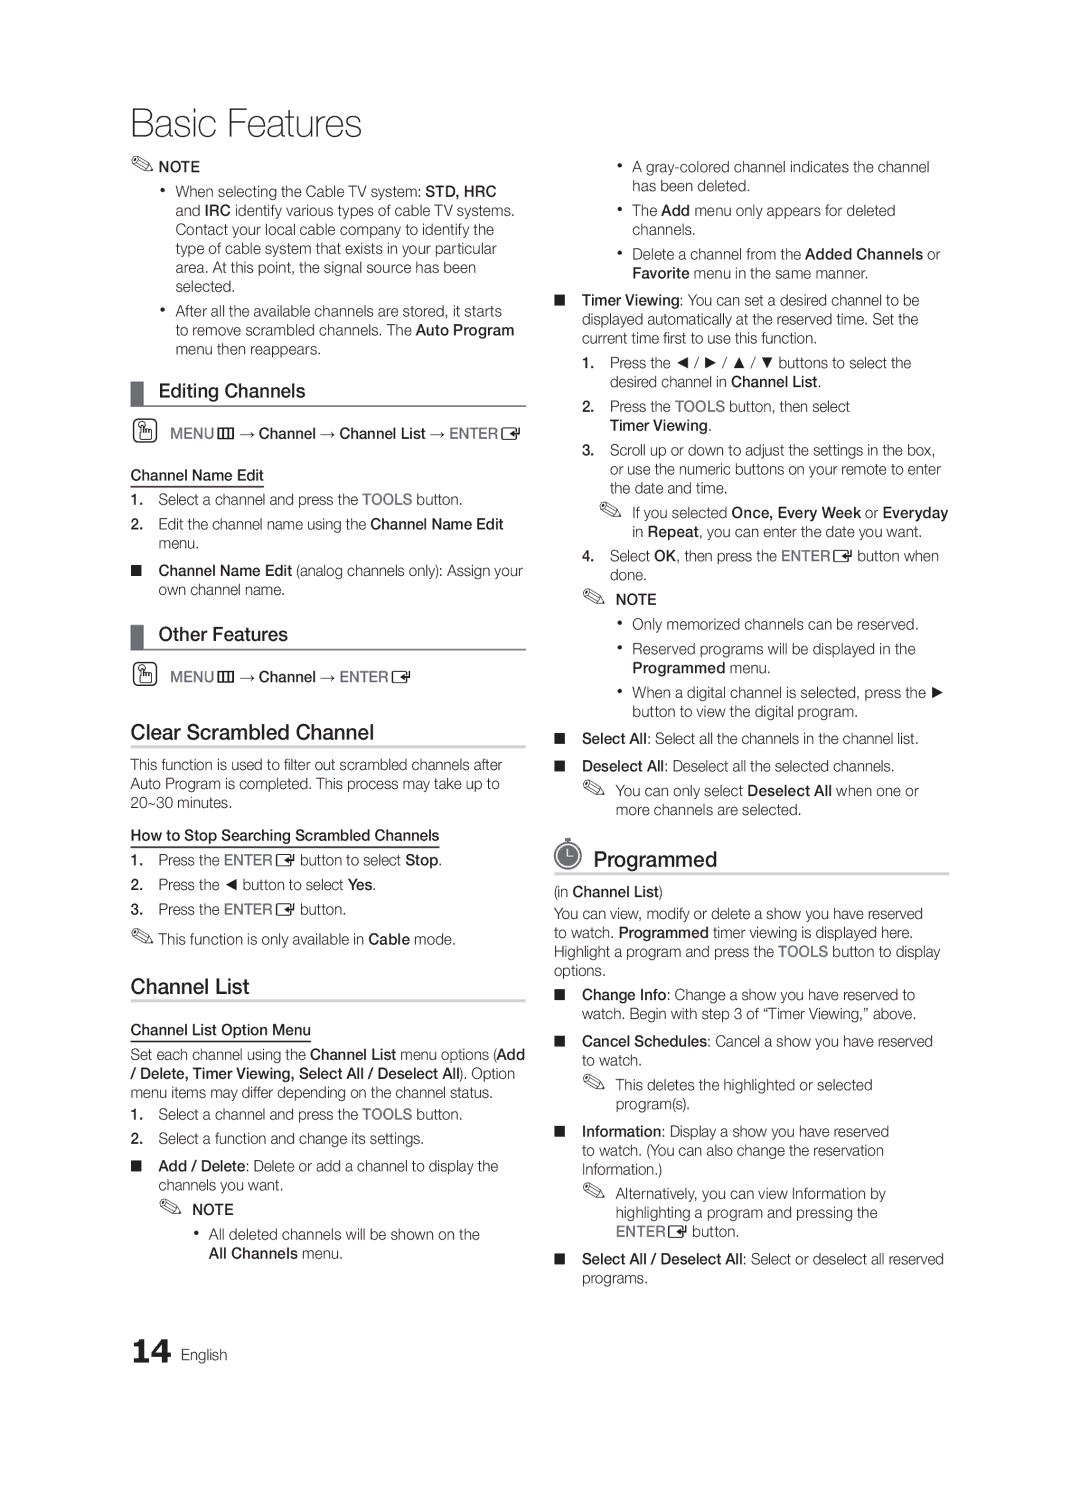
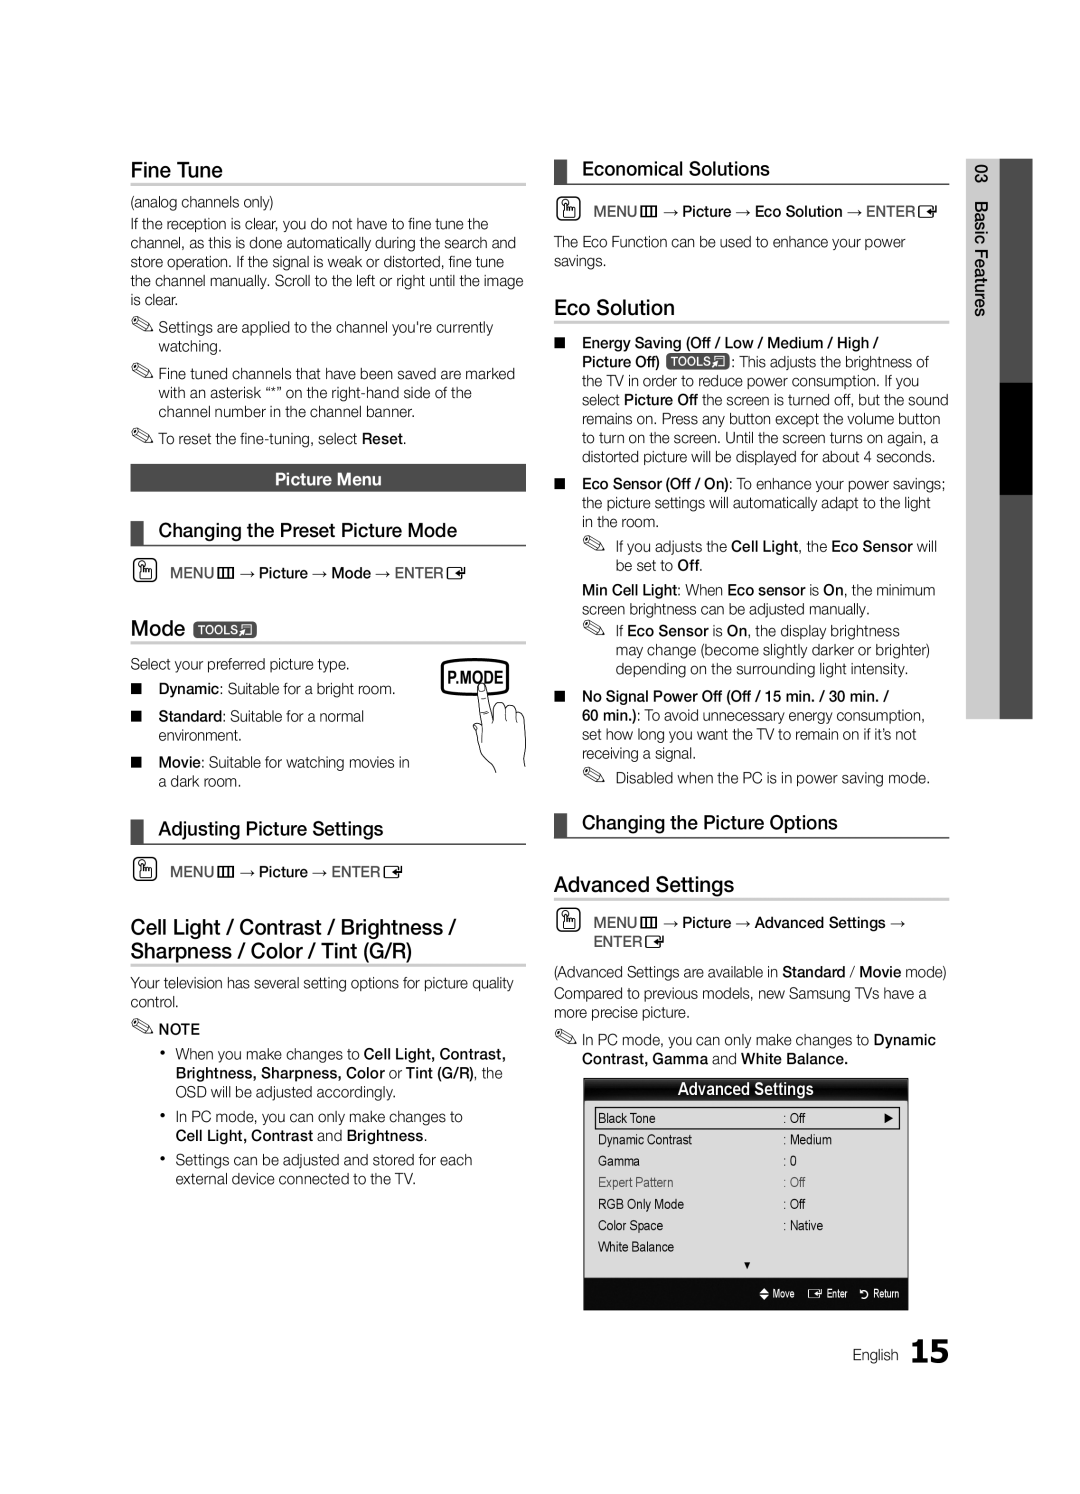
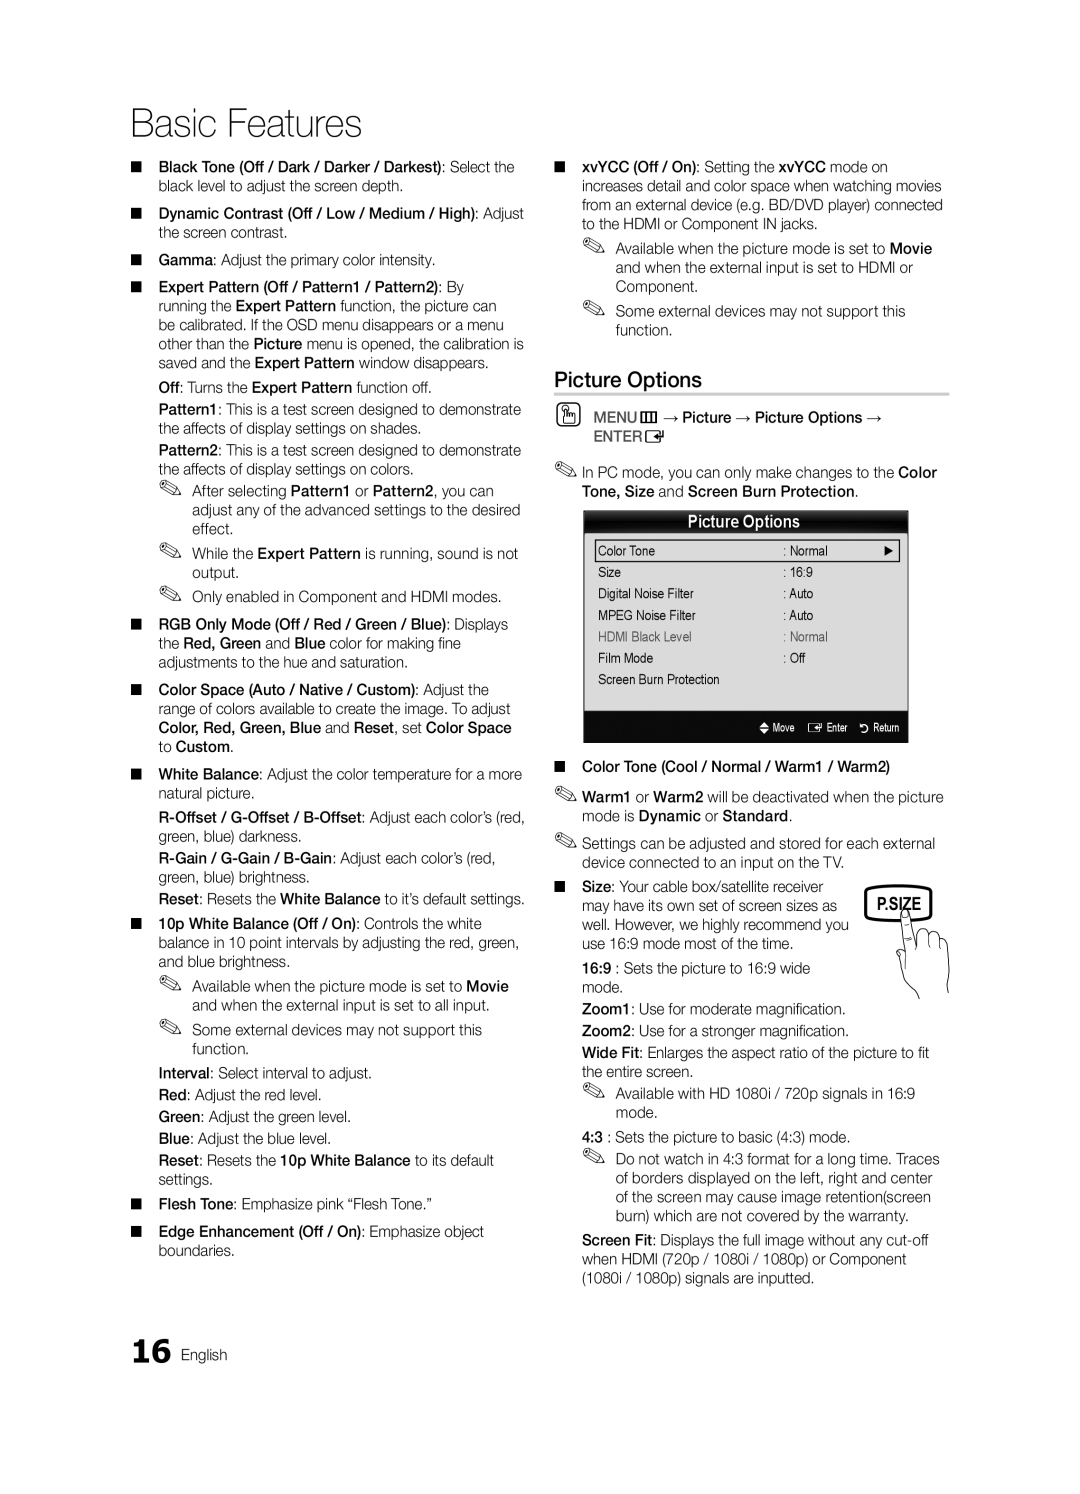
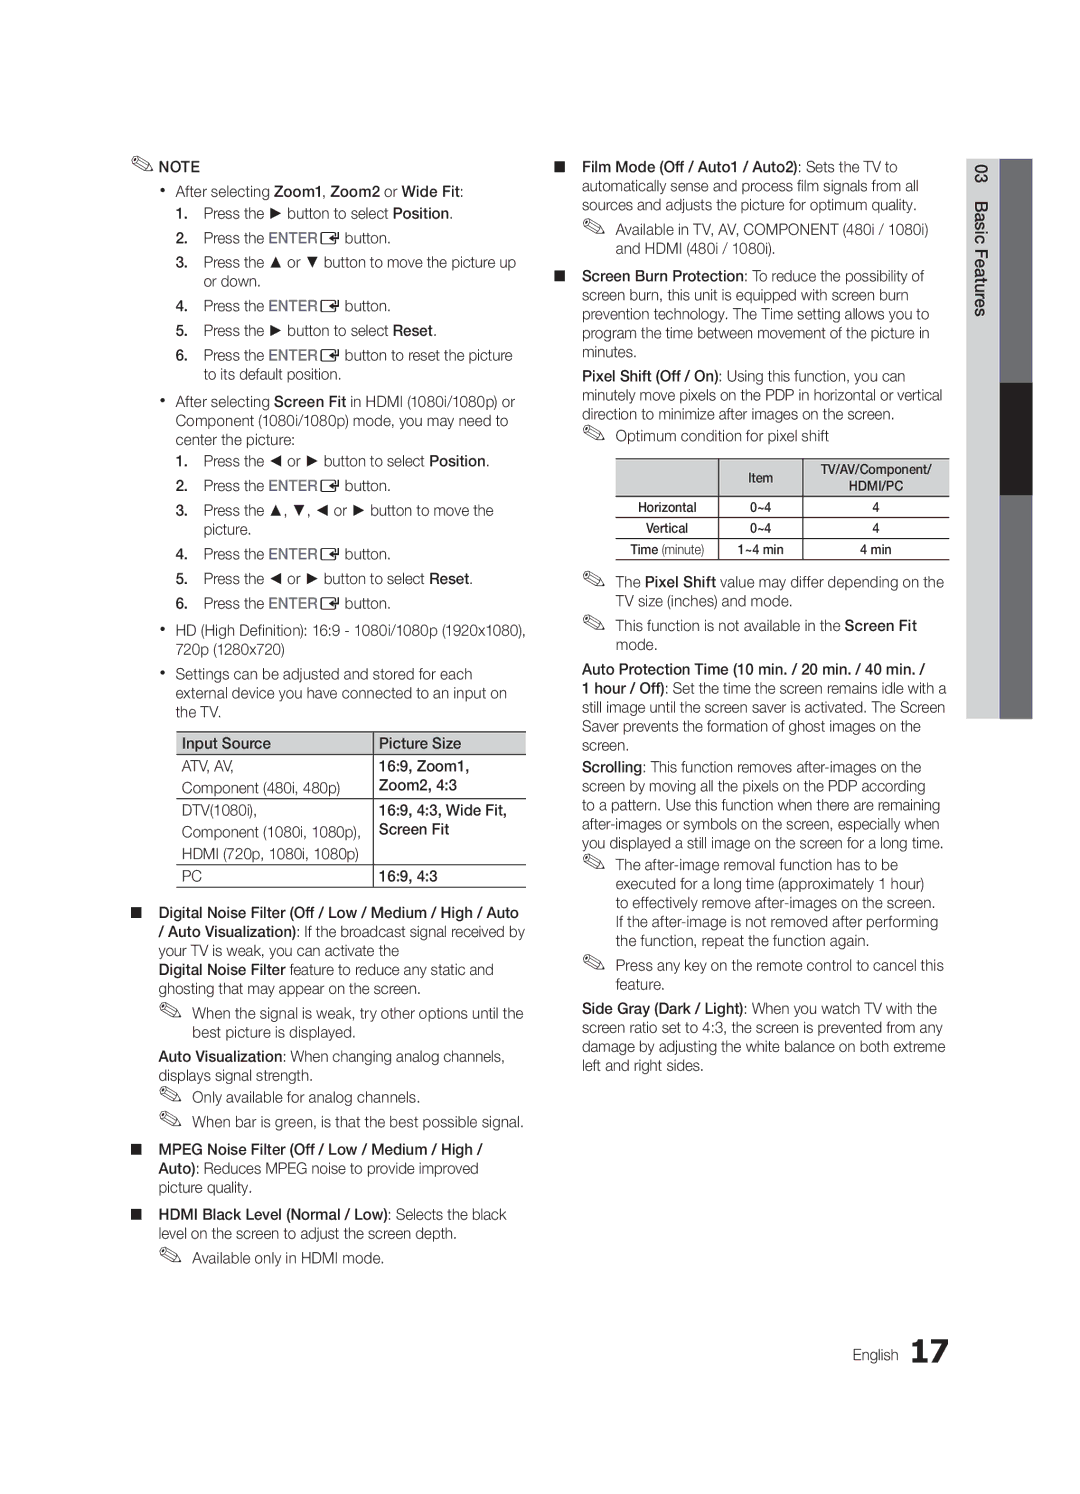
NOTE

xx After selecting Zoom1, Zoom2 or Wide Fit:

1.Press the ► button to select Position.

2.Press the ENTEREbutton.

3.Press the ▲ or ▼ button to move the picture up or down.

4.Press the ENTEREbutton.

5.Press the ► button to select Reset.

6.Press the ENTEREbutton to reset the picture to its default position.

xx After selecting Screen Fit in HDMI (1080i/1080p) or Component (1080i/1080p) mode, you may need to center the picture:

1.Press the ◄ or ► button to select Position.

2.Press the ENTEREbutton.

3.Press the ▲, ▼, ◄ or ► button to move the picture.

4.Press the ENTEREbutton.

5.Press the ◄ or ► button to select Reset.

6.Press the ENTEREbutton.

xx HD (High Definition): 16:9 - 1080i/1080p (1920x1080), 720p (1280x720)

xx Settings can be adjusted and stored for each external device you have connected to an input on the TV.

Input Source

Picture Size

ATV, AV,

16:9, Zoom1,

Component (480i, 480p)

Zoom2, 4:3

DTV(1080i),

16:9, 4:3, Wide Fit,

Component (1080i, 1080p),

Screen Fit

HDMI (720p, 1080i, 1080p)


PC

16:9, 4:3

■■ Digital Noise Filter (Off / Low / Medium / High / Auto

/Auto Visualization): If the broadcast signal received by your TV is weak, you can activate the

Digital Noise Filter feature to reduce any static and ghosting that may appear on the screen.

When the signal is weak, try other options until the

best picture is displayed.

Auto Visualization: When changing analog channels, displays signal strength.

Only available for analog channels.

When bar is green, is that the best possible signal.

■■ MPEG Noise Filter (Off / Low / Medium / High / Auto): Reduces MPEG noise to provide improved picture quality.

■■ HDMI Black Level (Normal / Low): Selects the black level on the screen to adjust the screen depth.

Available only in HDMI mode.

■■ Film Mode (Off / Auto1 / Auto2): Sets the TV to automatically sense and process film signals from all sources and adjusts the picture for optimum quality.

Available in TV, AV, COMPONENT (480i / 1080i) and HDMI (480i / 1080i).

■■ Screen Burn Protection: To reduce the possibility of screen burn, this unit is equipped with screen burn prevention technology. The Time setting allows you to program the time between movement of the picture in minutes.

Pixel Shift (Off / On): Using this function, you can minutely move pixels on the PDP in horizontal or vertical direction to minimize after images on the screen.

Optimum condition for pixel shift


Item

TV/AV/Component/


HDMI/PC


Horizontal

0~4

4


Vertical

0~4

4


Time (minute)

1~4 min

4 min

The Pixel Shift value may differ depending on the TV size (inches) and mode.

This function is not available in the Screen Fit mode.

Auto Protection Time (10 min. / 20 min. / 40 min. /

1 hour / Off): Set the time the screen remains idle with a still image until the screen saver is activated. The Screen Saver prevents the formation of ghost images on the screen.

Scrolling: This function removes after-images on the screen by moving all the pixels on the PDP according to a pattern. Use this function when there are remaining after-images or symbols on the screen, especially when you displayed a still image on the screen for a long time.

The after-image removal function has to be executed for a long time (approximately 1 hour) to effectively remove after-images on the screen. If the after-image is not removed after performing the function, repeat the function again.

Press any key on the remote control to cancel this feature.

Side Gray (Dark / Light): When you watch TV with the screen ratio set to 4:3, the screen is prevented from any damage by adjusting the white balance on both extreme left and right sides.

03FeaturesBasic
English 17

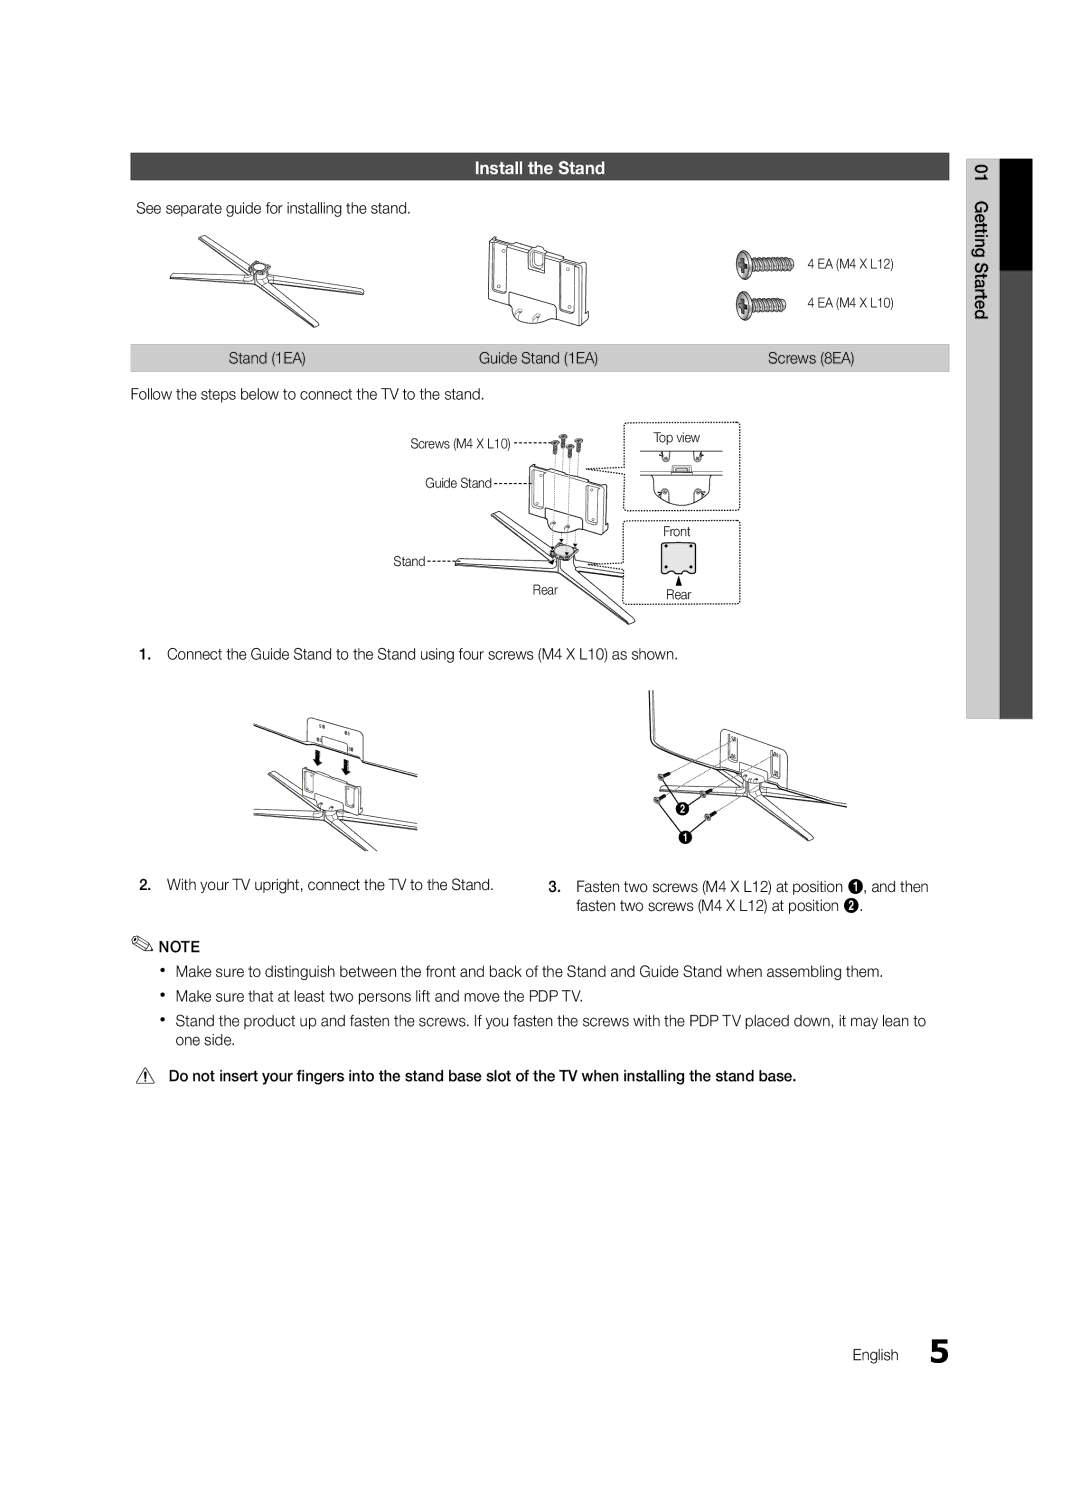
Image 17
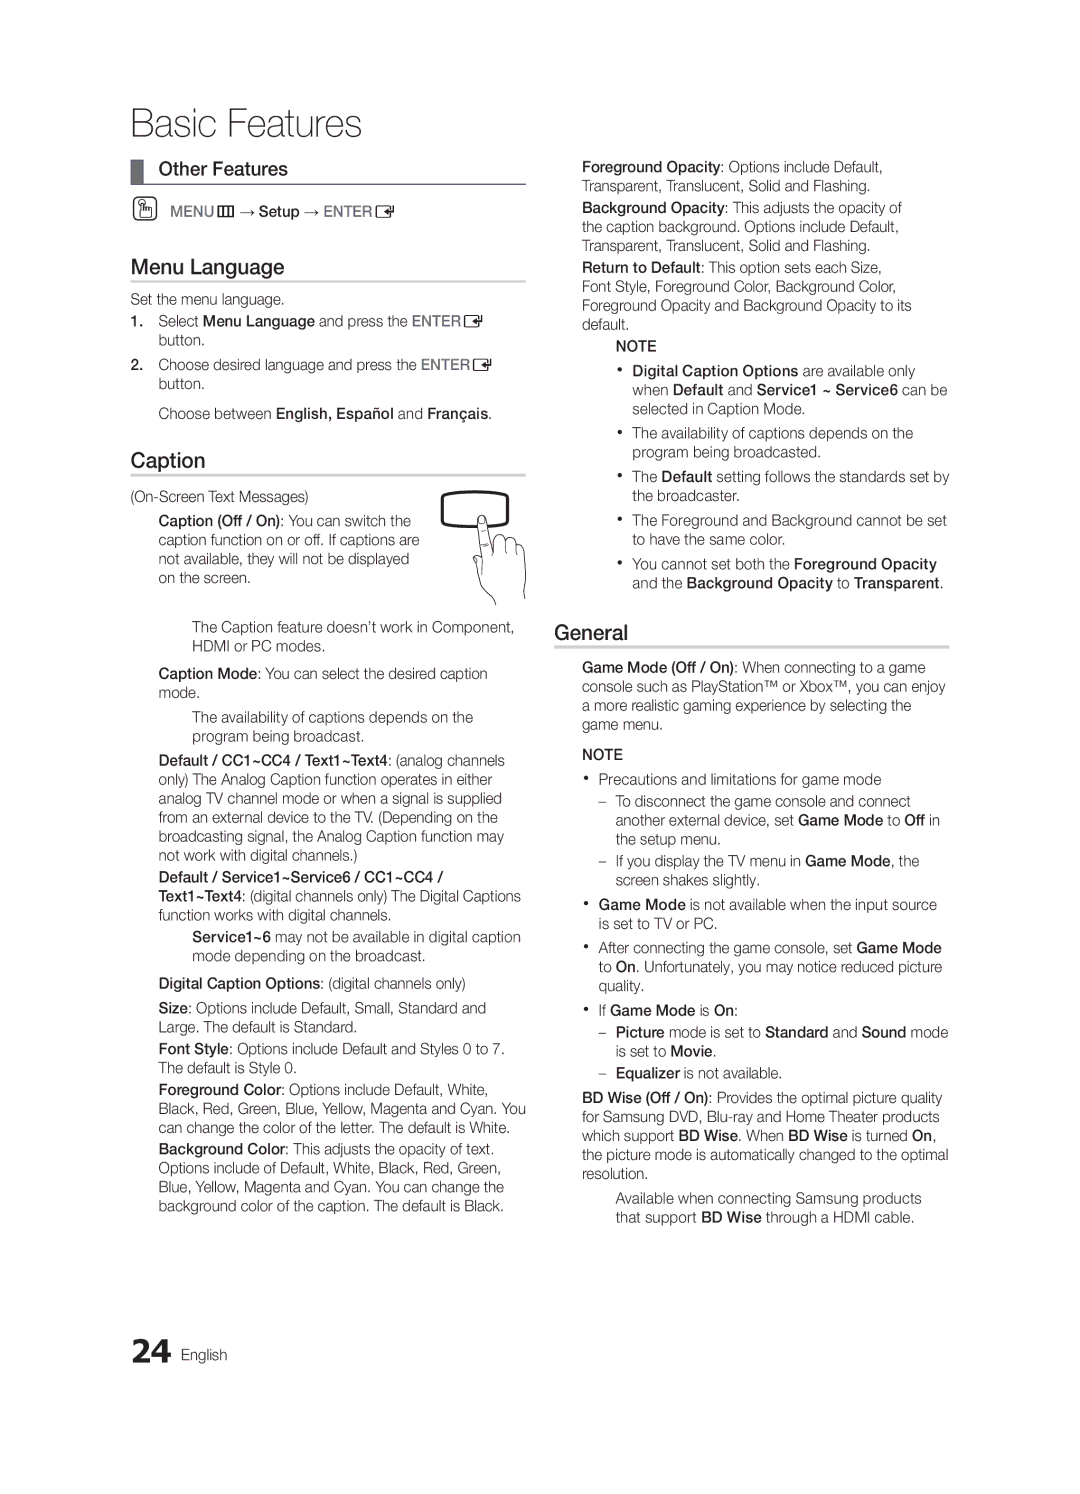
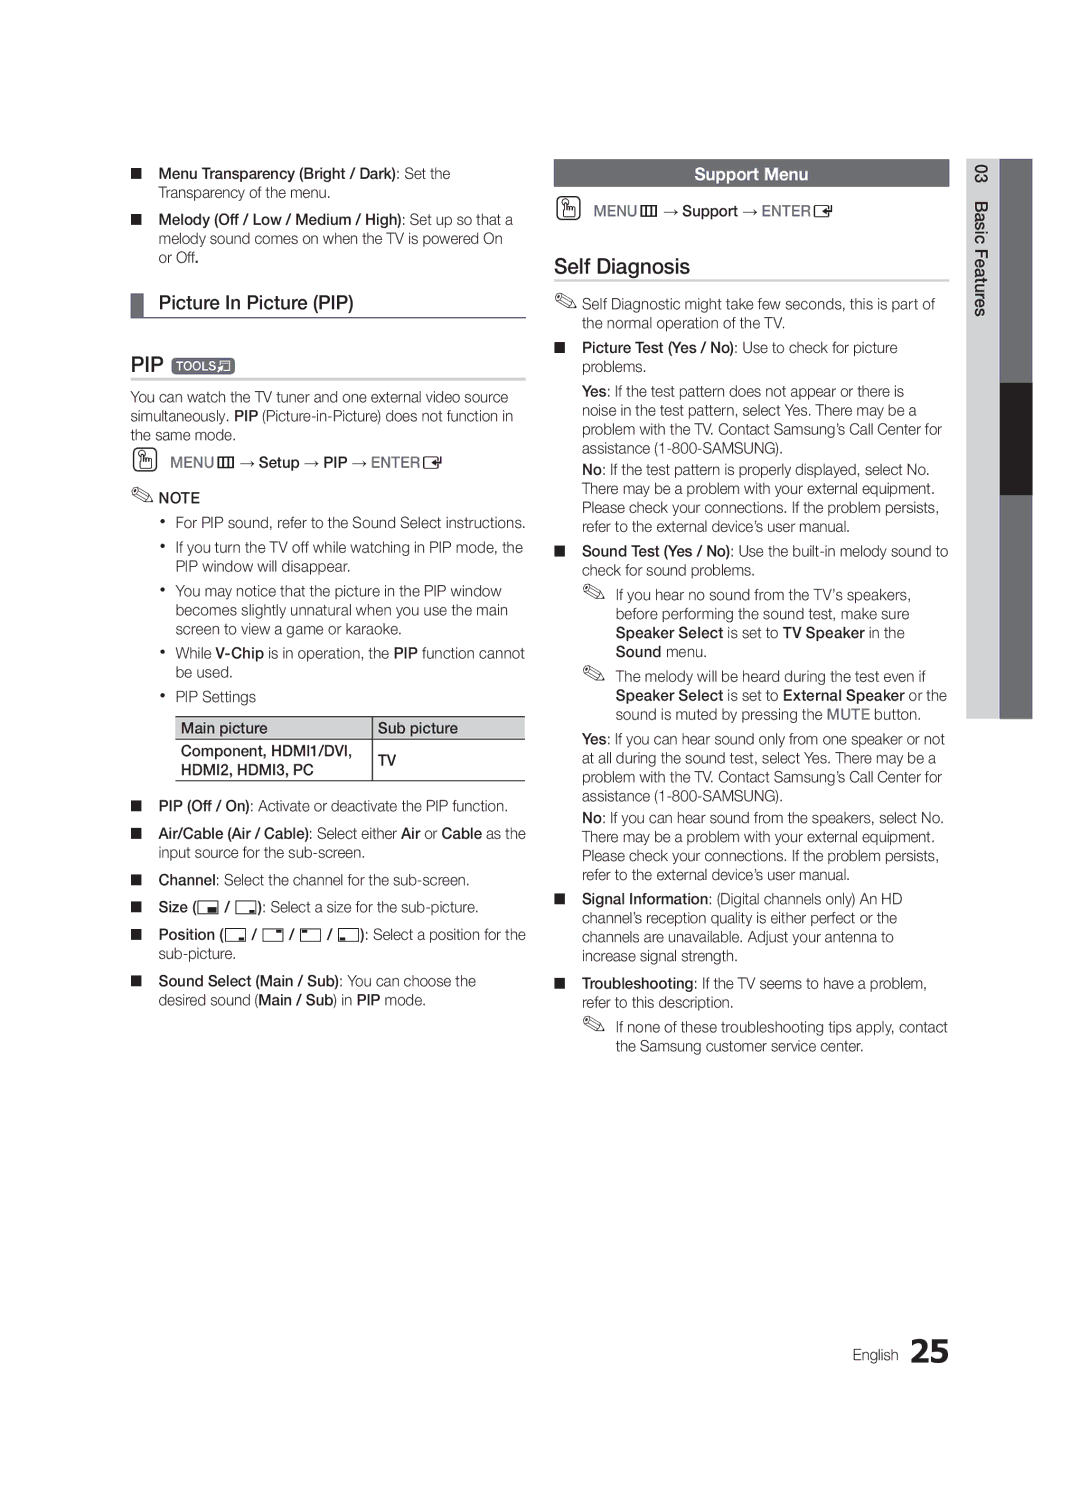
Contents BN68-03114A-01 Samsung Electronics Canada Inc., Customer ServiceEnglish User InstructionsContents Accessories List of FeaturesGetting Started 3301-002049See separate guide for installing the stand Install the StandStand 1EA Guide Stand 1EA Follow the steps below to connect the TV to the standViewing the Control Panel Power Indicator Remote control sensor Standby modeProduct color and shape may vary depending on the model 3D EmitterBrings up the OSD Viewing the Remote ControlDisplays and selects the available video sources p Exits the menuPlug & Play Initial Setup Connecting to an AntennaConnections Connecting to an AV DeviceConnections Digital Audio OUT Optical Connecting to an Audio DeviceUsing an HDMI/DVI Cable or a D-sub Cable Connecting to a PCVertical Frequency Pixel Clock Sync Polarity Mode +/+How to Navigate Menus Basic FeaturesSource List Edit NameAntenna Air / Cable t Channel ListAuto Program Seeing ChannelsClear Scrambled Channel Other FeaturesProgrammed Editing ChannelsEco Solution Mode tAdvanced Settings Fine TunePicture Options Film Mode Off Screen Burn ProtectionPicture Options Off Turns the Expert Pattern function off169, Zoom1 Available only in Hdmi modeComponent 480i, 480p Zoom2 DTV1080i 169, 43, Wide Fit Screen FitOO Menu → Picture → 3D → Entere Viewing TV using the 3D functionDisplays the images for 3D emitter03FeaturesBasic English How to watch the 3D image60 Hz Otherwise, you may not be able to enjoy proper 3D effectsAuto Adjustment t Picture Reset OK / CancelScreen SRS TheaterSound tSound Reset OK / Cancel Auto Volume Off / Normal / NightPreferred Language Multi-Track Sound MTS tSetting the On / Off Timer Using the Sleep TimerTimer Security→ 2 → 4 → POWERon Contains themes or content which may not beBlocked TV-G, TV-PG, TV-14 and TV-MA. Sub-ratings D, L, S, V work similarly. So, if youMenu Language OO MENUm→ Setup → EntereCaption GeneralSelf Diagnosis PIP tPicture In Picture PIP Support MenuSoftware Upgrade Software UpgradeHD Connection Guide Contact SamsungMedia Play Advanced FeaturesConnecting a USB Device Videos Sorting standard is different depending on the contentsScreen Display Name File extension FormatYy Supported Video Formats 04Features Advanced EnglishPhotos MusicPlaying Multiple Files List section using the Green buttonMedia Play Additional Functions AdvancedSame file name as the video Audio SettingsAnynet+ Device Home Theater Anynet+Switching between Anynet+ Devices Setting Up Anynet+Listening through a Receiver RecordingTroubleshooting for Anynet+ Other Information Installing the Wall Mount05InformationOher English Blanking BracketProduct Family Inches Vesa Spec Standard Quantity Securing the Installation SpaceSecuring the TV to the Wall Installing the TV-HolderTV-Holder Kit Sold Separately 05InformationOher TV-Holder BN96-15753AIssues Solutions and Explanations TroubleshootingAt maximum volume Sound ProblemOn, refer to Remote control does not work below There is no signalImage Retention Burn In Issue ContentsCable/set top box remote control Volume Mode Not Supported messageLicense Storage and MaintenanceSpecifications Front view / Side view DimensionsJack panel detail / Rear view Other Information Model name PN50C490Amplify Antenna Anynet+ Favorite Channels Film Mode Fine Tune Flesh Tone FrequencyIndex