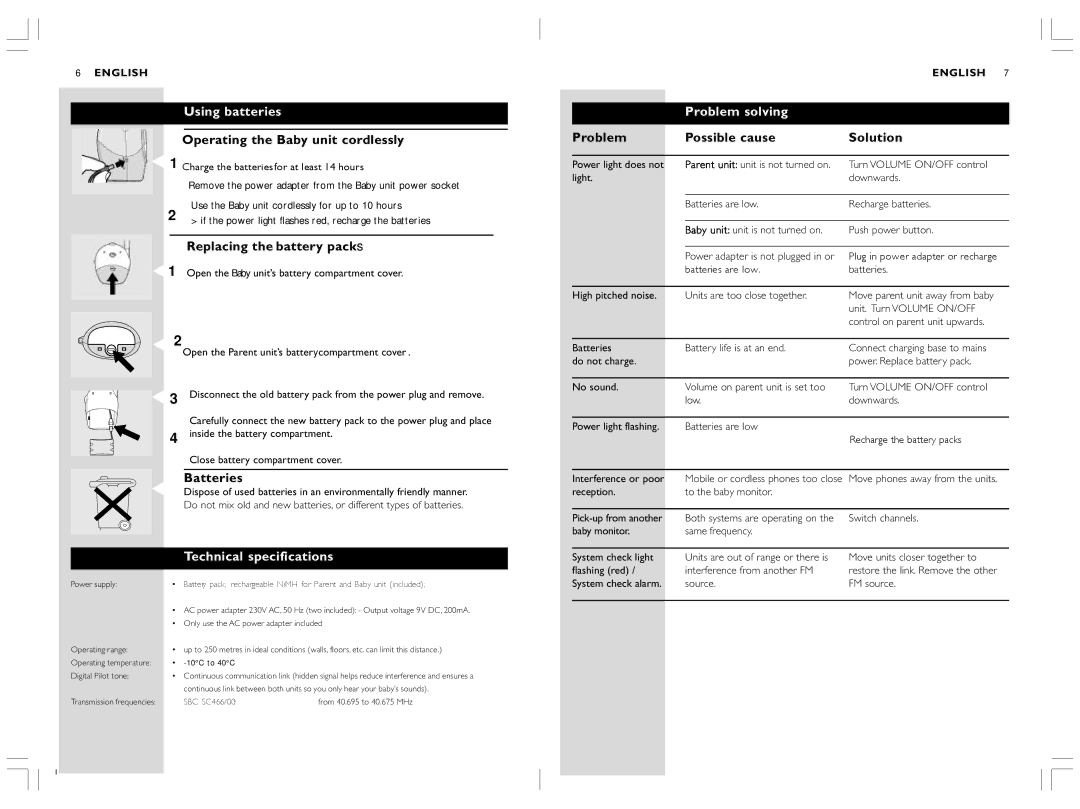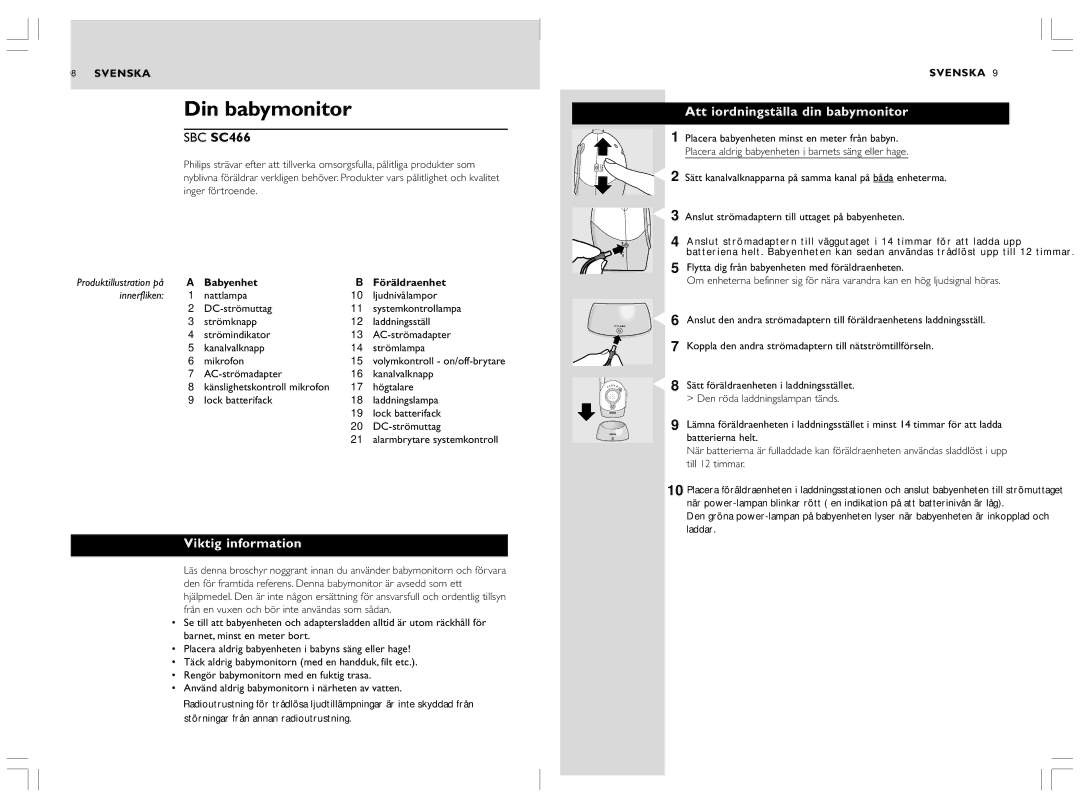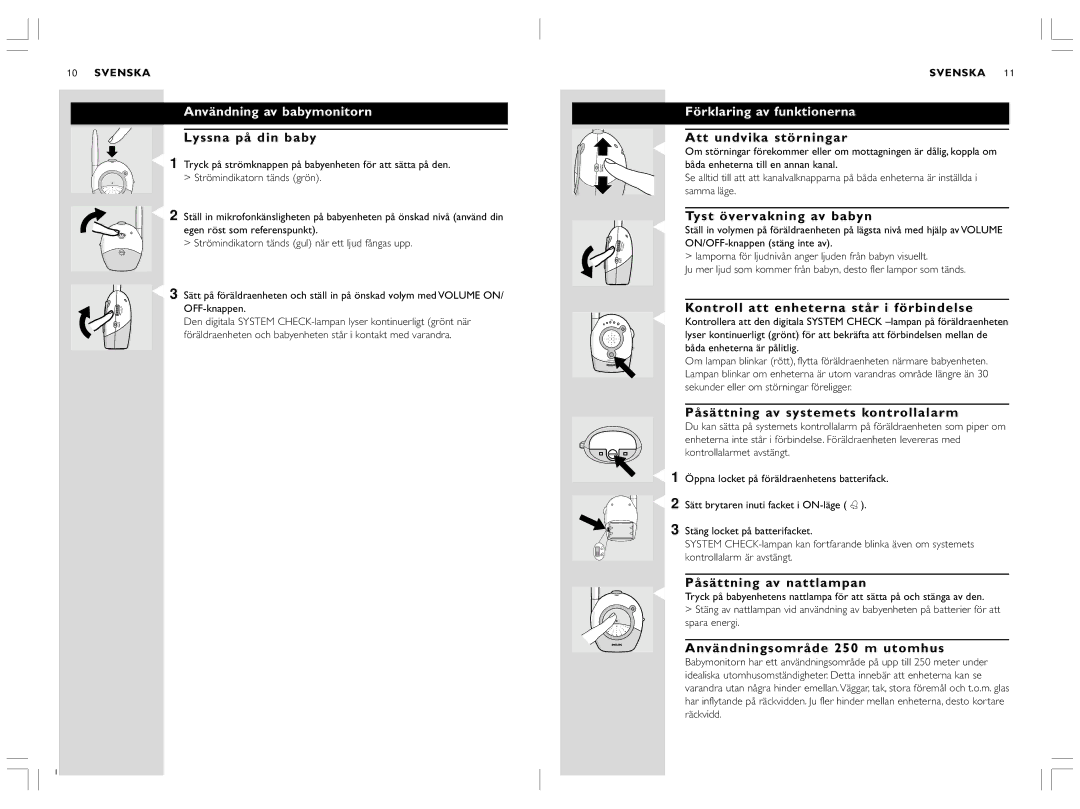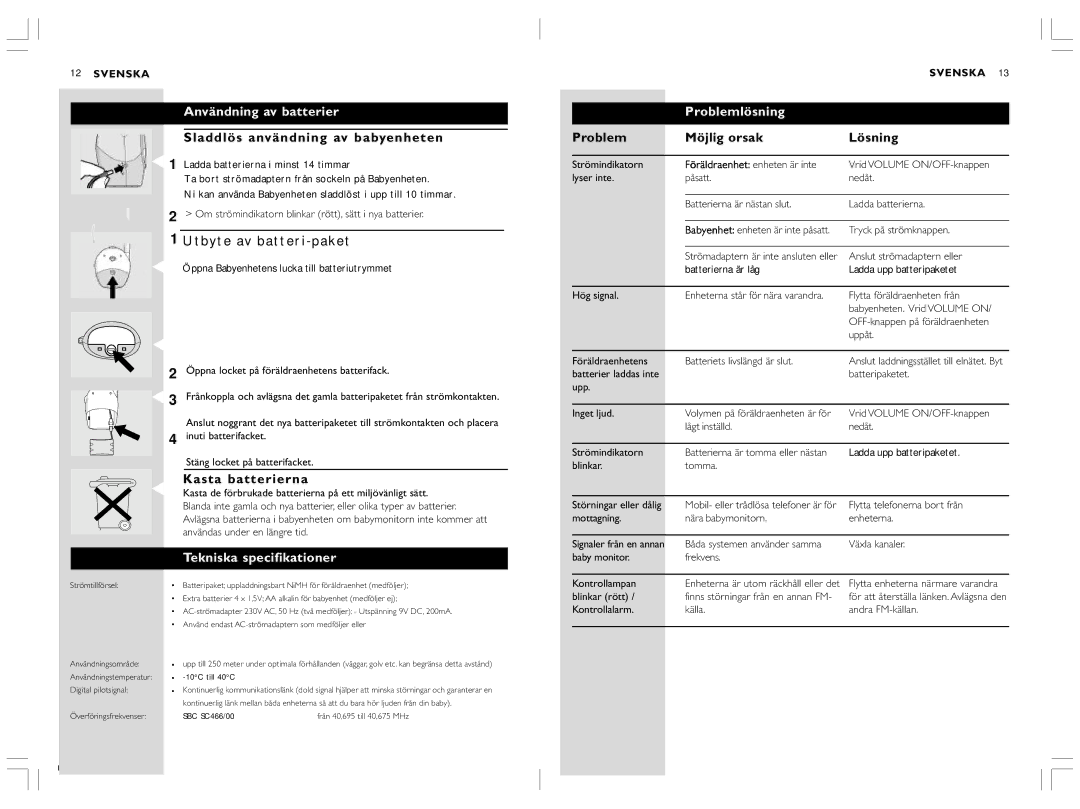
2ENGLISH
Your baby monitor
SBC SC466
Philips is dedicated to producing caring, reliable products that new moms and dads really need. Products whose reliability and operating quality bring reassurance.
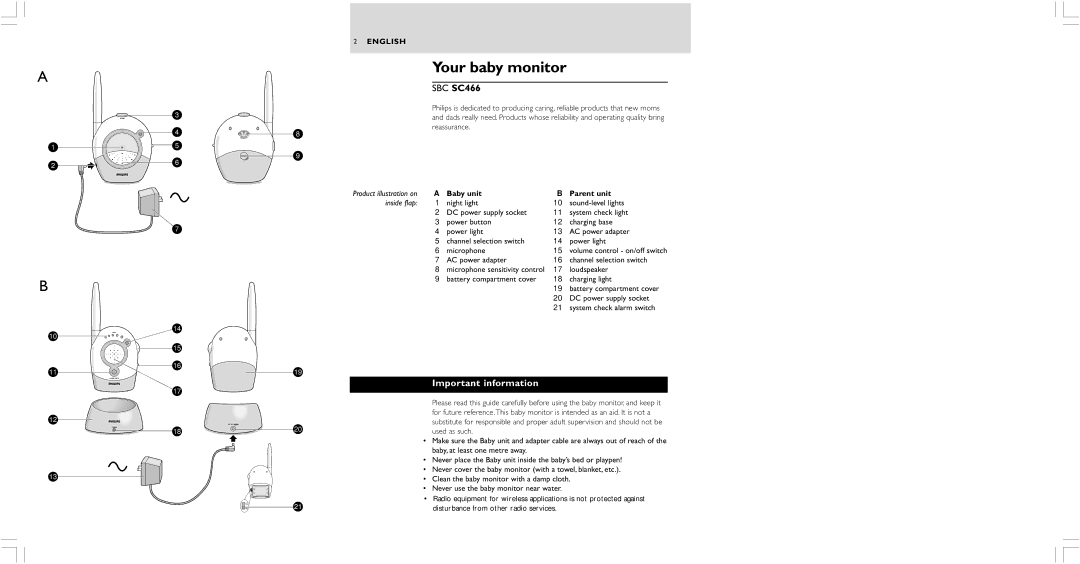
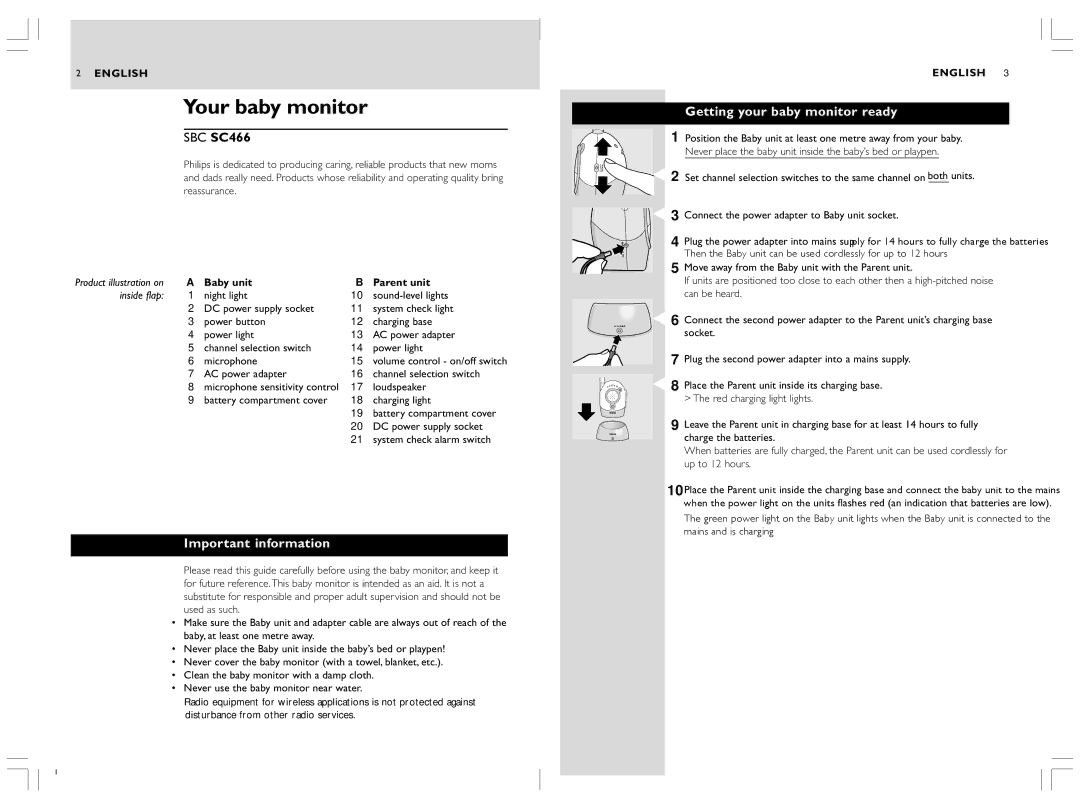
Product illustration on | A | Baby unit | B | Parent unit |
inside flap: | 1 | night light | 10 | |
| 2 | DC power supply socket | 11 | system check light |
| 3 | power button | 12 | charging base |
| 4 | power light | 13 | AC power adapter |
| 5 | channel selection switch | 14 | power light |
| 6 | microphone | 15 | volume control - on/off switch |
| 7 | AC power adapter | 16 | channel selection switch |
| 8 | microphone sensitivity control | 17 | loudspeaker |
| 9 | battery compartment cover | 18 | charging light |
|
|
| 19 | battery compartment cover |
|
|
| 20 | DC power supply socket |
|
|
| 21 | system check alarm switch |
Important information
Please read this guide carefully before using the baby monitor, and keep it for future reference.This baby monitor is intended as an aid. It is not a substitute for responsible and proper adult supervision and should not be used as such.
•Make sure the Baby unit and adapter cable are always out of reach of the baby, at least one metre away.
•Never place the Baby unit inside the baby’s bed or playpen!
•Never cover the baby monitor (with a towel, blanket, etc.).
•Clean the baby monitor with a damp cloth.
•Never use the baby monitor near water.
Radio equipment for wireless applications is not protected against disturbance from other radio services.
A C B H A
CN N
DLE
9
C D
DC 9V
ENGLISH 3
Getting your baby monitor ready
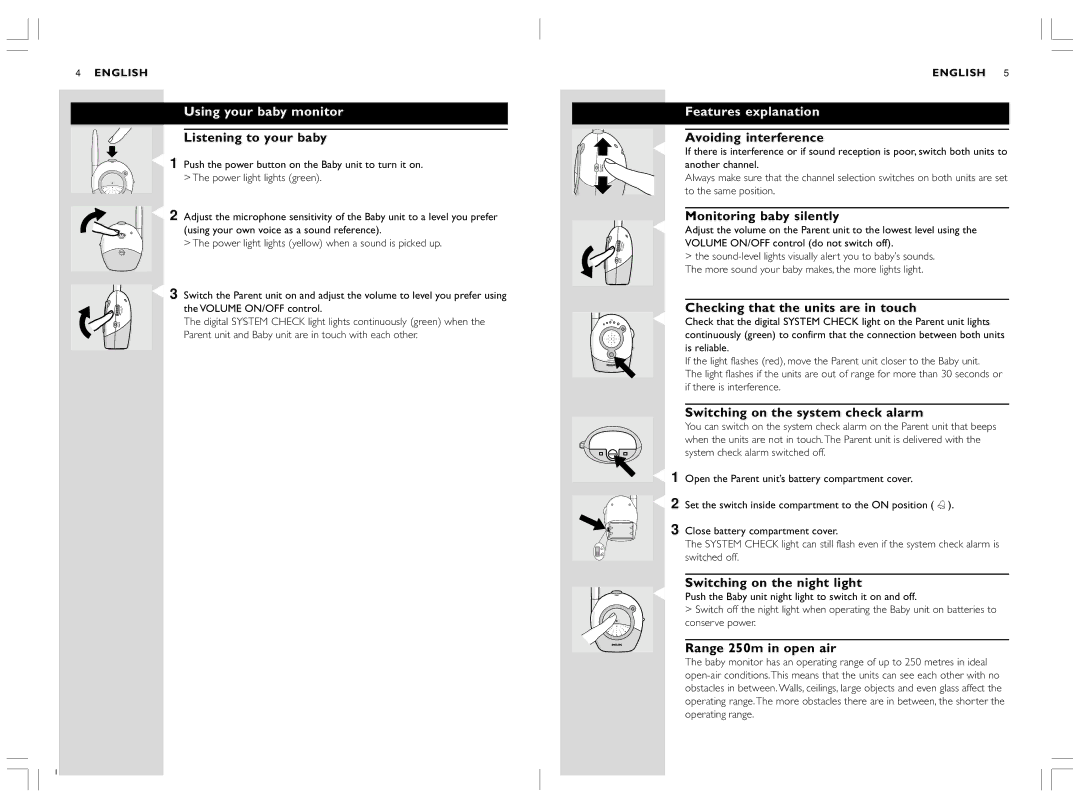
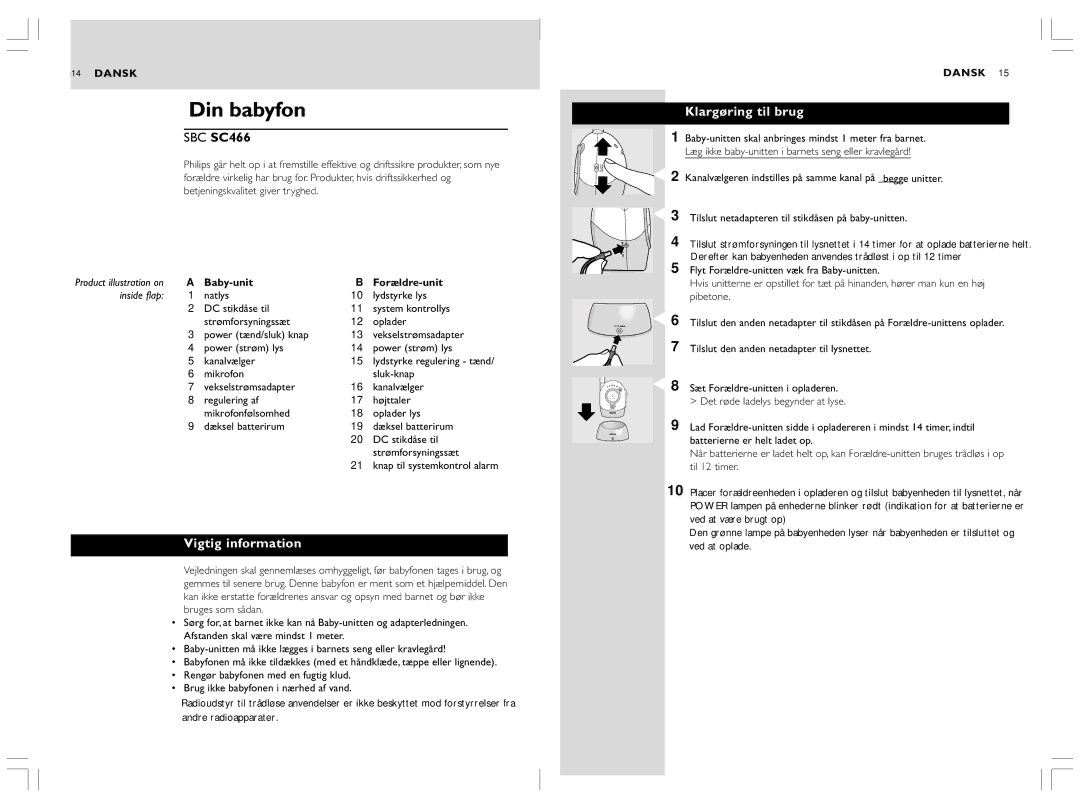
1Position the Baby unit at least one metre away from your baby. Never place the baby unit inside the baby’s bed or playpen.
2Set channel selection switches to the same channel on both units.
3
4 Plug the power adapter into mains supply for 14 hours to fully charge the batteries Then the Baby unit can be used cordlessly for up to 12 hours
5Move away from the Baby unit with the Parent unit.
If units are positioned too close to each other then a
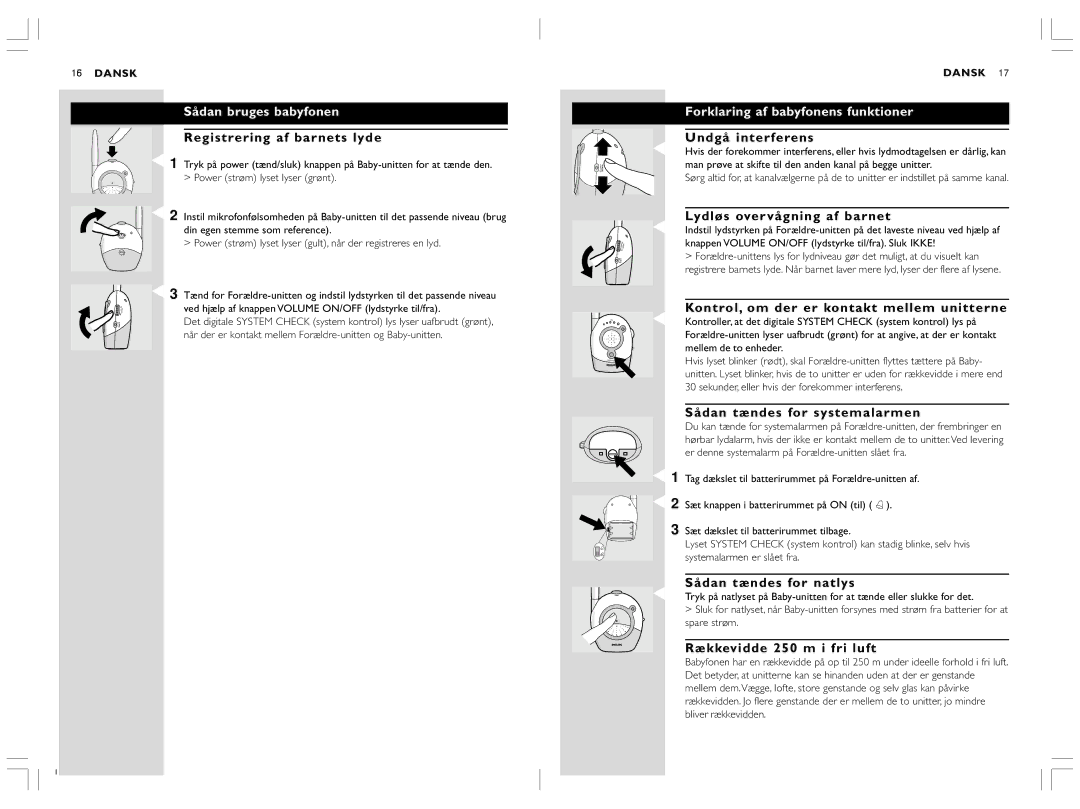
6 Connect the second power adapter to the Parent unit’s charging base socket.
7Plug the second power adapter into a mains supply.
8 Place the Parent unit inside its charging base. > The red charging light lights.
9Leave the Parent unit in charging base for at least 14 hours to fully charge the batteries.
When batteries are fully charged, the Parent unit can be used cordlessly for up to 12 hours.
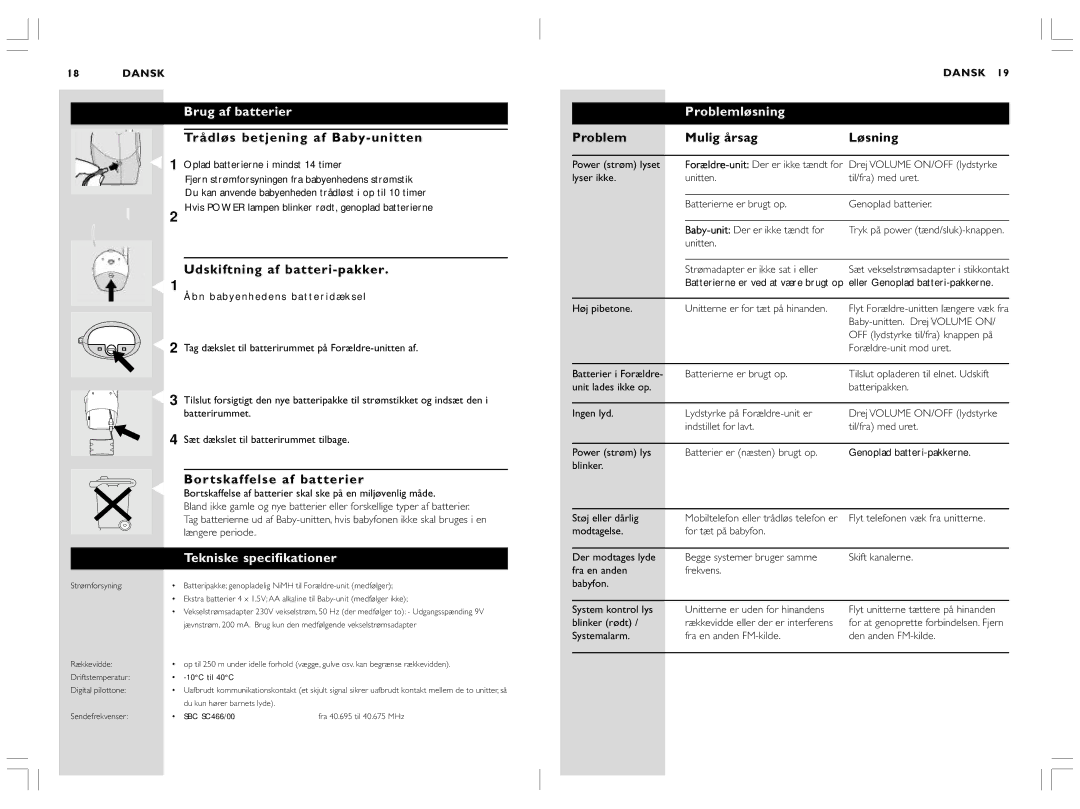
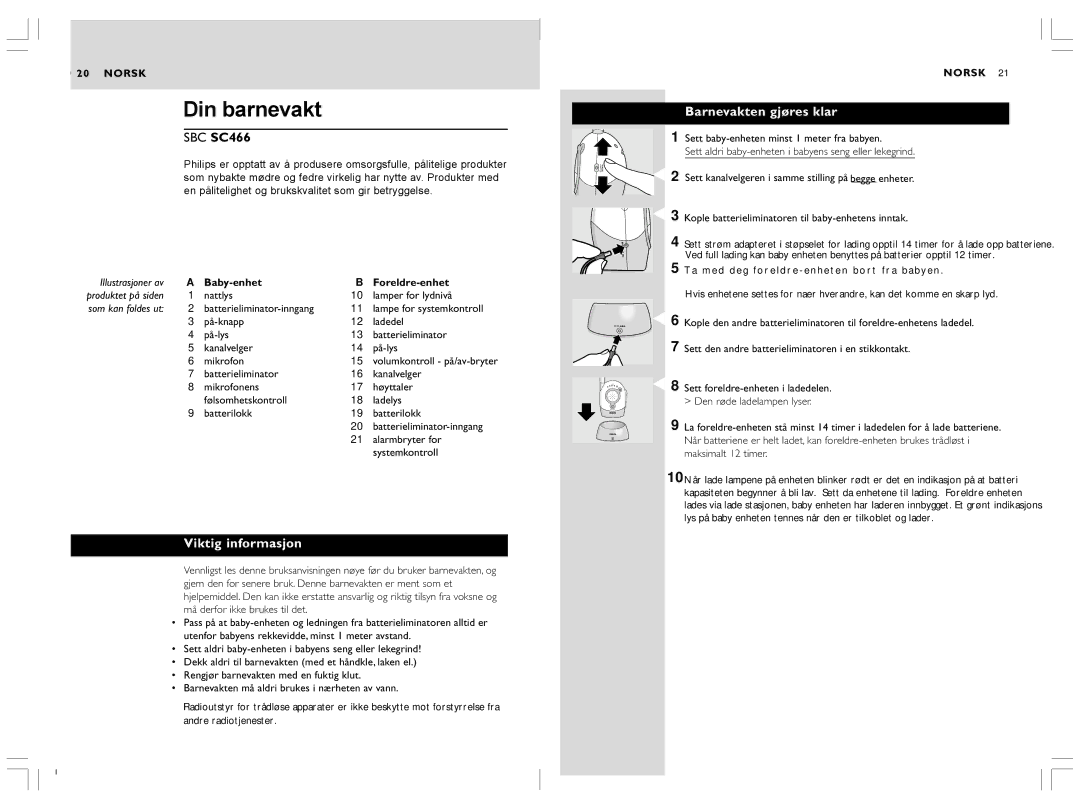
10Place the Parent unit inside the charging base and connect the baby unit to the mains when the power light on the units flashes red (an indication that batteries are low).
The green power light on the Baby unit lights when the Baby unit is connected to the mains and is charging
I
