Precautions
■General
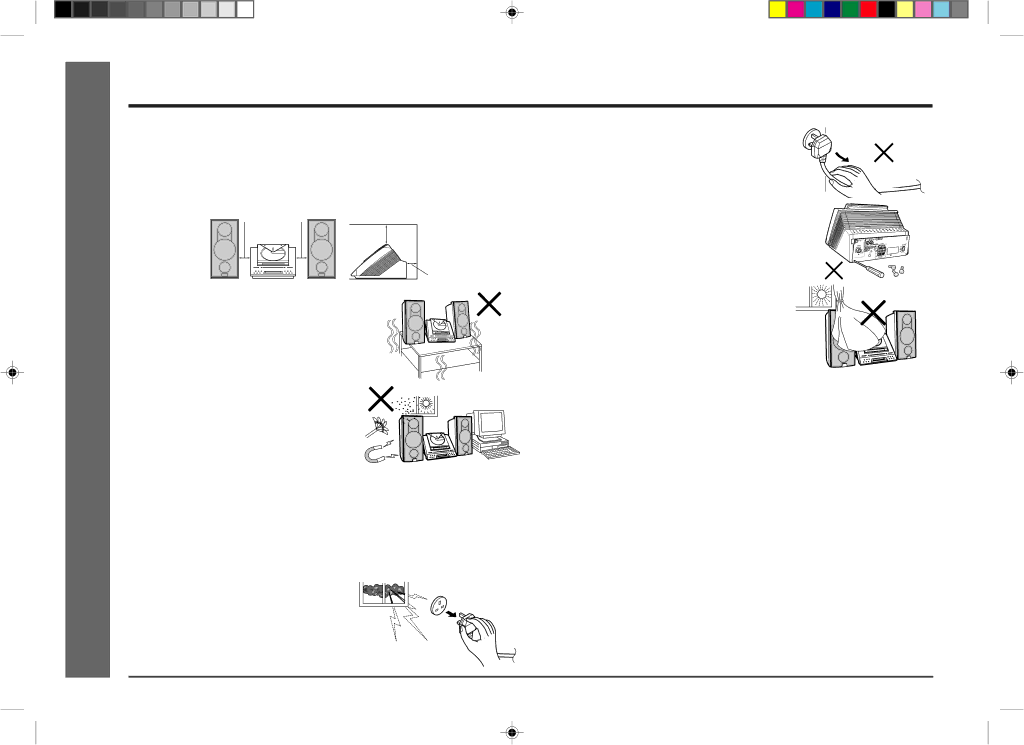
●Please ensure that the equipment is positioned in a
There must also be a minimum of 20 cm (8") of free space on the top of
the unit.
●Hold the AC power plug by the head when un- plugging the unit, as pulling the lead can dam- age internal wires.
●Do not remove the outer cover, as this may result in electric shock. Refer internal ser- vice to your local SHARP service facility.
10 cm (4”)
General Information - Precautions -
●Use the unit on a firm, level surface free from vibration.
●Keep the unit away from direct sunlight,
strong magnetic fields, excessive dust, humidity and electronic/electrical equip- ment (home computers, facsimiles, etc.) which generates electrical noise.
●Do not place anything on top of the unit.
●Do not expose the unit to moisture, to temperatures higher than 60°C (140°F) or to extremely low temperatures.
●If your system does not work properly, unplug it. Plug the AC power lead back in, and then turn on your system.
● In case of an electrical storm, unplug the unit for safety.
● The ventilation should not be impeded by cov- ering the ventilation openings with items, such as newspapers, tablecloths, curtains, etc.
●No naked flame sources, such as lighted candles, should be placed on the apparatus.
●Attention should be drawn to the environmental aspects of battery dis- posal.
●The apparatus is designed for use in moderate climate.
●This unit should only be used within the range of 5°C - 35°C (41°F - 95°F).
Warnings:
●The voltage used must be the same as that specified on this unit. Using this product with a higher voltage other than that which is specified is dangerous and may result in a fire or other type of accident causing damage. SHARP will not be held responsible for any damage resulting from use of this unit with a voltage other than that which is specified.
●CD players use a laser pickup which can damage the eyes if viewed directly. Do not look at the pickup, and do not touch the pickup directly.
■Volume control
The sound level at a given volume setting depends on speaker efficiency, location, and various other factors.
It is advisable to avoid exposure to high volume levels, which occurs whilst turning the unit on with the volume control setting up high, or whilst continu- ally listening at high volumes.
4
4 | 2001.4.20, 2:51 AM |