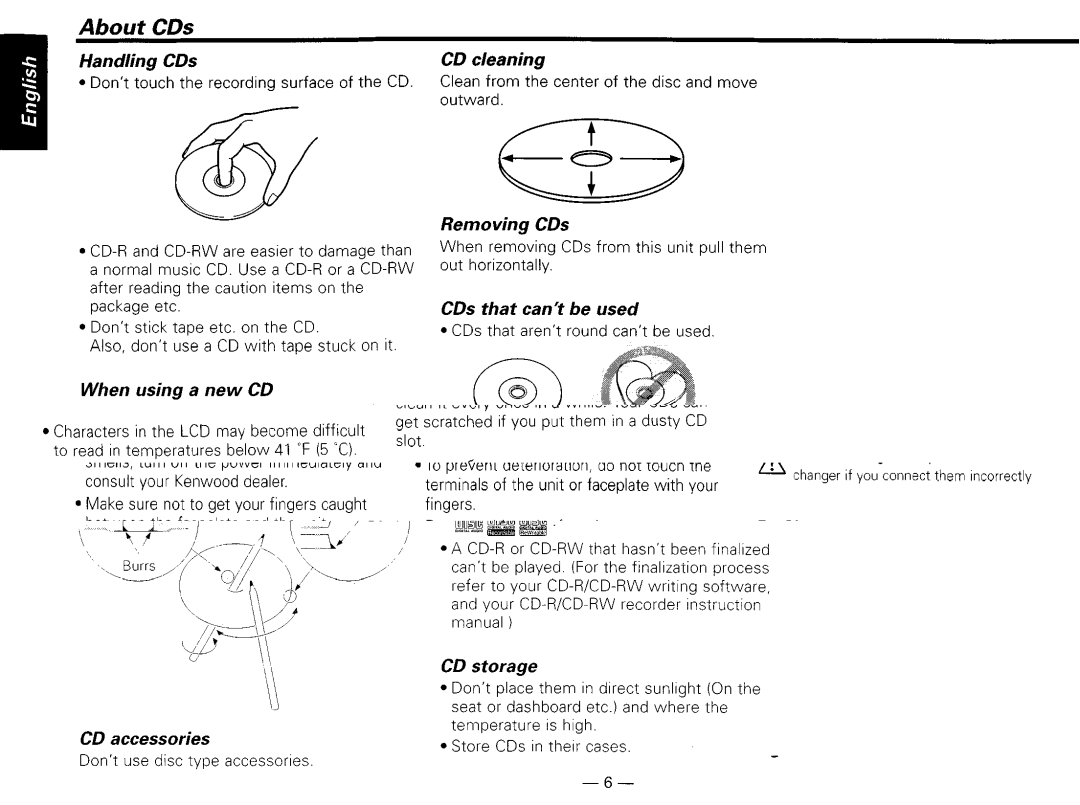
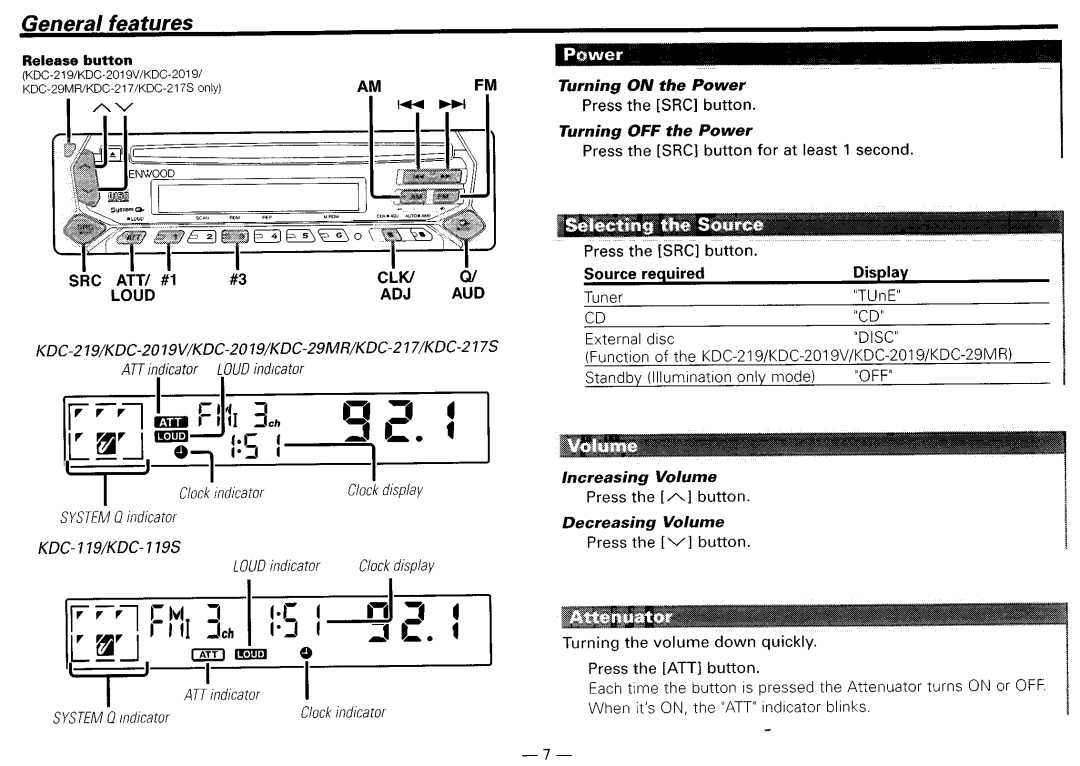
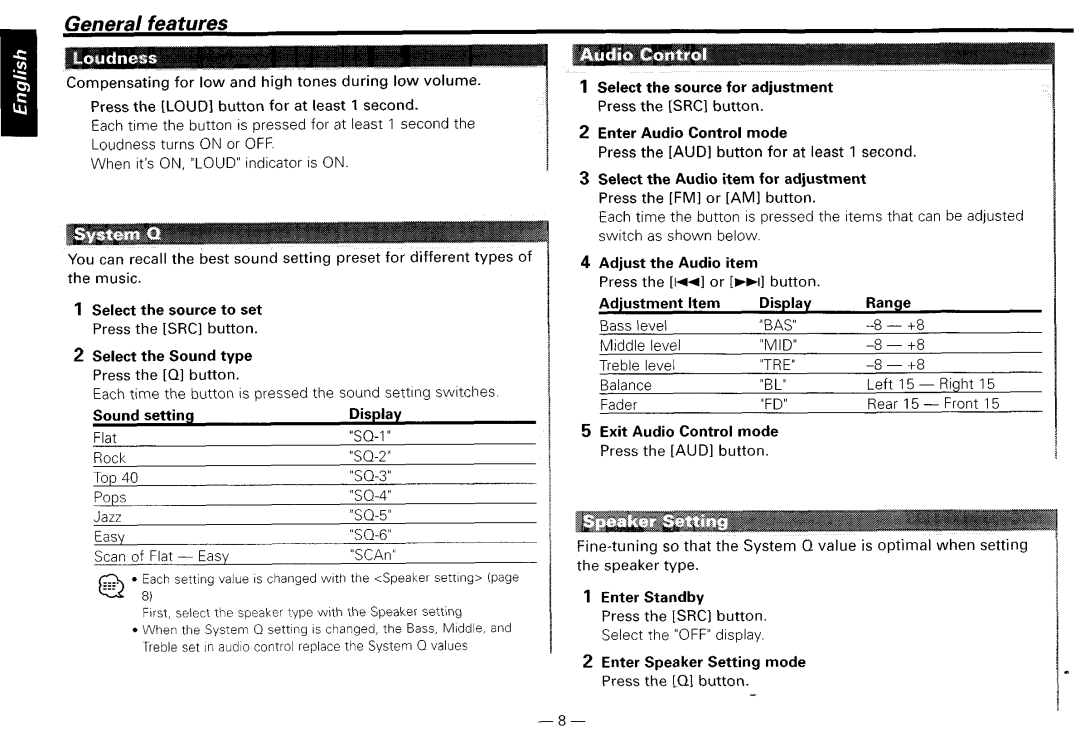
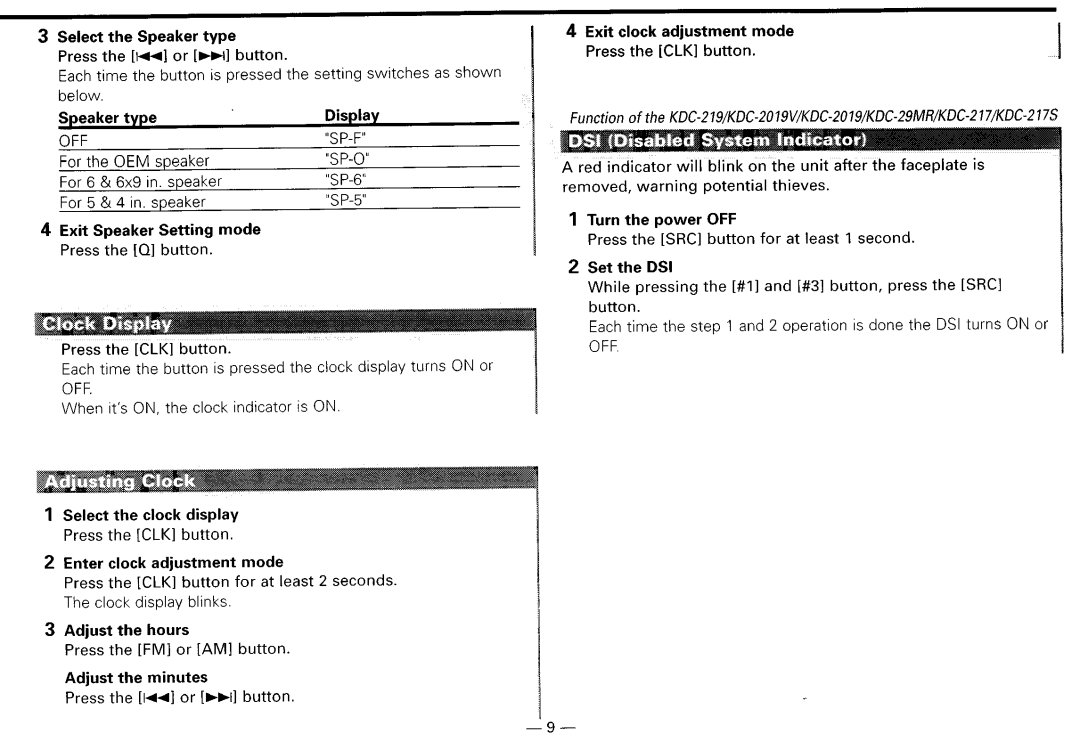
Kenwood KDG2019V, KDG217S, KDG29MR, KDG119S Removing the hard rubber frame, Removing the Unit

Page 20

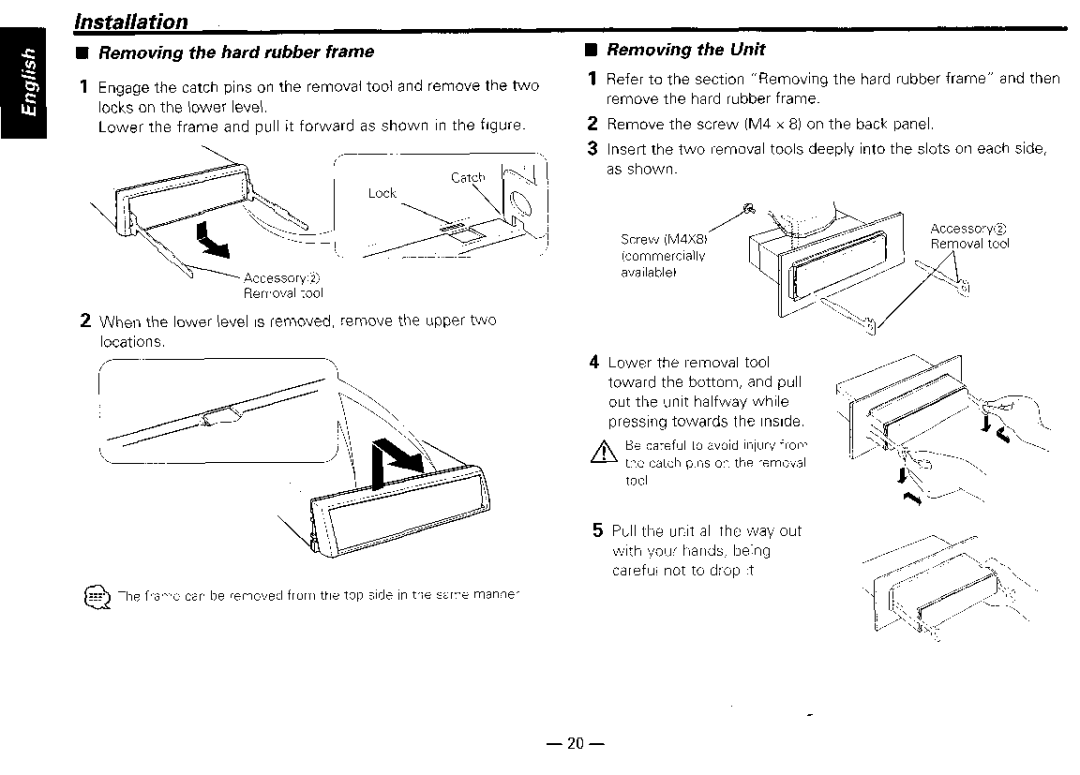
W Removing the hard rubber frame

1 Engage the catch pins on the removal tool and remove the two locks on the lower level.

Lower the frame and pull it forward as shown In the figure.

Accessory@

Removal tool

2 When the lower level is removed, remove the upper two locations.

W Removing the Unit

1 Refer to the section “Removing the hard rubber frame” and then remove the hard rubber frame.

2Remove the screw CM4 x 8) on the back panel.

3Insert the two removal tools deeply into the slots on each side, as shown

Screw (M4X8)

Accessory@

Reywal tool


(commercrally avarIable

4Lower the removal tool toward the bottom, and pull out the unit halfway whrle pressing towards the Inside.

Be careful to avoid ~n]ury from

Athe catch pns on the removal tool

5 Pull the unrt all the way out wrth your hands, being careful not to drop it

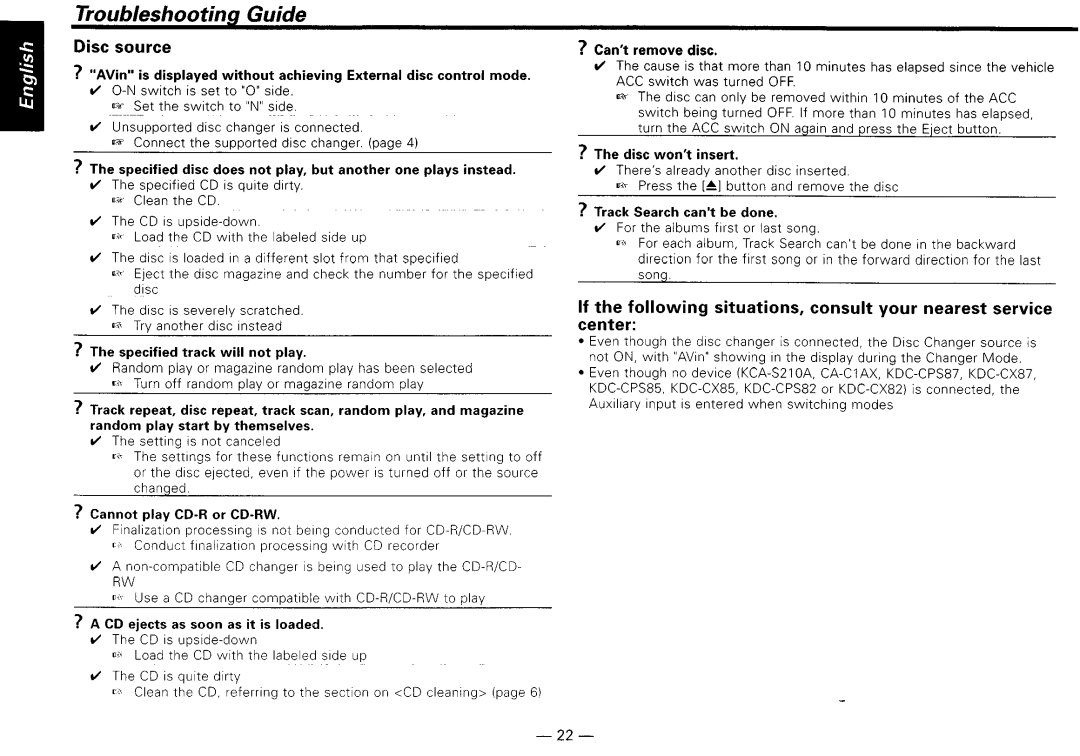
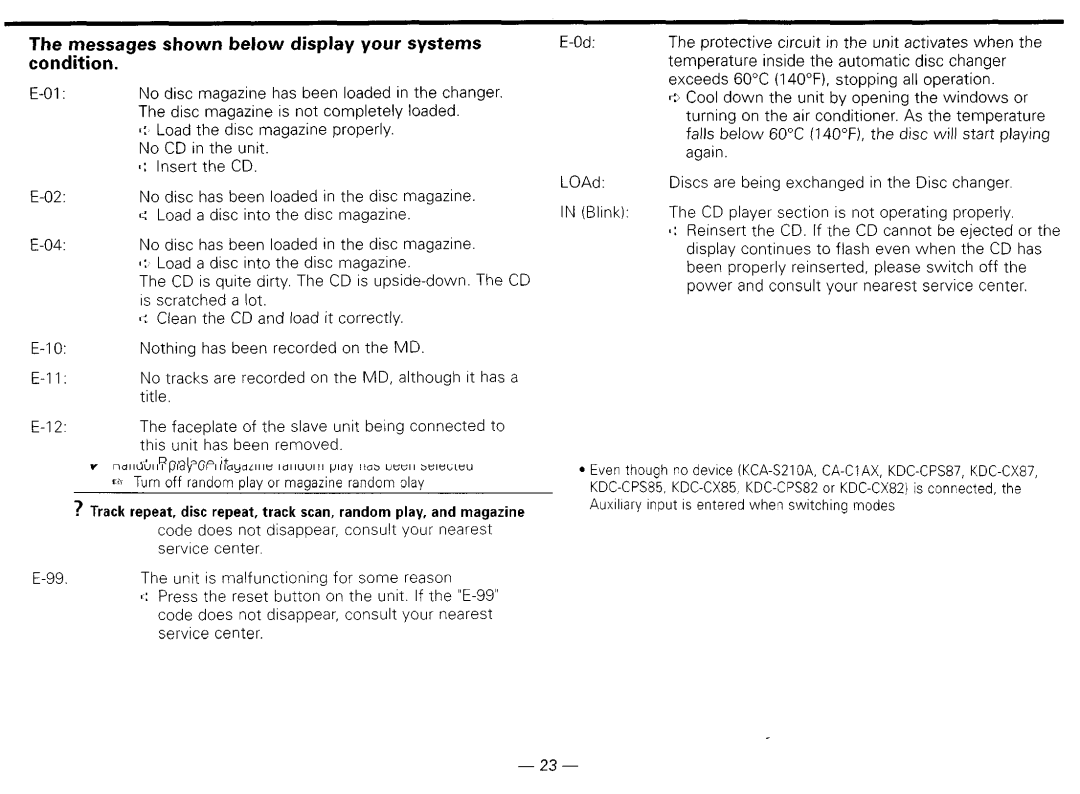
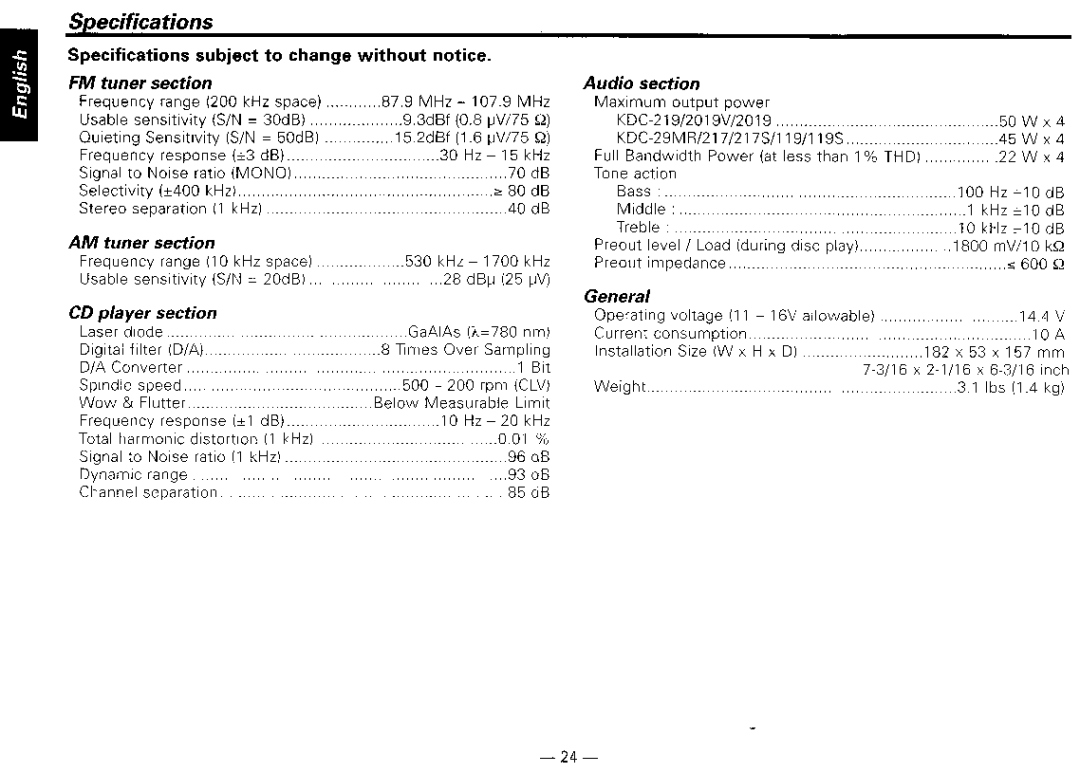
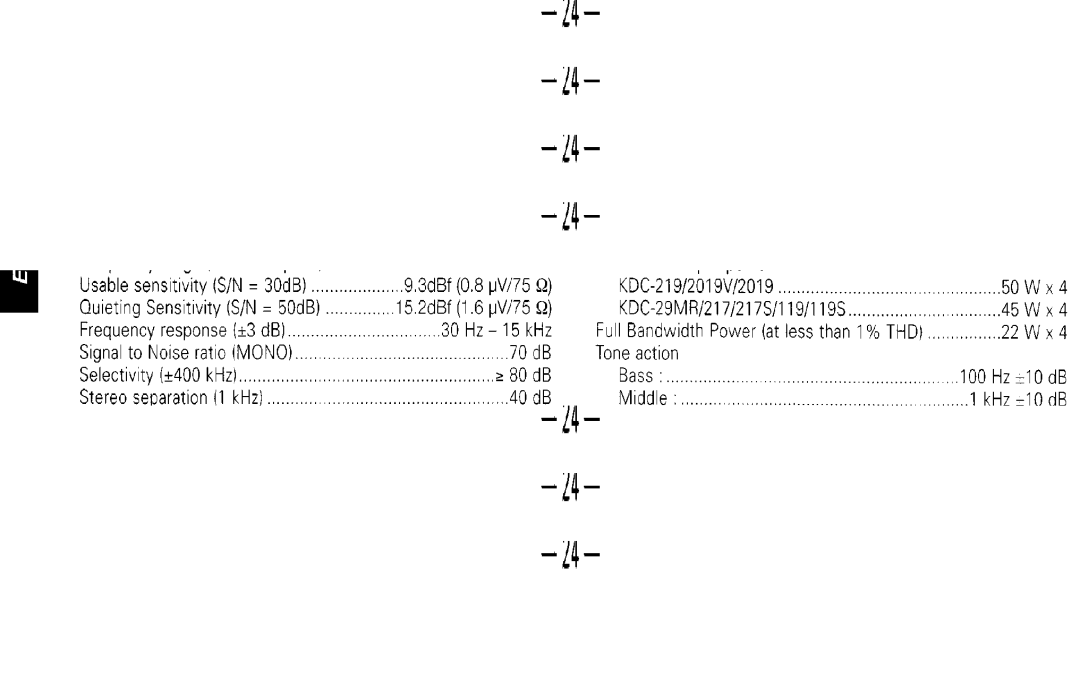
@The frame can be removed from the top side in the same mannel

- 20 -
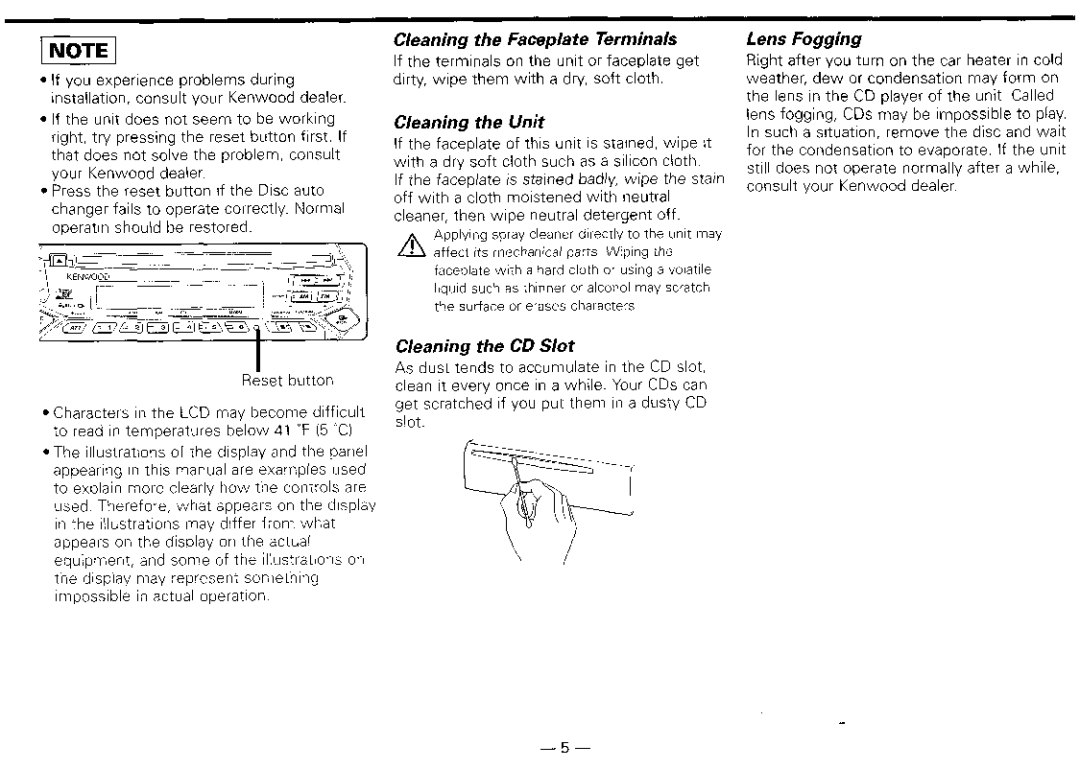
Image 20
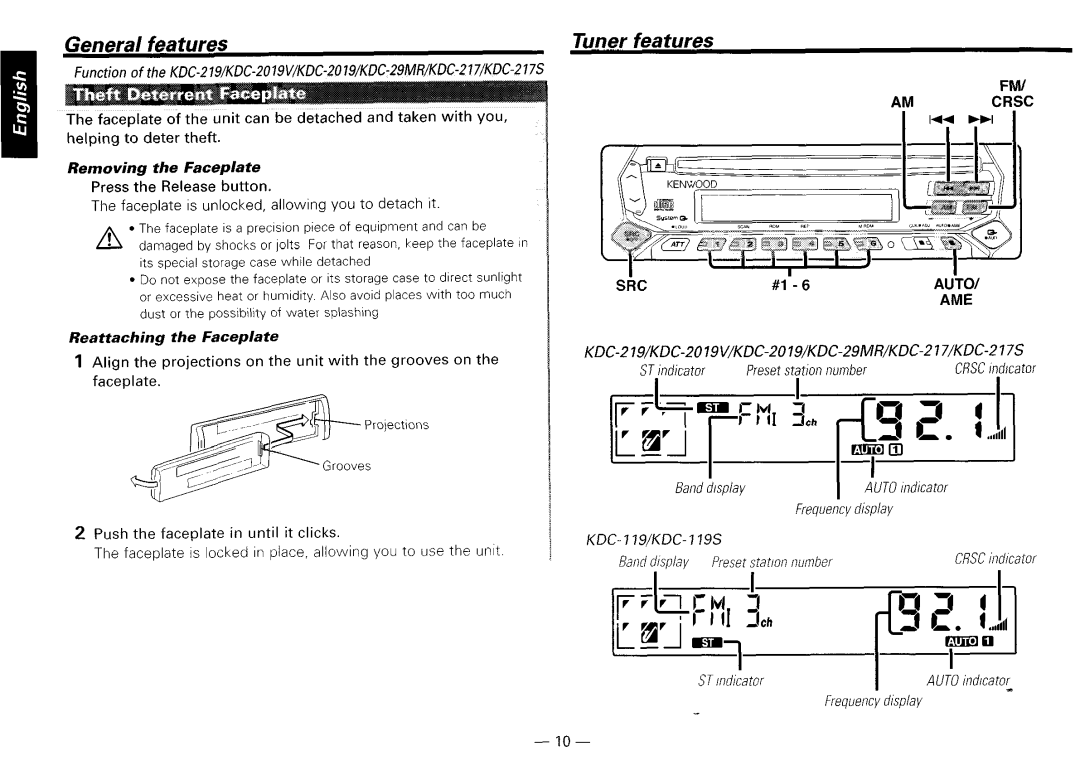
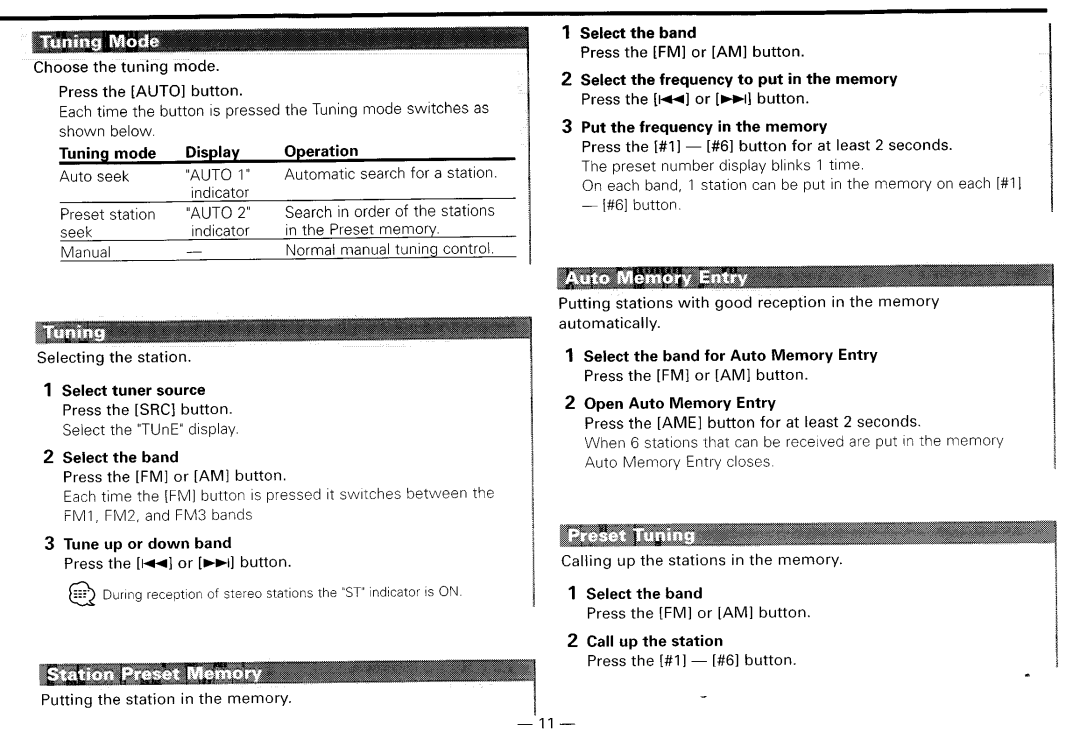
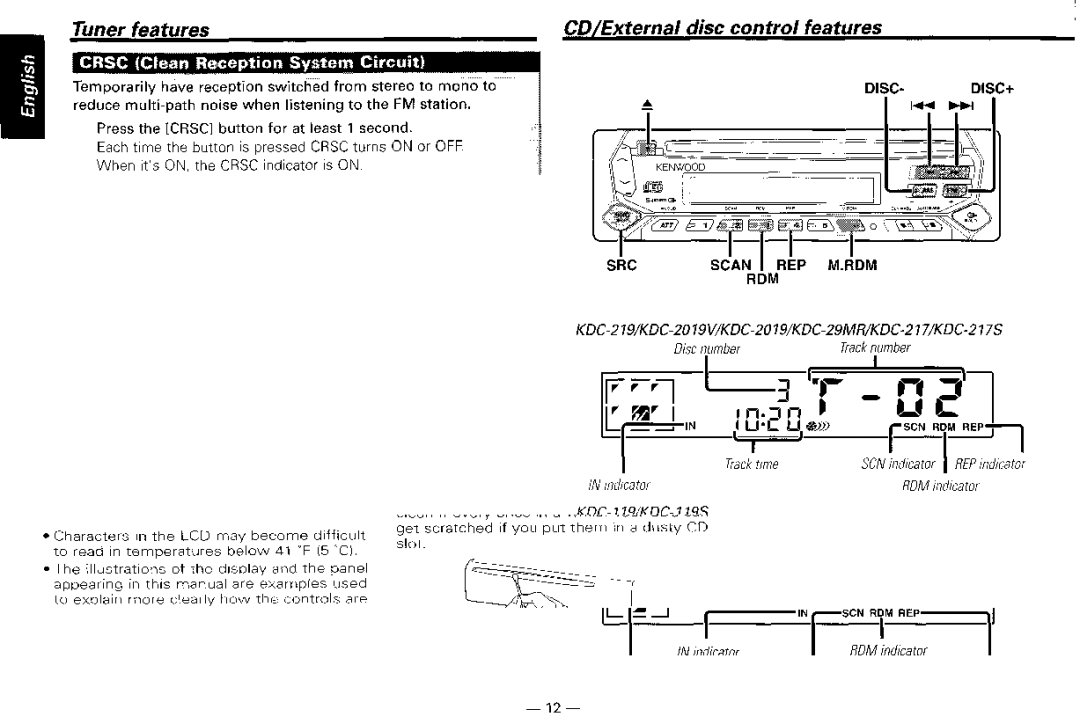
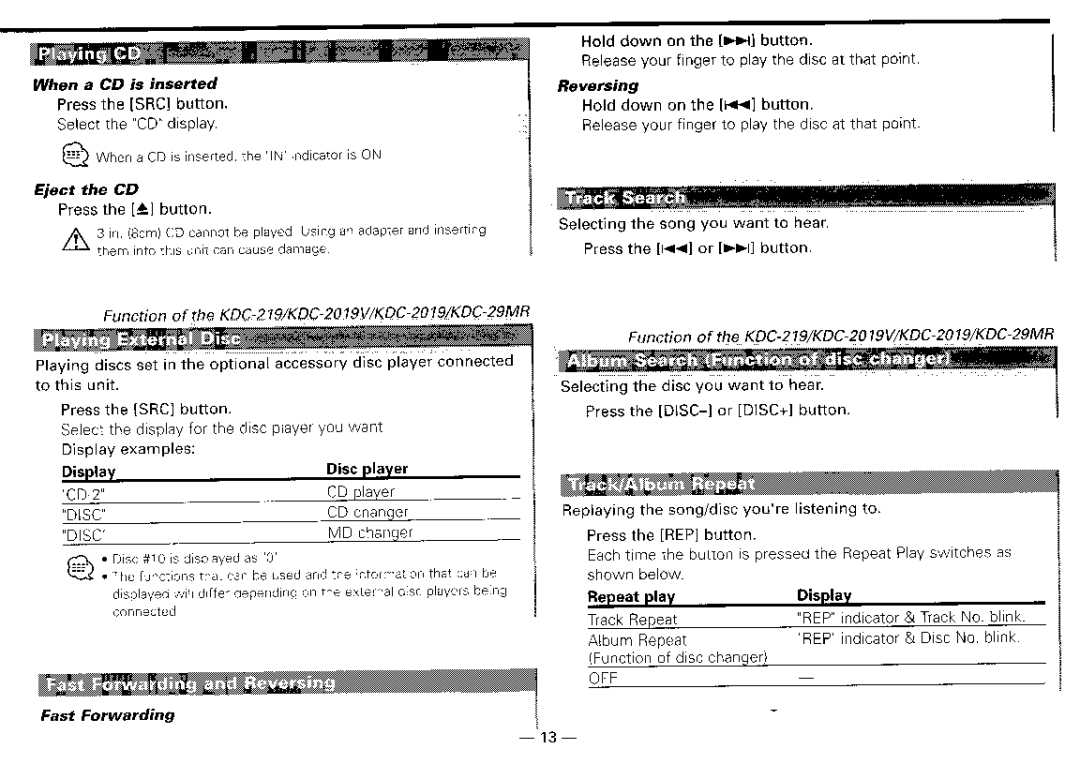
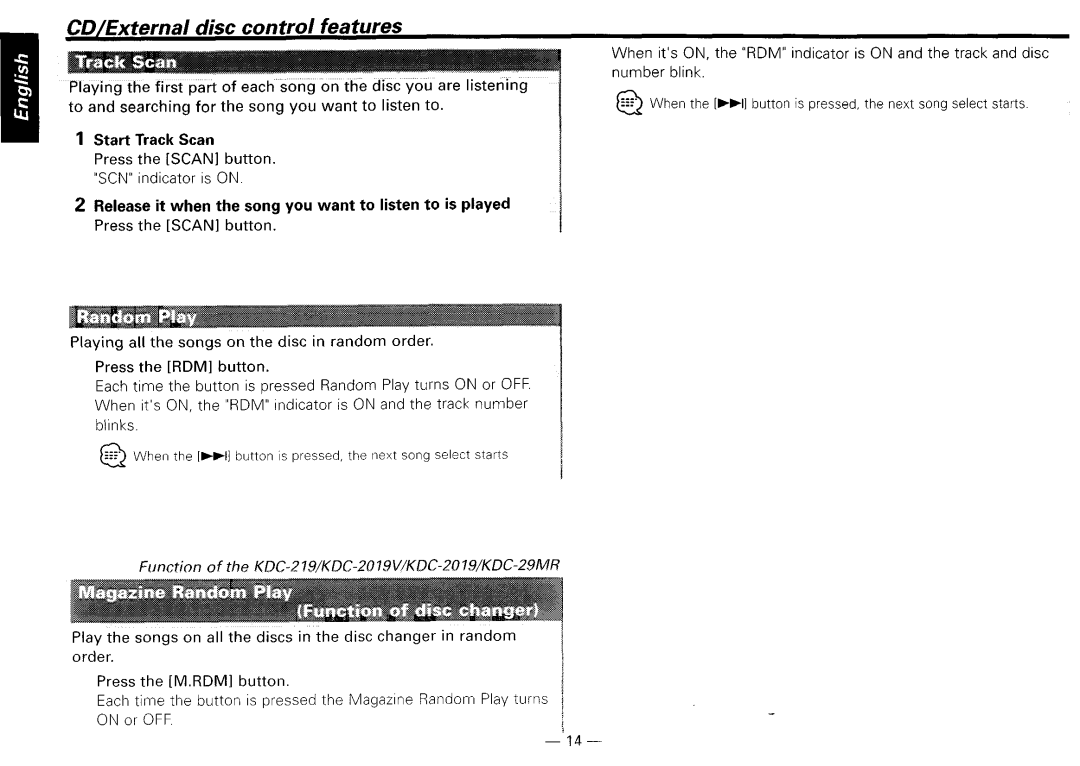
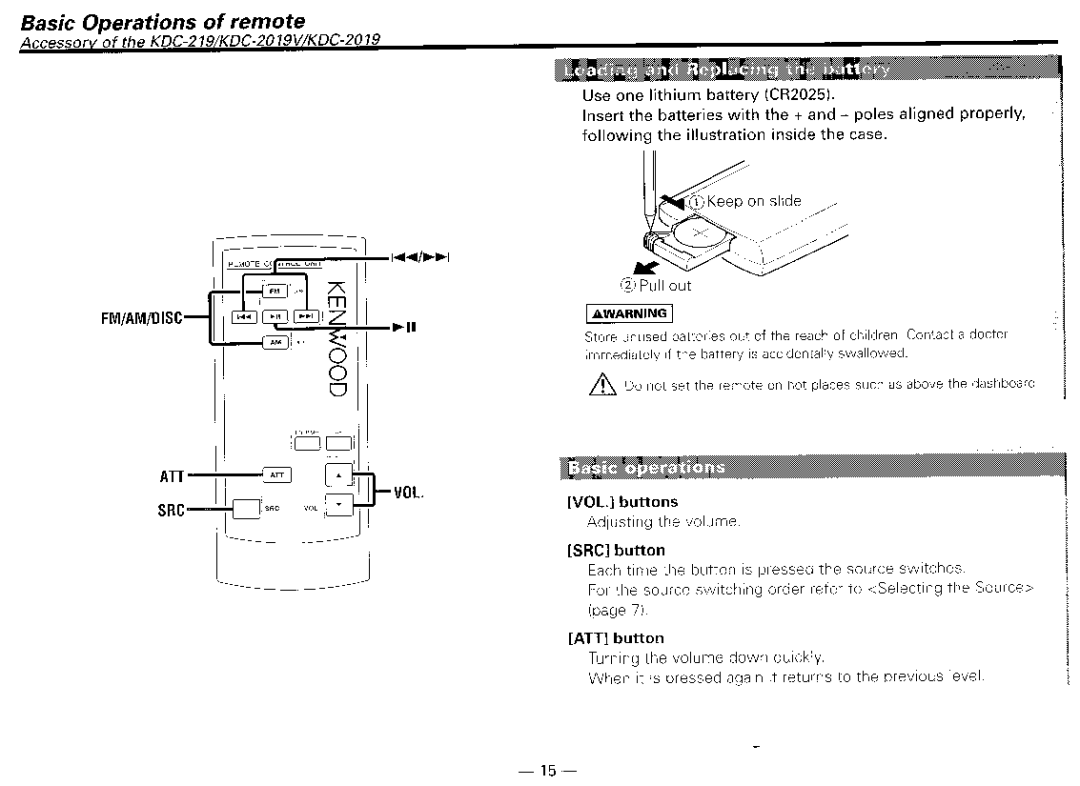
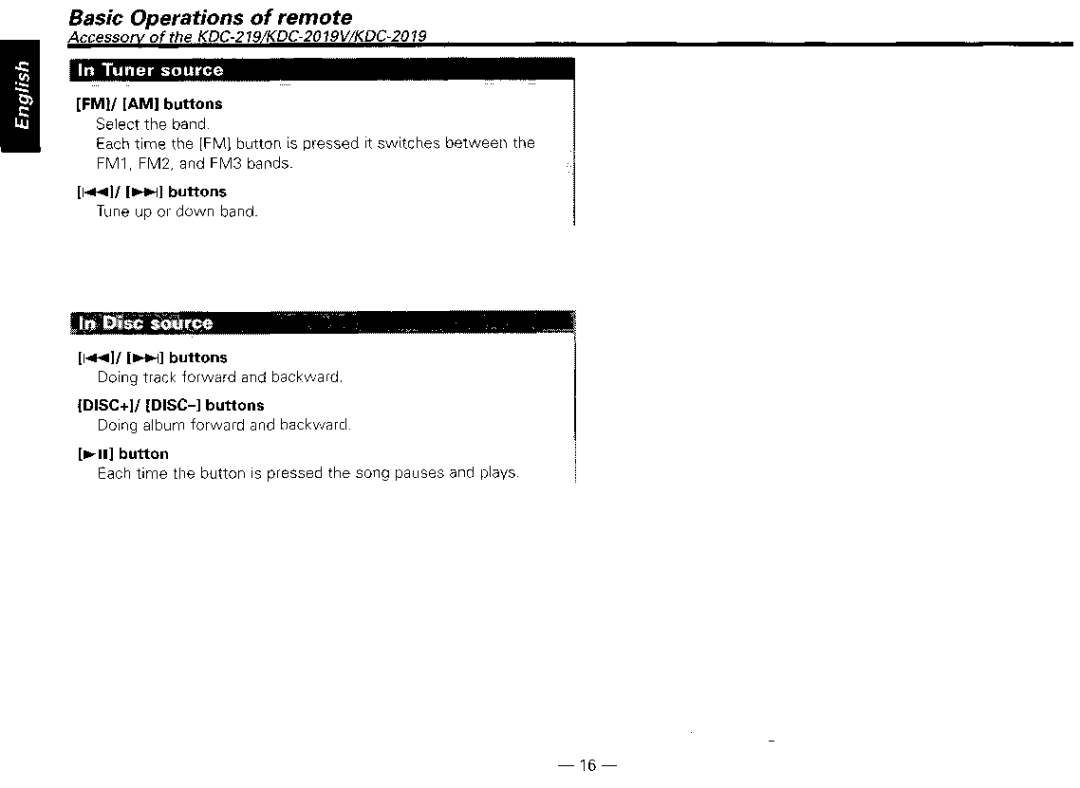
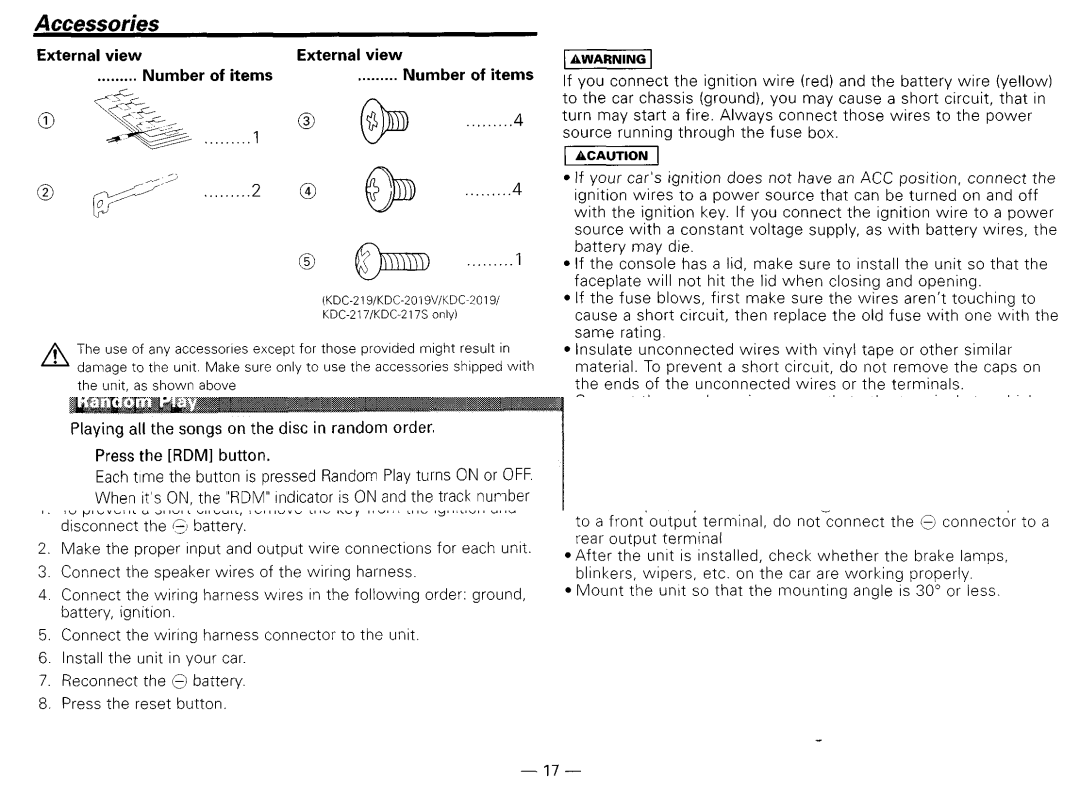
Contents For your records Serial numberDo!3E KDC-1 19S, KDC-217, KDC217SSafety Precautions About CDs ..~ FeaturesTuner features Accessories InstallationLocation Bottom Panel FCC WarningTo prevent injury or fire, take the following precautions About the disc changer to be connectedDo Not Load 3-in. CDs in the CD slot Do not place any object between the faceplate and the unrtCleaning the Faceplate Terminals Cleaning the UnitCleaning the CD Slot Reset buttonCD cleaning When using a new CDCD accessories Handling CDsGeneral features SrciIsrci DiscTRE BAYMID Adjust the minutes Press the ~rrl or I button ‘5p-6Tuner features STjndicator Preset stgion numberSRC KDC-219/KDC-2019V/KDC-2019/KDC-29MR/KDC-217/KDC-217SPreset Manual Normal manual tuning Control Selecting the stationShown Auto seekCD/External disc control features Iv indicator RDMindxator KDC- 7IS/KDC- 179s TracknumberRDMindicator Tracktime SCNinghcator DISC-DI RDMAlbum Repeat REP indicator Disc No. blink ChangerPlay Songs on All Discs Disc changer in random Order RdmiATT button Basic Operations of remoteSrci button Basic Operations of remote Installation Procedure Number of itemsPower control/Motor antenna Shown below Installing in Japanese-Made CarsScrewing the Faceplate on the Unit Removing the hard rubber frame Removing the UnitTuner source Troubleshooting Guide Disc sourceExchanged Disc Changer Blink CD player Messages shown below display your systems conditionAgain LOAd Specifications SpecificationsTo change without FM tuner SectionKenwood Acaution Aattention 858-1365-04Warranty Card USA