Pioneer XV-HTD510, S-HTD510 operating instructions Important Notice

Page 2

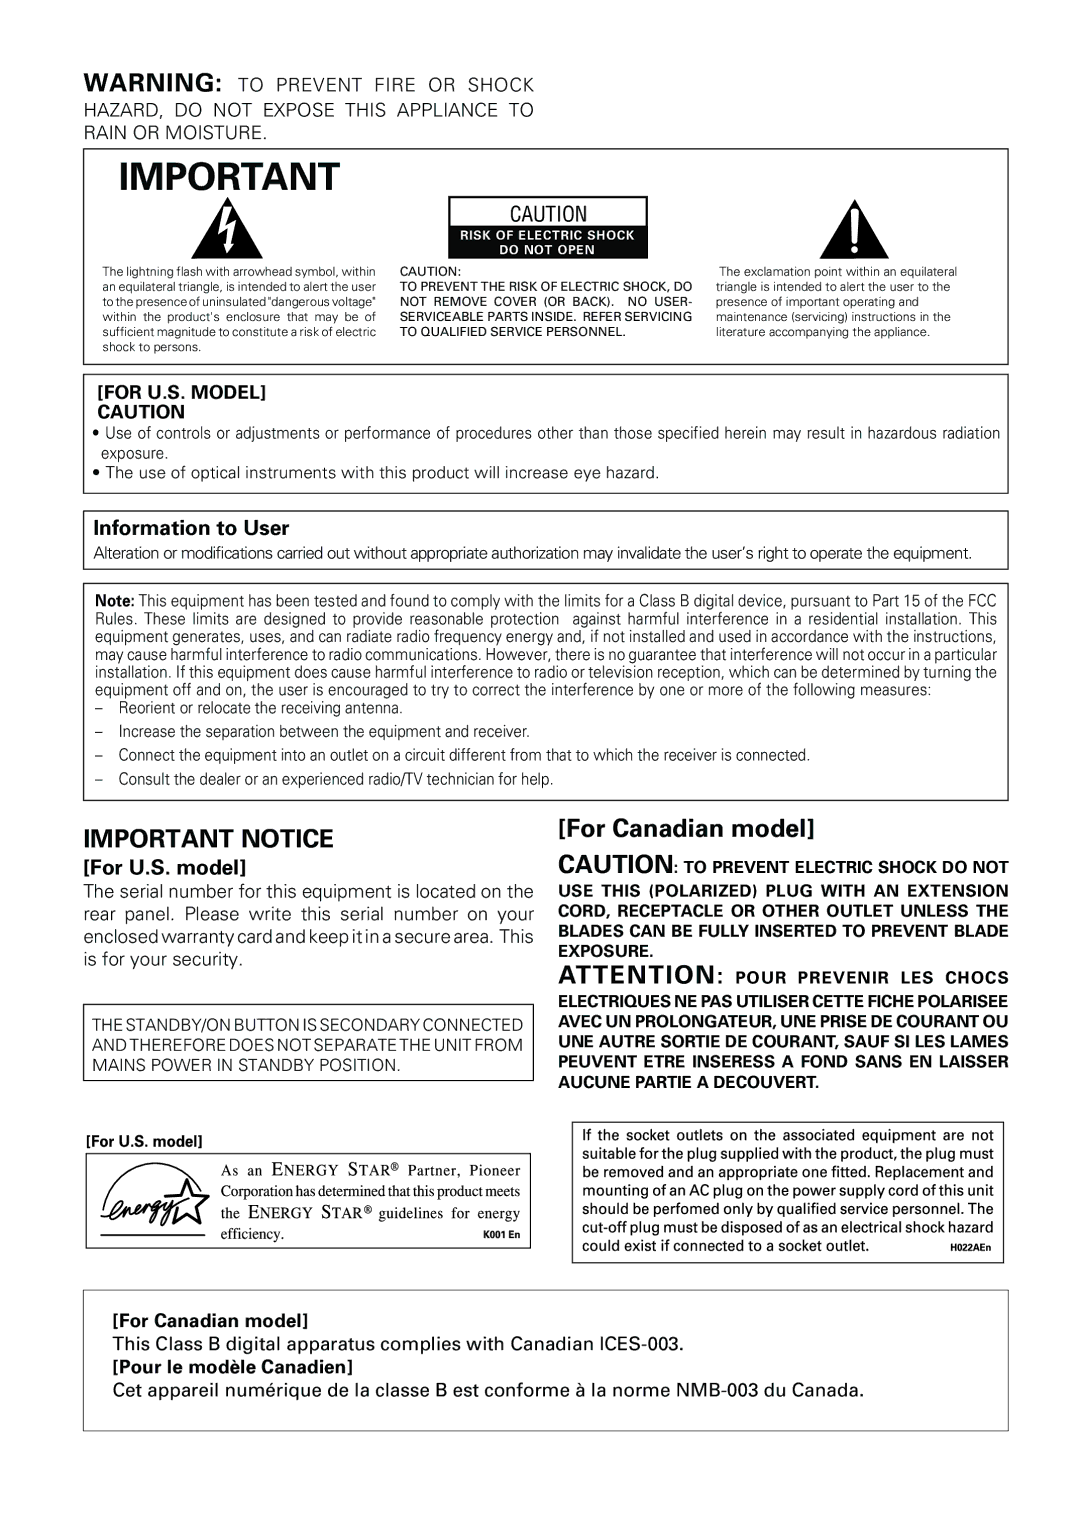
WARNING: TO PREVENT FIRE OR SHOCK HAZARD, DO NOT EXPOSE THIS APPLIANCE TO RAIN OR MOISTURE.

IMPORTANT

CAUTION

The lightning flash with arrowhead symbol, within an equilateral triangle, is intended to alert the user to the presence of uninsulated "dangerous voltage" within the product's enclosure that may be of sufficient magnitude to constitute a risk of electric shock to persons.

RISK OF ELECTRIC SHOCK

DO NOT OPEN

CAUTION:

TO PREVENT THE RISK OF ELECTRIC SHOCK, DO NOT REMOVE COVER (OR BACK). NO USER- SERVICEABLE PARTS INSIDE. REFER SERVICING TO QUALIFIED SERVICE PERSONNEL.

The exclamation point within an equilateral triangle is intended to alert the user to the presence of important operating and maintenance (servicing) instructions in the literature accompanying the appliance.

[FOR U.S. MODEL] CAUTION

Use of controls or adjustments or performance of procedures other than those specified herein may result in hazardous radiation exposure.

The use of optical instruments with this product will increase eye hazard.

Information to User

Alteration or modifications carried out without appropriate authorization may invalidate the user’s right to operate the equipment.

Note: This equipment has been tested and found to comply with the limits for a Class B digital device, pursuant to Part 15 of the FCC Rules. These limits are designed to provide reasonable protection against harmful interference in a residential installation. This equipment generates, uses, and can radiate radio frequency energy and, if not installed and used in accordance with the instructions, may cause harmful interference to radio communications. However, there is no guarantee that interference will not occur in a particular installation. If this equipment does cause harmful interference to radio or television reception, which can be determined by turning the equipment off and on, the user is encouraged to try to correct the interference by one or more of the following measures:

Reorient or relocate the receiving antenna.

Increase the separation between the equipment and receiver.

Connect the equipment into an outlet on a circuit different from that to which the receiver is connected.

Consult the dealer or an experienced radio/TV technician for help.

IMPORTANT NOTICE

[For U.S. model]

The serial number for this equipment is located on the rear panel. Please write this serial number on your enclosed warranty card and keep it in a secure area. This is for your security.

THE STANDBY/ON BUTTON IS SECONDARY CONNECTED AND THEREFORE DOES NOT SEPARATE THE UNIT FROM MAINS POWER IN STANDBY POSITION.

[For Canadian model]

CAUTION: TO PREVENT ELECTRIC SHOCK DO NOT USE THIS (POLARIZED) PLUG WITH AN EXTENSION CORD, RECEPTACLE OR OTHER OUTLET UNLESS THE BLADES CAN BE FULLY INSERTED TO PREVENT BLADE EXPOSURE.

ATTENTION: POUR PREVENIR LES CHOCS ELECTRIQUES NE PAS UTILISER CETTE FICHE POLARISEE AVEC UN PROLONGATEUR, UNE PRISE DE COURANT OU UNE AUTRE SORTIE DE COURANT, SAUF SI LES LAMES PEUVENT ETRE INSERESS A FOND SANS EN LAISSER AUCUNE PARTIE A DECOUVERT.

[For Canadian model]

This Class B digital apparatus complies with Canadian ICES-003.

[Pour le modèle Canadien]

Cet appareil numérique de la classe B est conforme à la norme NMB-003 du Canada.
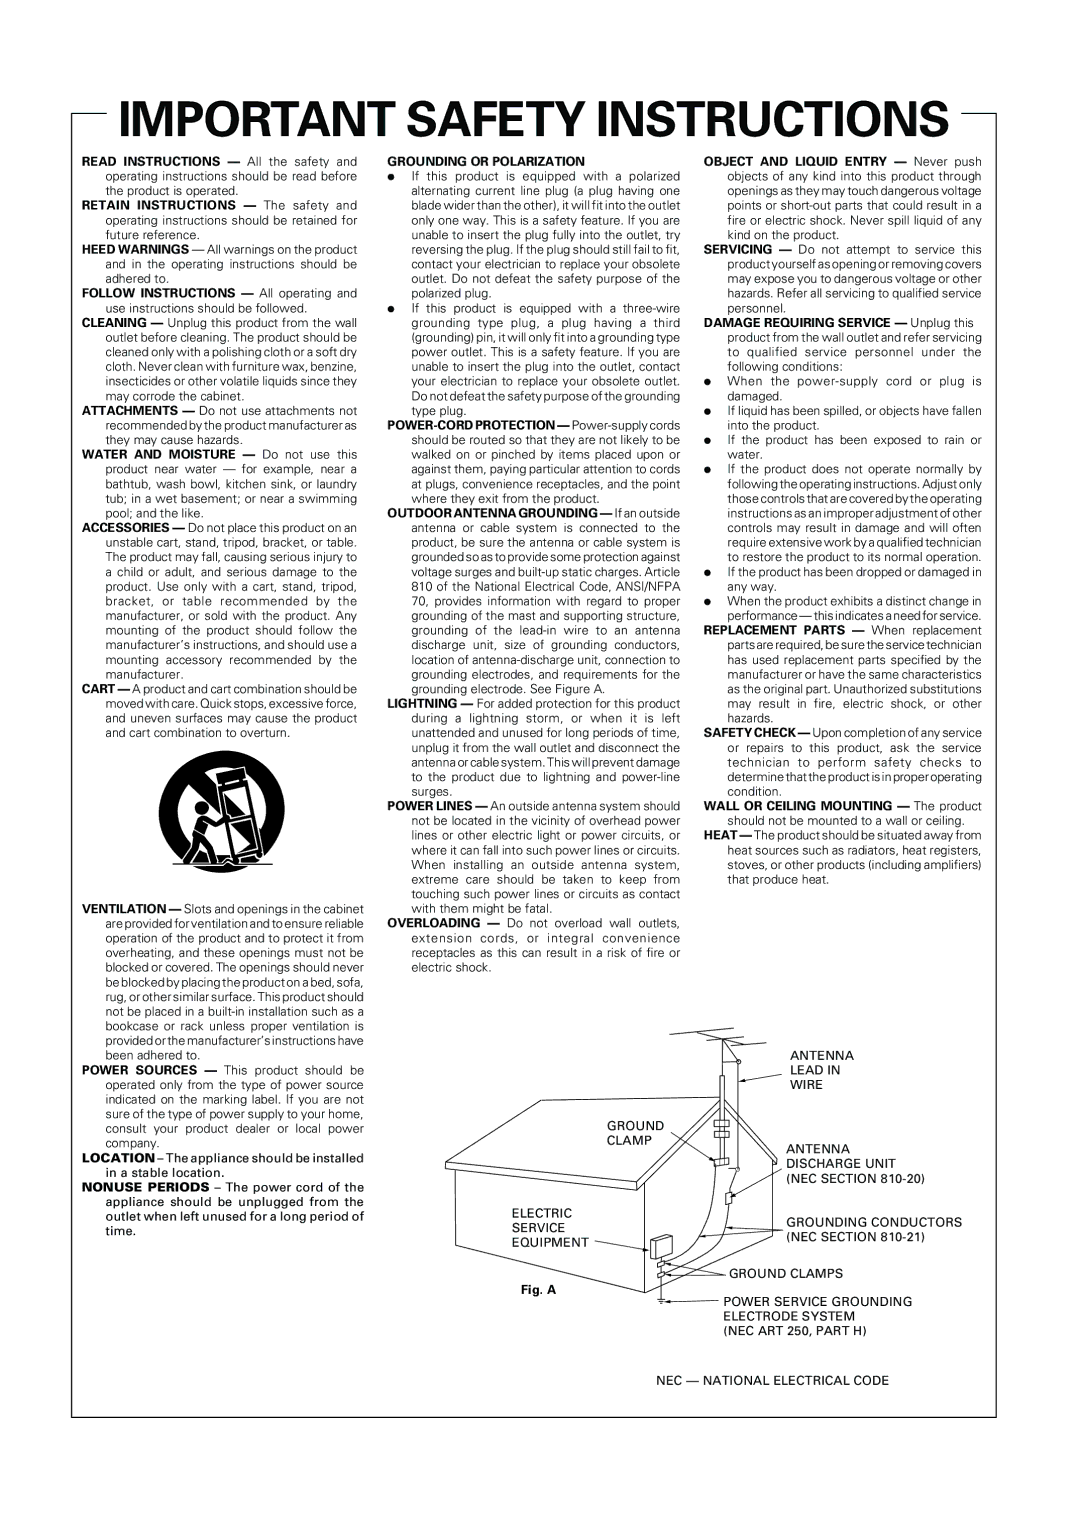
Image 2
Contents XV-HTD510 Important Notice Important Safety Instructions We Want You Listening ForALifetime Contents Graphical Setup Navigator FeaturesUsing this manual Before You StartUsing the remote control Putting the batteries in the remote controlHints on installation Keep in mind the following when using the remote controlDVD Video compatibility Avoiding problems with condensationMoving the system Audio CD compatibilityRelease the speaker terminal tabs to secure Speaker cable Connecting UpConnecting the speakers 3m 6-9ft. apart Placing the speakersWall mounting the rear speaker system Before mountingConnecting to your TV Video cord not suppliedConnecting the supplied antennas Connecting external antennasConnecting other components Connecting the powerRemote control Controls & DisplaysFront panel DisplaySwitching on and setting the clock Setting UpSetting up for surround sound Setting the speaker distancesBalancing the surround sound Press 3 to move on to the Surround speakers settingPress Surround Mode Press Enter to exitUsing the Setup Navigator Basic playback controls Getting StartedPlaying DVDs, CDs and Video CDs Do not rotate the disc tray by hand. Always use ButtonNavigating DVD disc menus Navigating Video CD PBC menusListening to the radio Exchanging discsListening to other components Saving station presetsListening to station presets Improving FM stereo soundUsing sound modes Using Surround SoundAdjusting the bass and treble Using P.BassListening to other sources with room effects Adjusting the effect levelPress DSP to select a sound mode HallPress Sound Use the 2 or 3 buttons to select Listening at low volumeDirect recording Use the 5 and ∞ buttons to turn on orPlaying Discs Press Program Shift ¢ button to the previous six steps using the 4 buttonMaking a program list Enter a disc number 1 toMore programming options Using random playUsing repeat play To view the playlist, press Program ShiftLooping a section of a disc Playing CDs only CD ModeBookmarking a place in a disc When a disc is stopped, all title/chapter, or track Memorizing disc settingsSettings memorized are Displaying disc informationActivating/deactivating the wake up timer Using the TimerUsing the wake up timer Using the sleep timer Checking the timer settingsThere are three settings Advanced Sound SetupAdvanced sound settings LFE attenuatorUse the 2 and 3 buttons to select a channel to adjust Dual-mono settingAdjusting channel volume levels When youre done, press EnterVideo settings DVD Setup MenuUsing the DVD Setup menu TV ScreenLanguage settings Subtitle Language Default Setting EnglishAudio Language Auto LanguageDVD Language General settingsSetup Menu Mode Subtitle DisplayChanging the parental lock level Changing your passwordParental Lock Default setting Blue Input a new password, then press EnterDefault setting Off Screen SaverAdditional Information Setting the display brightnessSwitching the time format Taking care of your systemDiscs to avoid GlossaryStoring discs Language code list Language/LangueTroubleshooting ProblemRemedyHold down the front panel 7 button and switch back on Resetting the systemSwitching the demo mode on/off When viewing a widescreen TV or monitor Screen sizes and disc formatsSpecifications 0 4 2 1 1 4 0