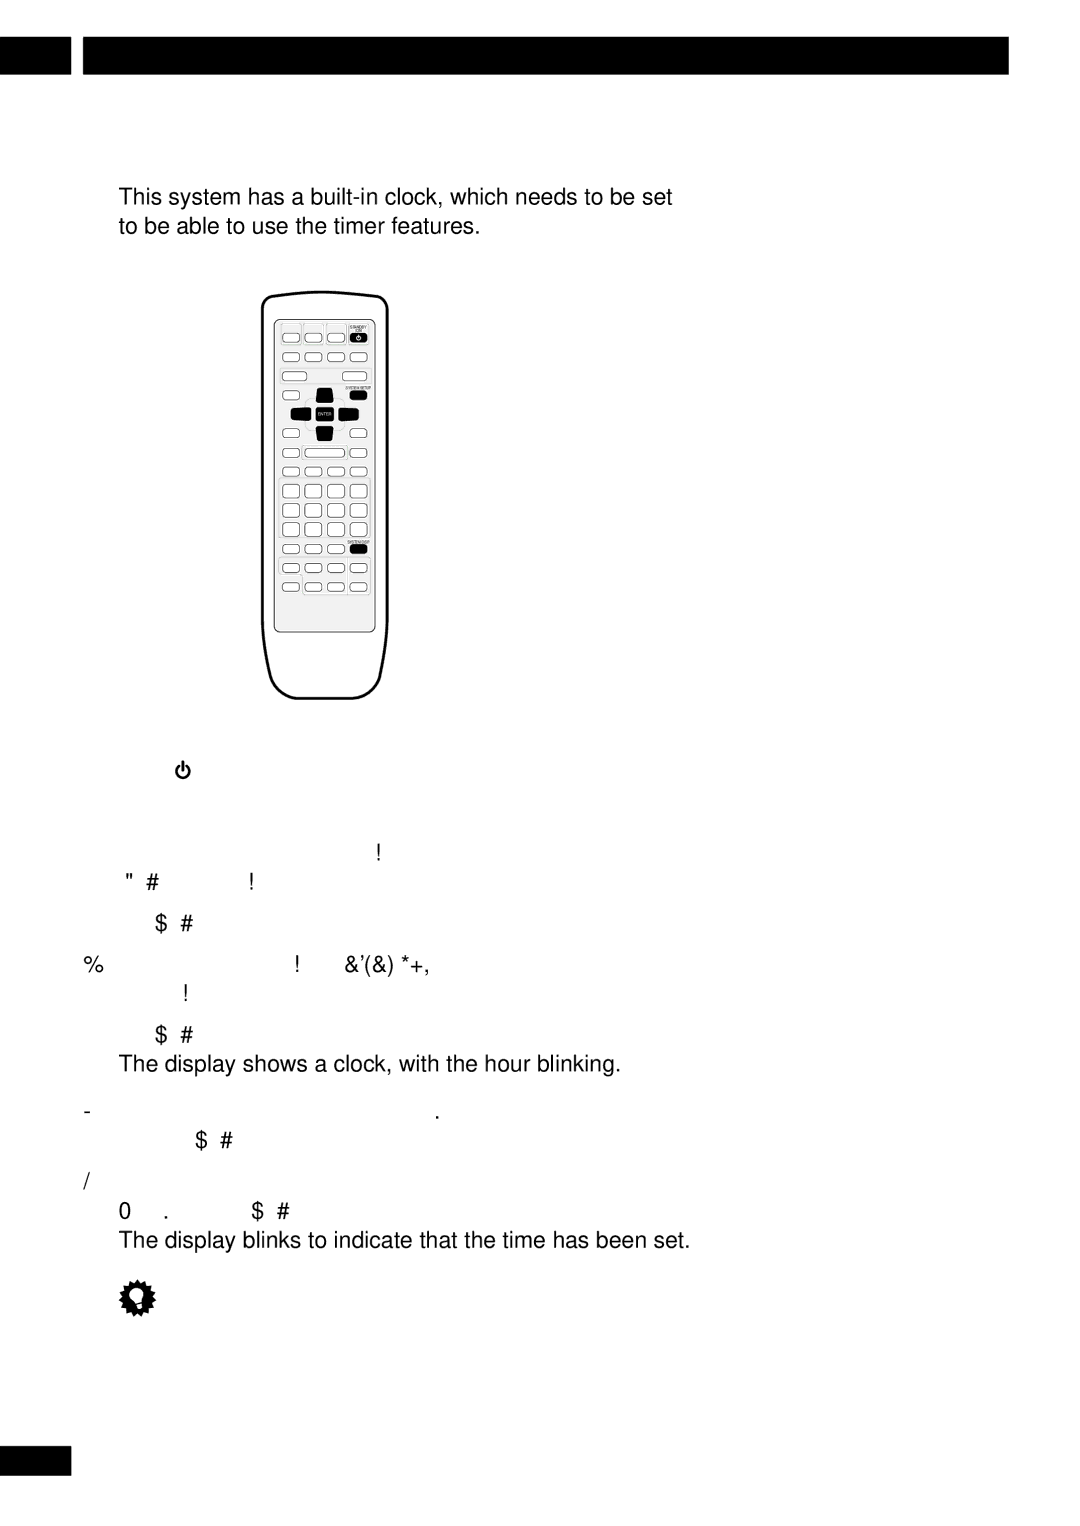
Pioneer S-HTD510 Putting the batteries in the remote control, Hints on installation, Don’t

Page 7

Before You Start

1

Putting the batteries in the remote control

1Open the battery compartment cover on the back of the remote control.

2Insert two AA/R6P batteries into the battery compartment following the indications (ª, ·) inside the compartment.

3 Close the cover.

Remove the batteries if the remote is not going to be used for a month or more.

Remove dead batteries promptly—they can leak and damage the unit.

When disposing of used batteries, please comply

with governmental regulations or environmental public institution’s rules that apply in your country or area.

Using the remote control

Keep in mind the following when using the remote control:

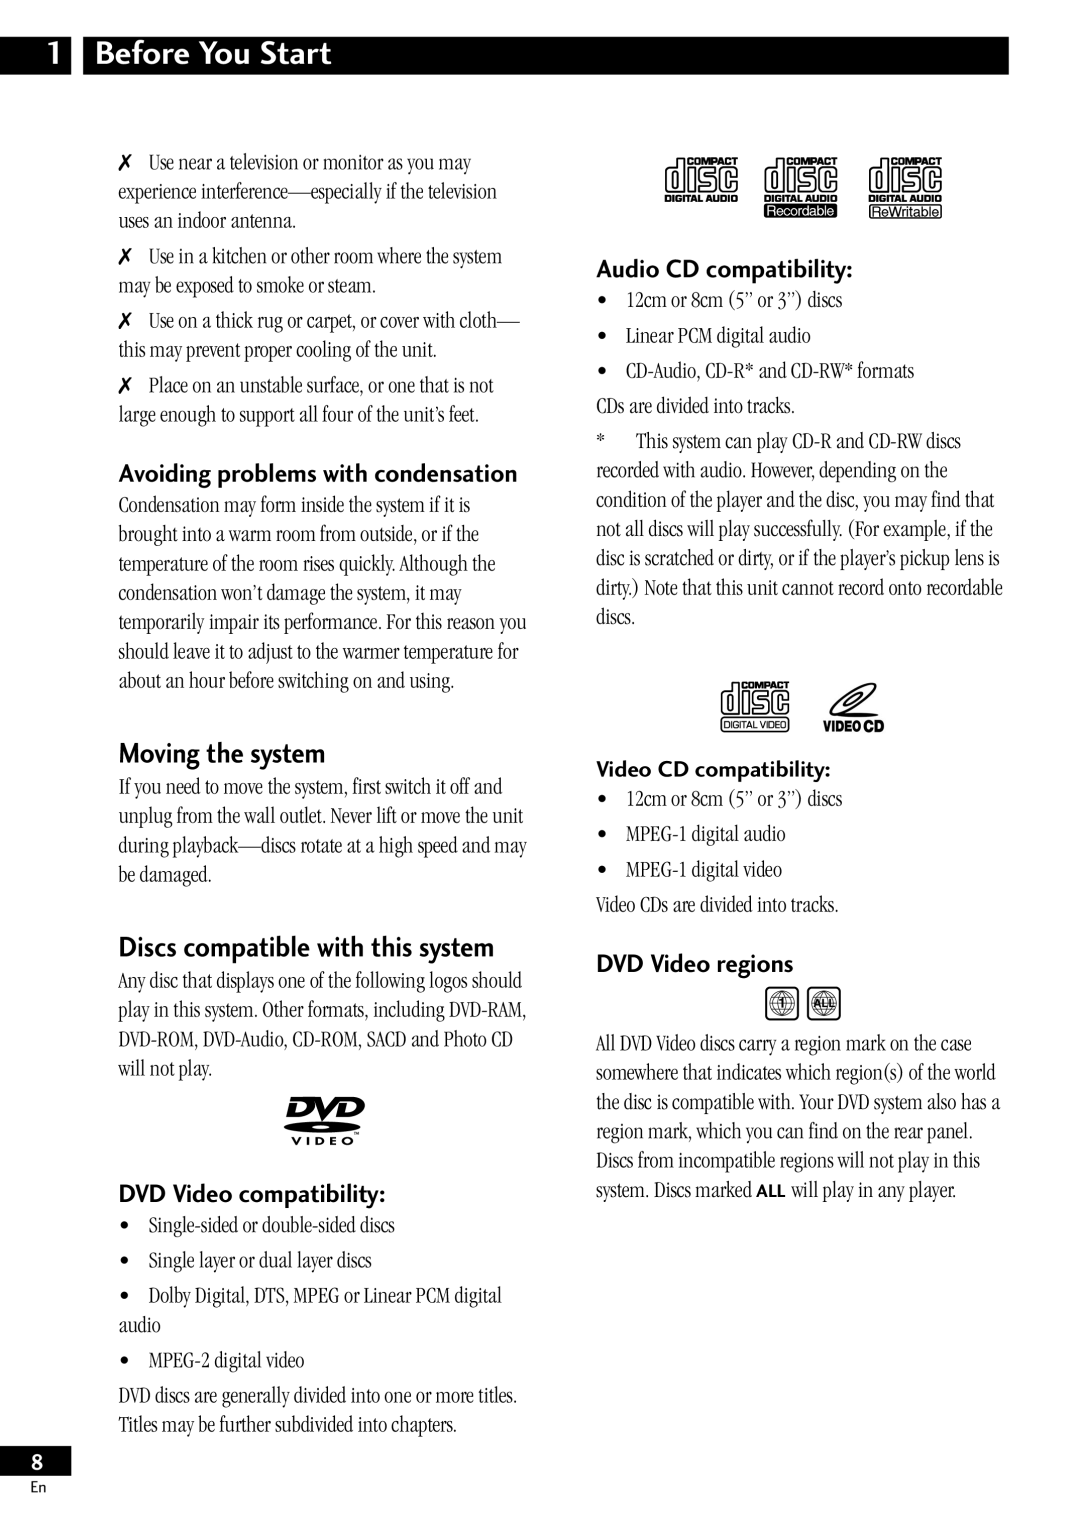
Make sure that there are no obstacles between the remote control and the remote sensor on the unit.

Use within 7 meters (21 feet) of the remote sensor and at an angle of less than 30º.

Remote operation may become unreliable if strong sunlight or fluorescent light is shining on the unit’s remote sensor.

Remote controllers for different devices can interfere with each other. Avoid using remotes for other equip- ment located nearby this unit.

Replace the batteries when you notice the operating range of the remote starts to decrease.

Hints on installation

We want you to enjoy using this unit for years to come, so please bear in mind the following points when choosing a suitable location for it:

Do...

Use in a well-ventilated room.

Place on a solid, flat, level surface, such as a table, shelf or stereo rack.

Don’t...

Use in a place exposed to high temperatures or humidity, including near radiators and other heat- generating appliances.

Place on a window sill or other place where the system will be exposed to direct sunlight.

Use in an excessively dusty or damp environment.

Place directly on top of an amplifier, or other component in your stereo system that becomes hot in use.

7

En
Image 7
Contents XV-HTD510 Important Notice Important Safety Instructions We Want You Listening ForALifetime Contents Before You Start FeaturesUsing this manual Graphical Setup NavigatorKeep in mind the following when using the remote control Putting the batteries in the remote controlHints on installation Using the remote controlAudio CD compatibility Avoiding problems with condensationMoving the system DVD Video compatibilityConnecting the speakers Connecting UpRelease the speaker terminal tabs to secure Speaker cable Before mounting Placing the speakersWall mounting the rear speaker system 3m 6-9ft. apartVideo cord not supplied Connecting to your TVConnecting external antennas Connecting the supplied antennasConnecting the power Connecting other componentsControls & Displays Remote controlDisplay Front panelSetting the speaker distances Setting UpSetting up for surround sound Switching on and setting the clockPress Enter to exit Press 3 to move on to the Surround speakers settingPress Surround Mode Balancing the surround soundUsing the Setup Navigator Do not rotate the disc tray by hand. Always use Button Getting StartedPlaying DVDs, CDs and Video CDs Basic playback controlsNavigating Video CD PBC menus Navigating DVD disc menusExchanging discs Listening to the radioImproving FM stereo sound Saving station presetsListening to station presets Listening to other componentsUsing P.Bass Using Surround SoundAdjusting the bass and treble Using sound modesHall Adjusting the effect levelPress DSP to select a sound mode Listening to other sources with room effectsUse the 5 and ∞ buttons to turn on or Listening at low volumeDirect recording Press Sound Use the 2 or 3 buttons to selectPlaying Discs Enter a disc number 1 to ¢ button to the previous six steps using the 4 buttonMaking a program list Press Program ShiftTo view the playlist, press Program Shift Using random playUsing repeat play More programming optionsBookmarking a place in a disc Playing CDs only CD ModeLooping a section of a disc Displaying disc information Memorizing disc settingsSettings memorized are When a disc is stopped, all title/chapter, or trackUsing the wake up timer Using the TimerActivating/deactivating the wake up timer Checking the timer settings Using the sleep timerLFE attenuator Advanced Sound SetupAdvanced sound settings There are three settingsWhen youre done, press Enter Dual-mono settingAdjusting channel volume levels Use the 2 and 3 buttons to select a channel to adjustTV Screen DVD Setup MenuUsing the DVD Setup menu Video settingsLanguage settings Auto Language Default Setting EnglishAudio Language Subtitle LanguageSubtitle Display General settingsSetup Menu Mode DVD LanguageParental Lock Changing your passwordChanging the parental lock level Screen Saver Input a new password, then press EnterDefault setting Off Default setting BlueTaking care of your system Setting the display brightnessSwitching the time format Additional InformationStoring discs GlossaryDiscs to avoid Language/Langue Language code listProblemRemedy TroubleshootingSwitching the demo mode on/off Resetting the systemHold down the front panel 7 button and switch back on Screen sizes and disc formats When viewing a widescreen TV or monitorSpecifications 0 4 2 1 1 4 0