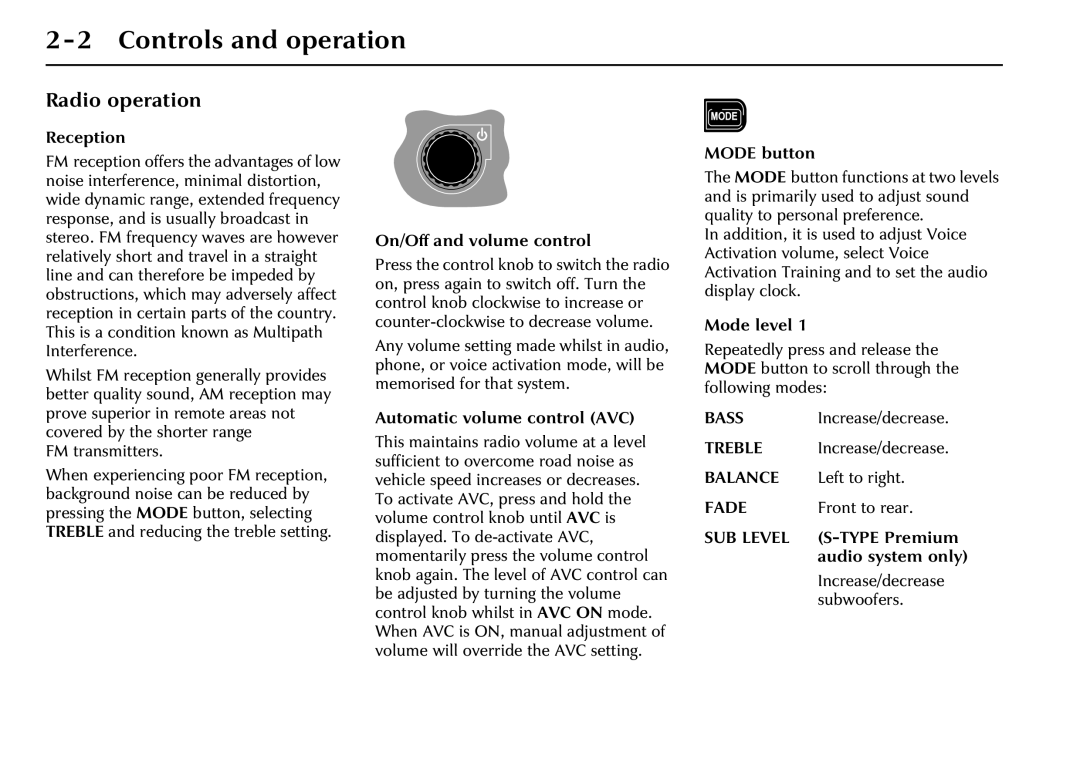
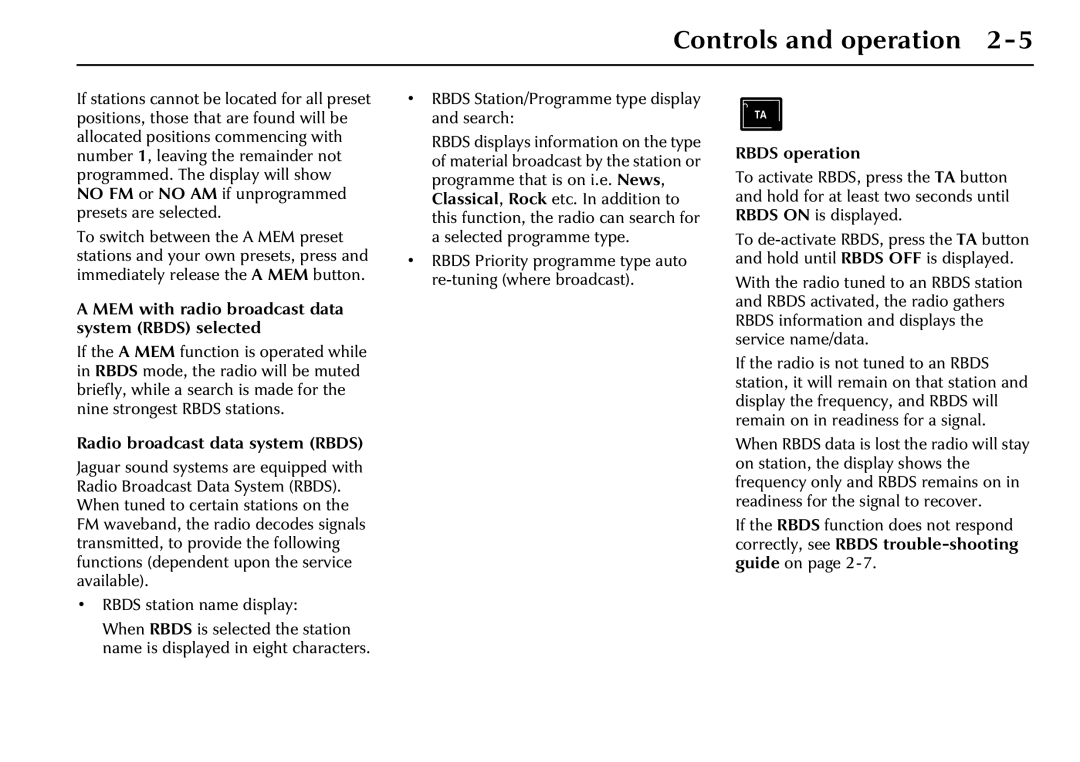
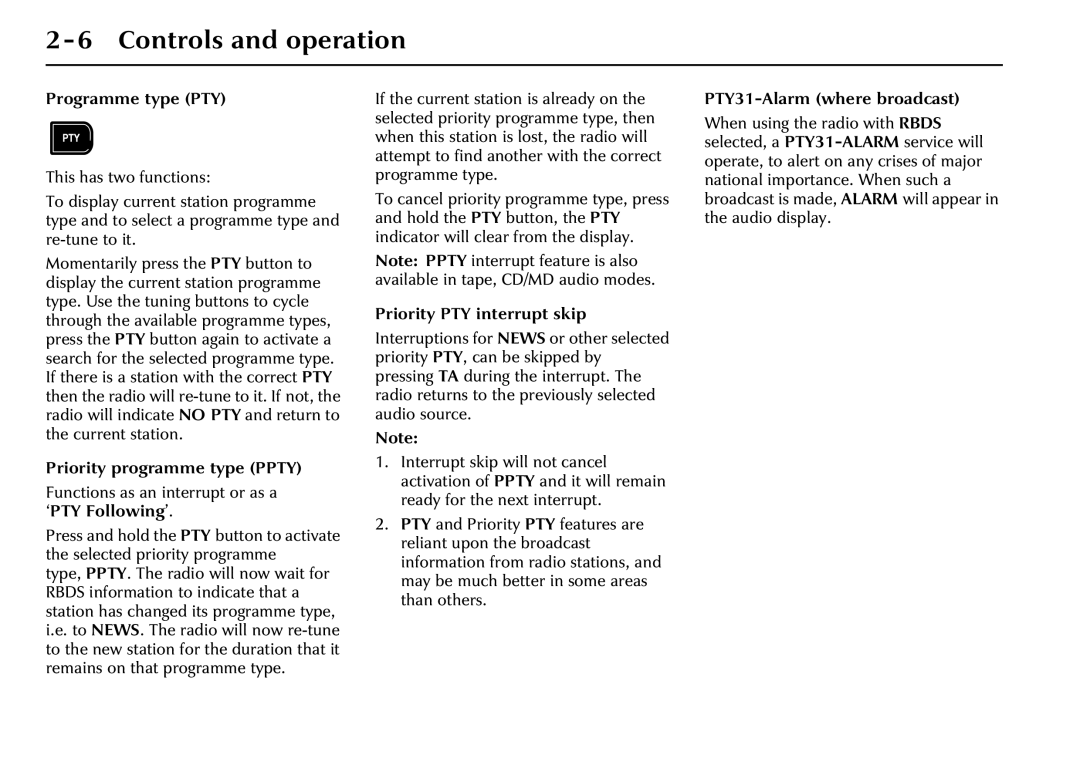
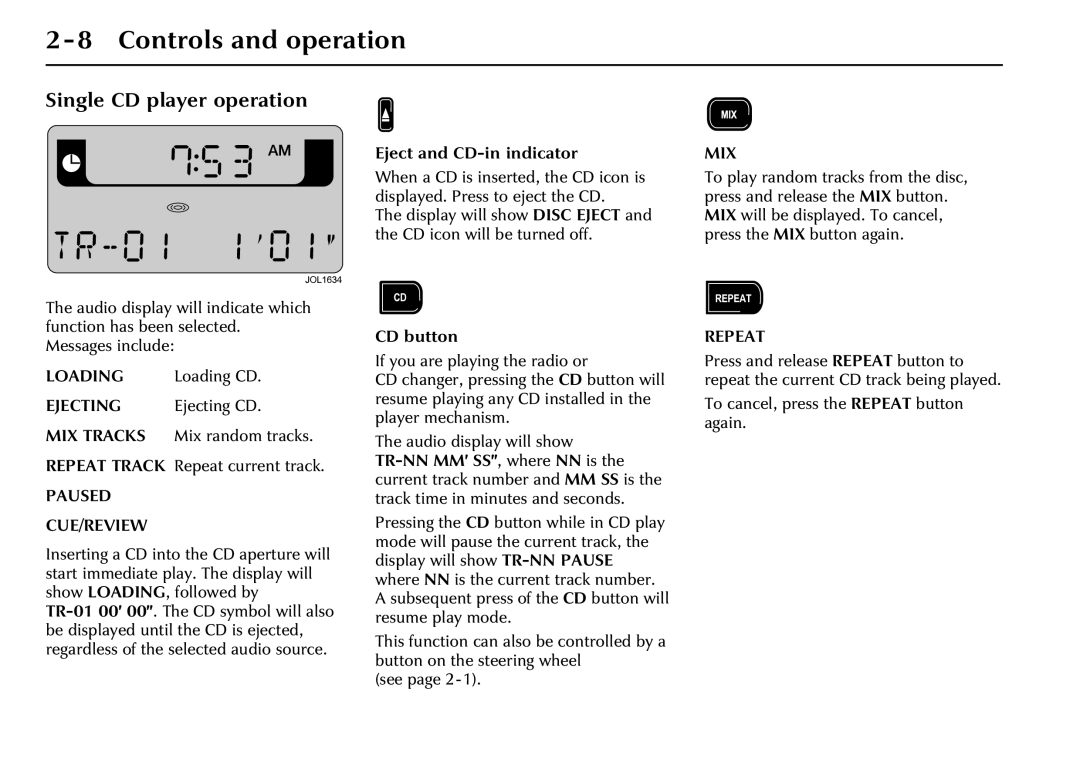
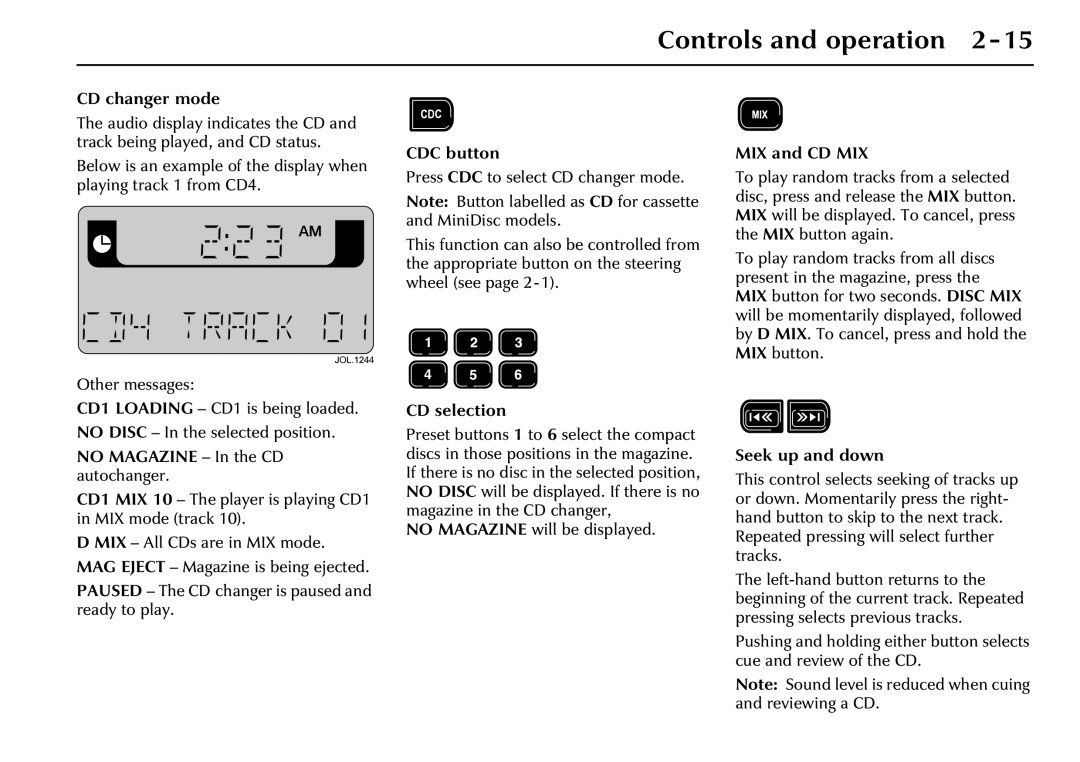
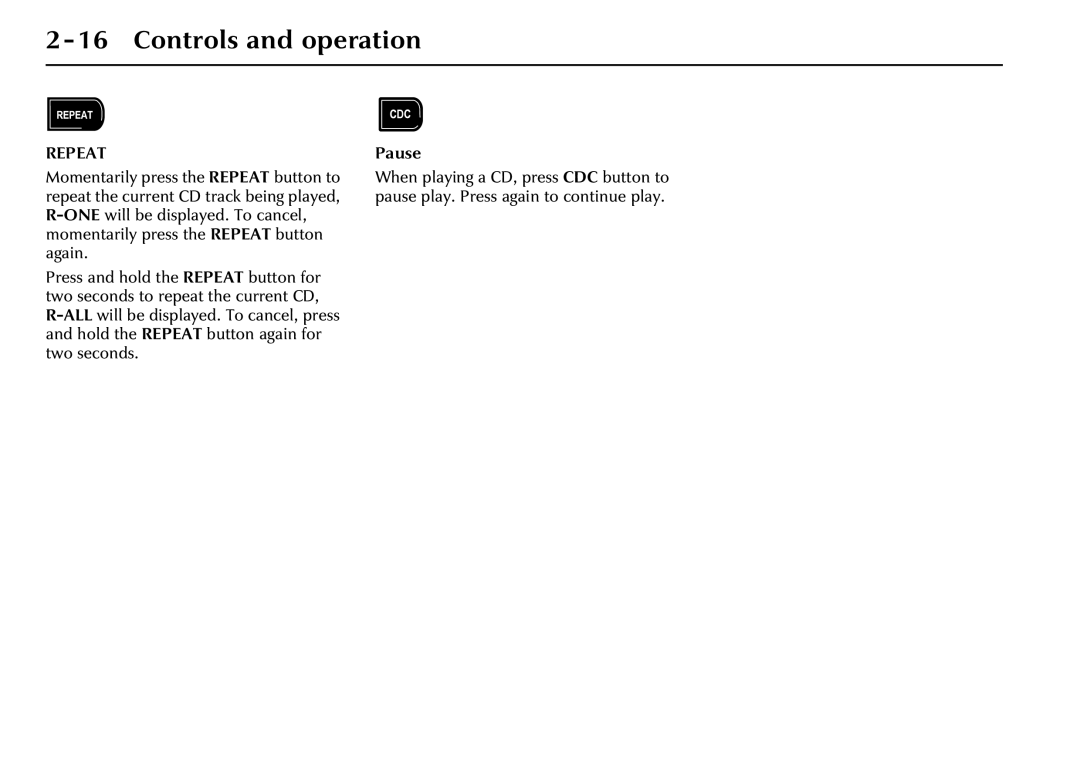
Jaguar JJM 18 03 24/22 manual System care, Audio system care, Radio, Cassettes

Page 24

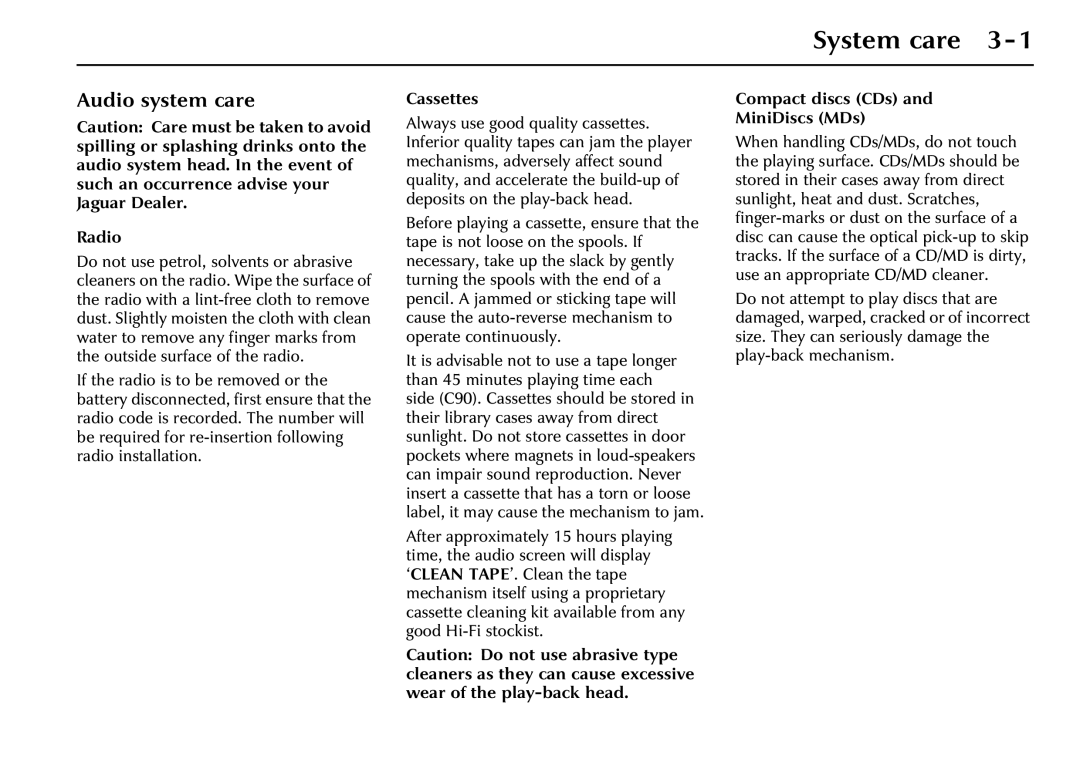
System care 3-1

Audio system care

Caution: Care must be taken to avoid spilling or splashing drinks onto the audio system head. In the event of such an occurrence advise your Jaguar Dealer.

Radio

Do not use petrol, solvents or abrasive cleaners on the radio. Wipe the surface of the radio with a lint-free cloth to remove dust. Slightly moisten the cloth with clean water to remove any finger marks from the outside surface of the radio.

If the radio is to be removed or the battery disconnected, first ensure that the radio code is recorded. The number will be required for re-insertion following radio installation.

Cassettes

Always use good quality cassettes. Inferior quality tapes can jam the player mechanisms, adversely affect sound quality, and accelerate the build-up of deposits on the play-back head.

Before playing a cassette, ensure that the tape is not loose on the spools. If necessary, take up the slack by gently turning the spools with the end of a pencil. A jammed or sticking tape will cause the auto-reverse mechanism to operate continuously.

It is advisable not to use a tape longer than 45 minutes playing time each side (C90). Cassettes should be stored in their library cases away from direct sunlight. Do not store cassettes in door pockets where magnets in loud-speakers can impair sound reproduction. Never insert a cassette that has a torn or loose label, it may cause the mechanism to jam.

After approximately 15 hours playing time, the audio screen will display ‘CLEAN TAPE’. Clean the tape mechanism itself using a proprietary cassette cleaning kit available from any good Hi-Fi stockist.

Caution: Do not use abrasive type cleaners as they can cause excessive wear of the play-back head.

Compact discs (CDs) and

MiniDiscs (MDs)

When handling CDs/MDs, do not touch the playing surface. CDs/MDs should be stored in their cases away from direct sunlight, heat and dust. Scratches, finger-marks or dust on the surface of a disc can cause the optical pick-up to skip tracks. If the surface of a CD/MD is dirty, use an appropriate CD/MD cleaner.

Do not attempt to play discs that are damaged, warped, cracked or of incorrect size. They can seriously damage the play-back mechanism.
Image 24
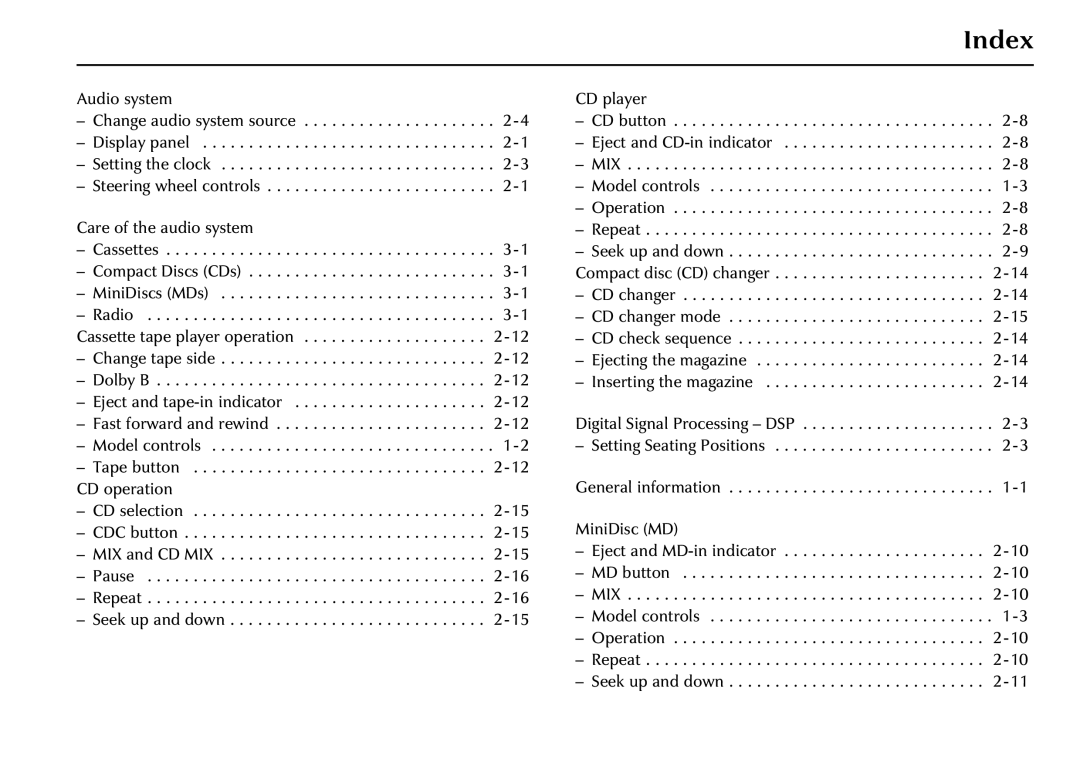
Contents 2002MY NAS Audio System Handbook Foreword Audio System Handbook Jaguar Cars LIMITED, as manufacturer, isContents Introduction General informationCassette tape model controls Single CD model and MiniDisc MD model controls Page Audio system display panel in AM/FM mode Controls and operationSteering wheel controls where Radio operation DSP Setting Seating Positions Setting the audio display clockBand Switch AM/FM Seek and manual tuningSource tone memory Change audio system sourceMEM with radio broadcast data system Rbds selected Radio broadcast data system RbdsRbds operation PTY31-Alarm where broadcast Programme type PTYPriority programme type Ppty Priority PTY interrupt skipRbds trouble-shooting guide Incorrect response from Rbds Reason and rectificationSingle CD player operation Seek up and down Eject and MD-in indicator MiniDisc MD operationLoading MD Ejecting MDControls and operation Cassette tape player operation Radio set up PresetCompact disc CD changer CD check sequenceLoading discs and inserting magazine CD changer mode CDC buttonMIX and CD MIX No Magazine In the CD autochangerPause System care Audio system careRadio CassettesPage Index Index JJM 18 03 24/22