09Other connections
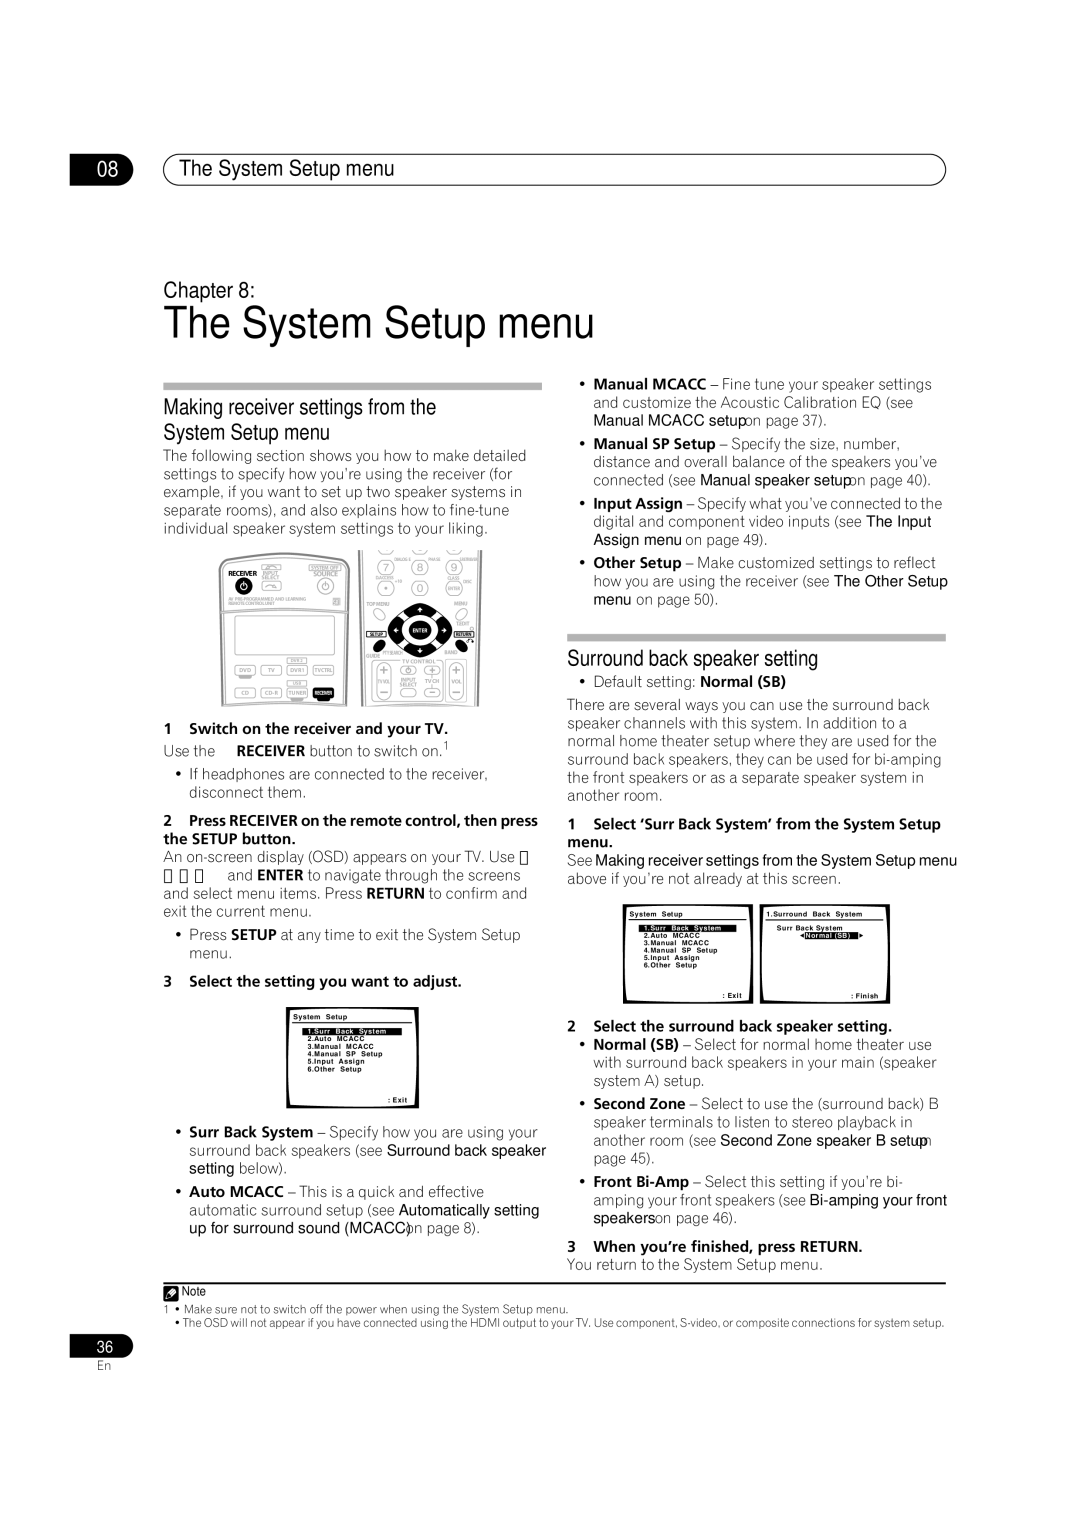
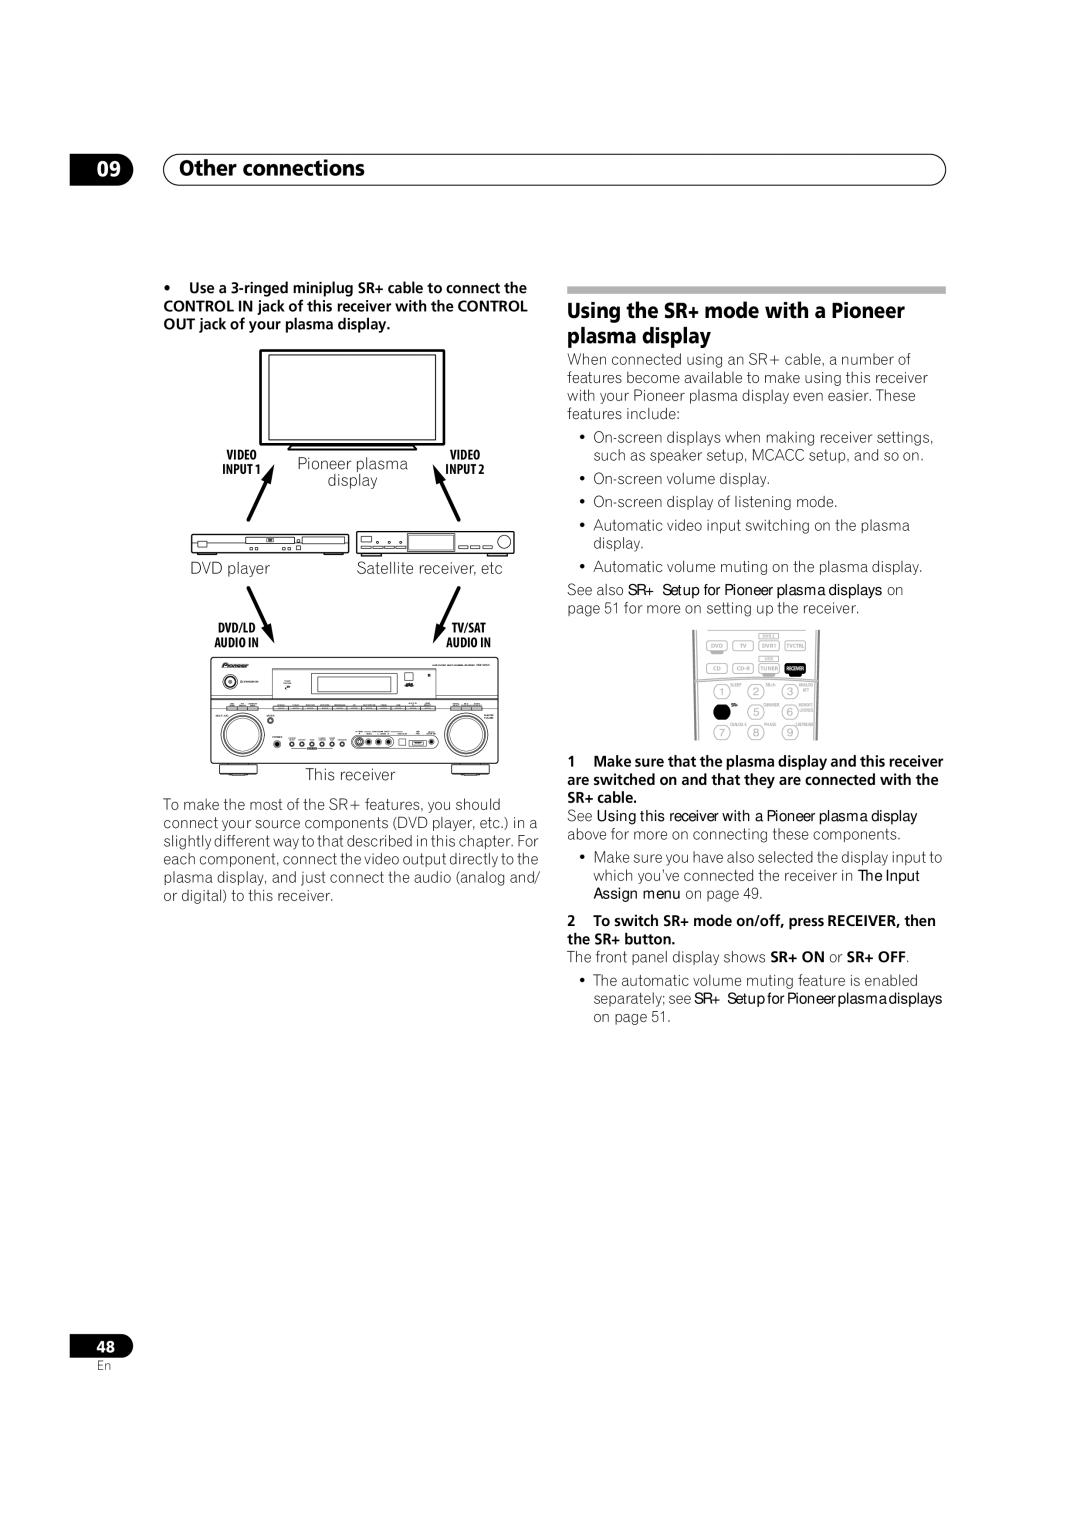
•Use a
VIDEO | Pioneer plasma | VIDEO | |
INPUT 1 | INPUT 2 | ||
display | |||
|
|
DVD player | Satellite receiver, etc | |
DVD/LD |
| TV/SAT |
AUDIO IN |
| AUDIO IN |
|
| AUDIO/VIDEO |
STANDBY/ON |
|
|
MULTI JOG | ENTER | MASTER |
|
| VOLUME |
PHONES
This receiver
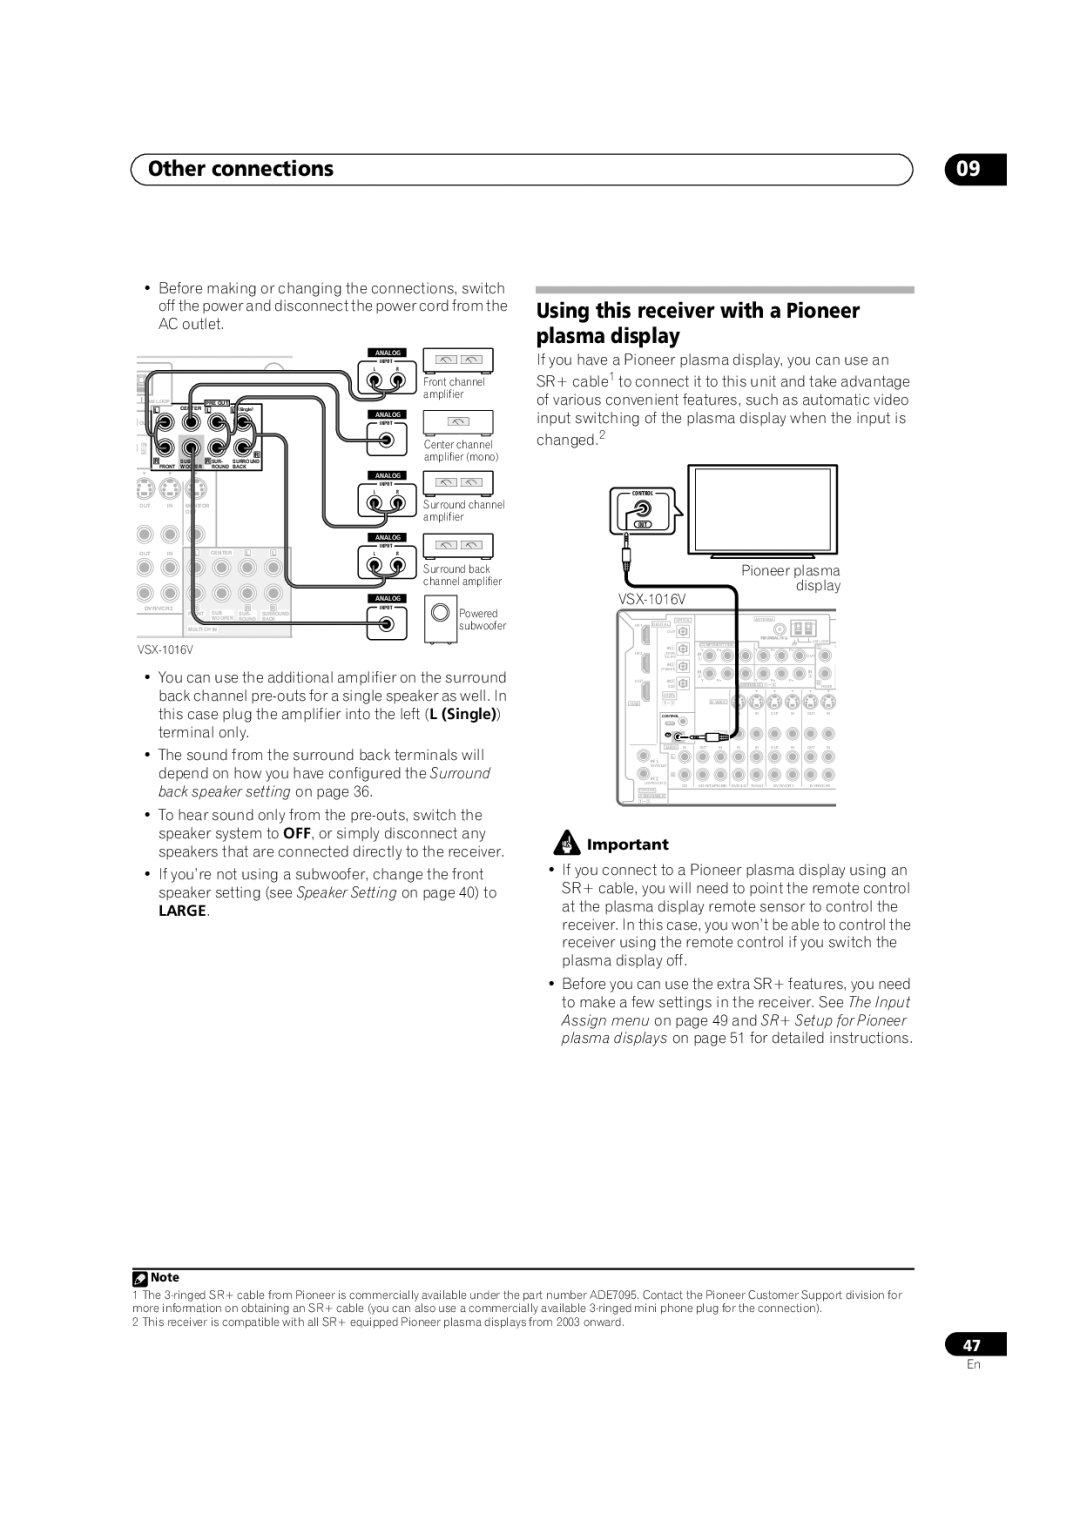
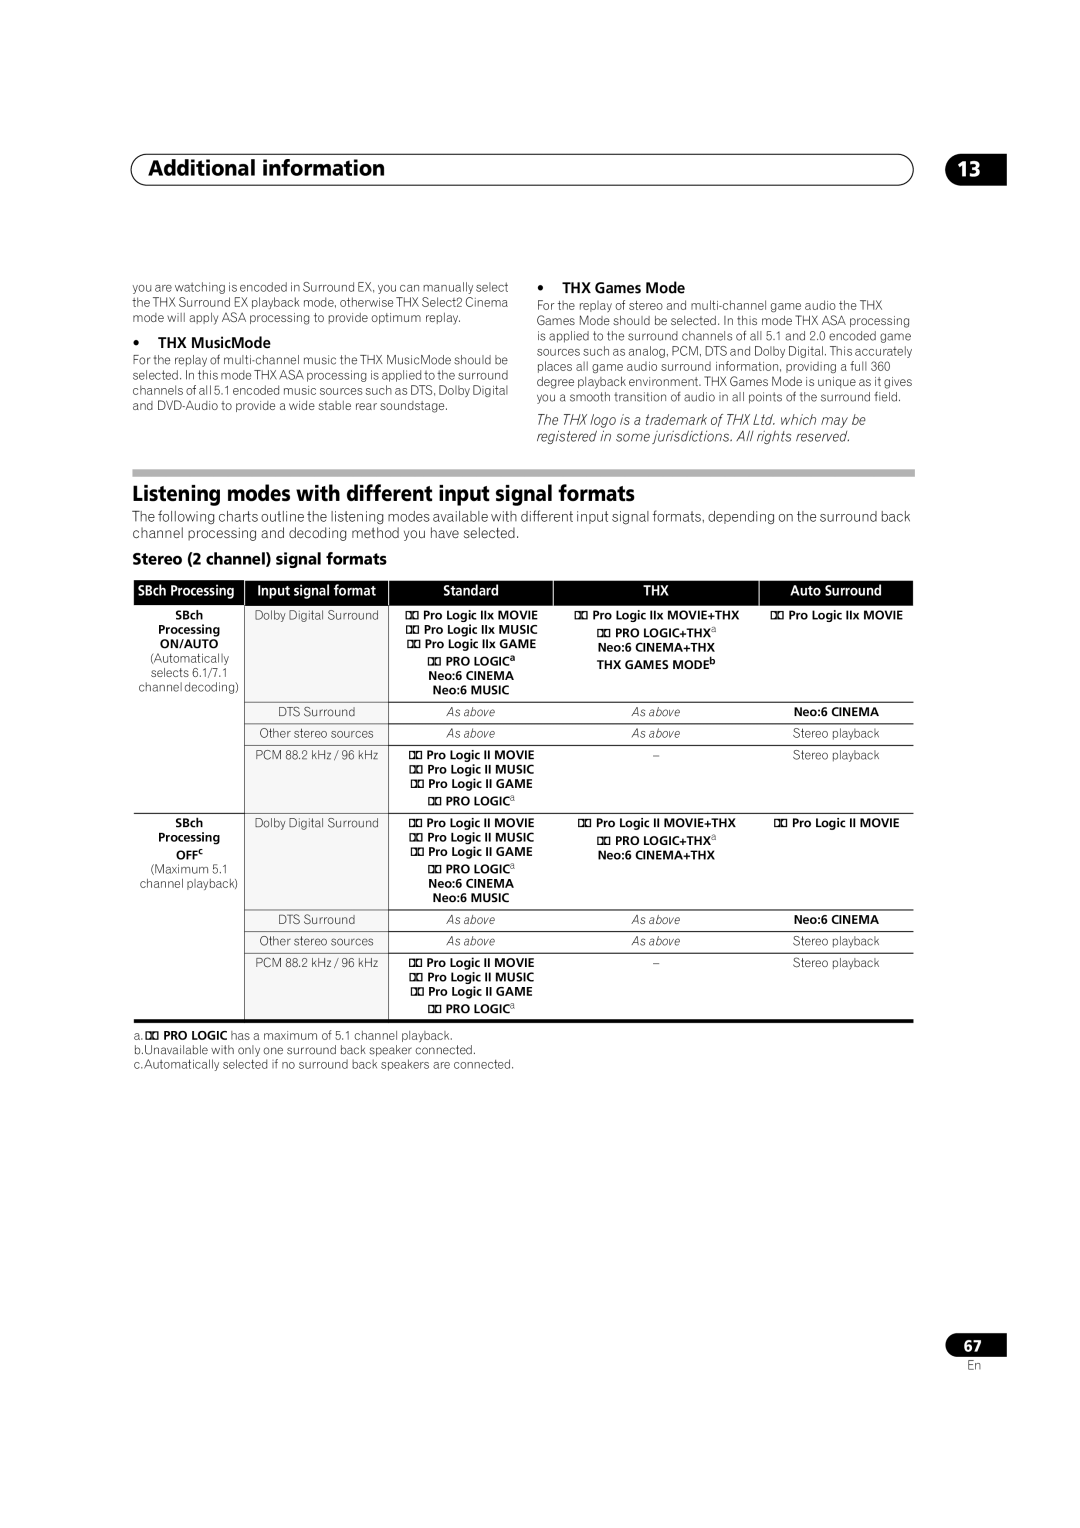
To make the most of the SR+ features, you should connect your source components (DVD player, etc.) in a slightly different way to that described in this chapter. For each component, connect the video output directly to the plasma display, and just connect the audio (analog and/ or digital) to this receiver.
Using the SR+ mode with a Pioneer plasma display
When connected using an SR+ cable, a number of features become available to make using this receiver with your Pioneer plasma display even easier. These features include:
•
•
•
•Automatic video input switching on the plasma display.
•Automatic volume muting on the plasma display.
See also SR+ Setup for Pioneer plasma displays on page 51 for more on setting up the receiver.
|
| DVR 2 |
|
DVD | TV | DVR1 | TVCTRL |
|
| USB |
|
CD | TUNER | RECEIVER | |
| SLEEP | SBch | ANALOG |
|
|
| ATT |
| SR+ | DIMMER | MIDNIGHT/ |
|
|
| LOUDNESS |
| DIALOG E | PHASE | S.RETRIEVER |
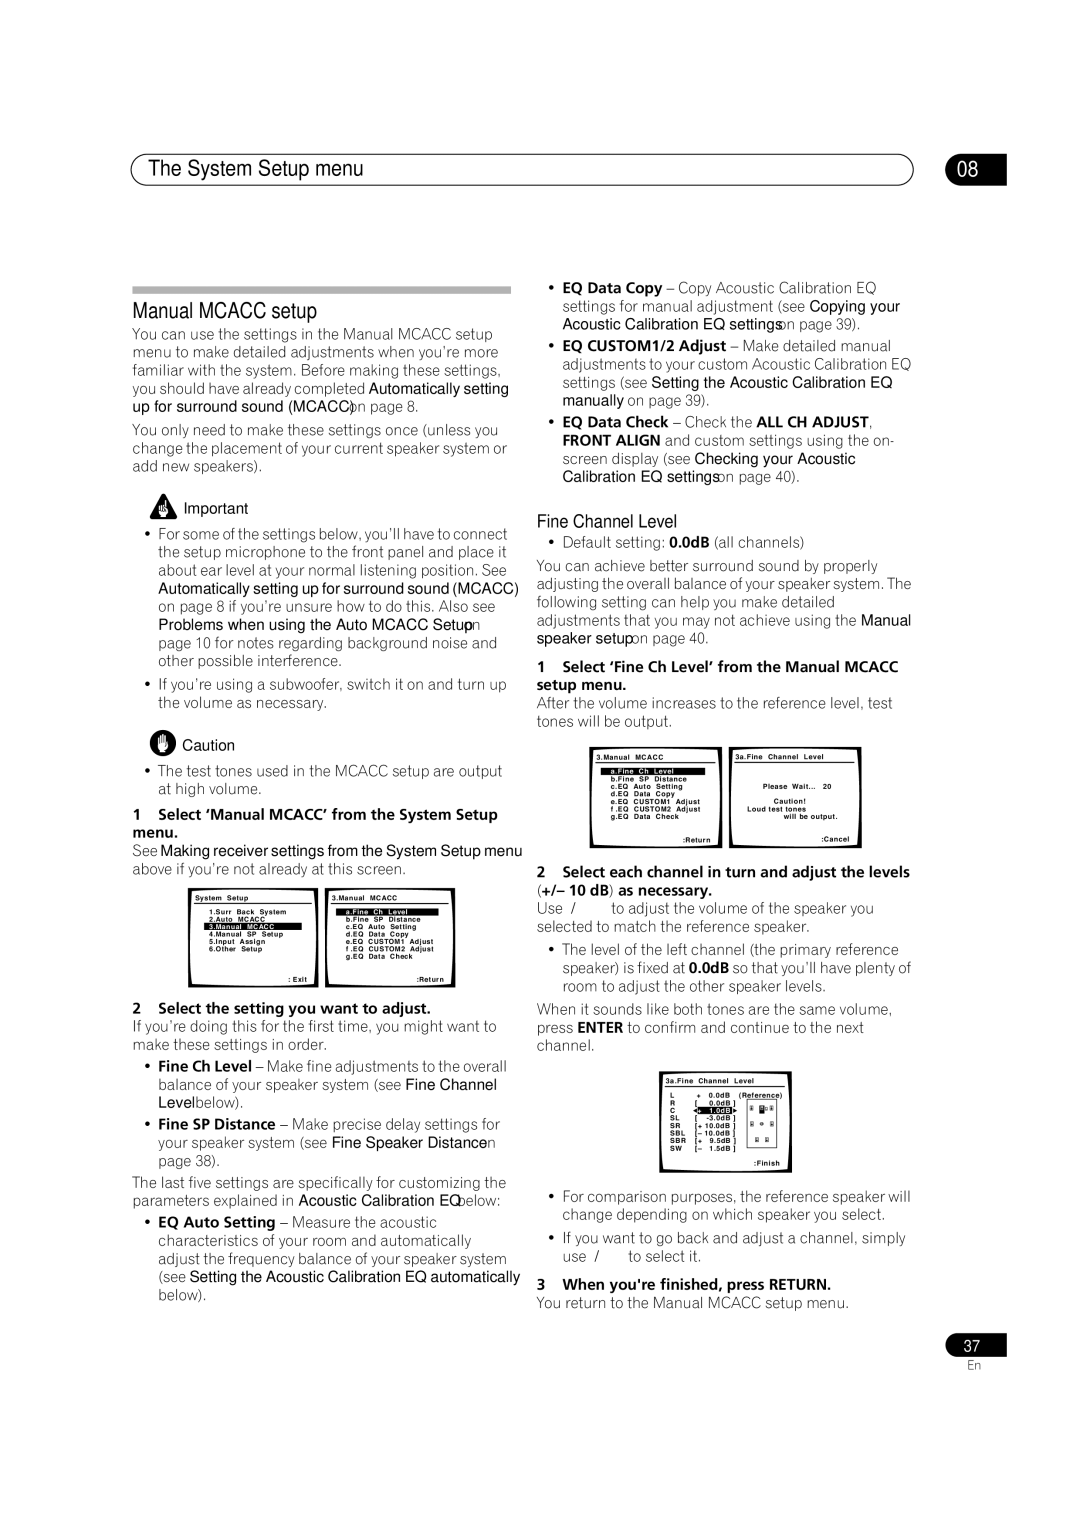
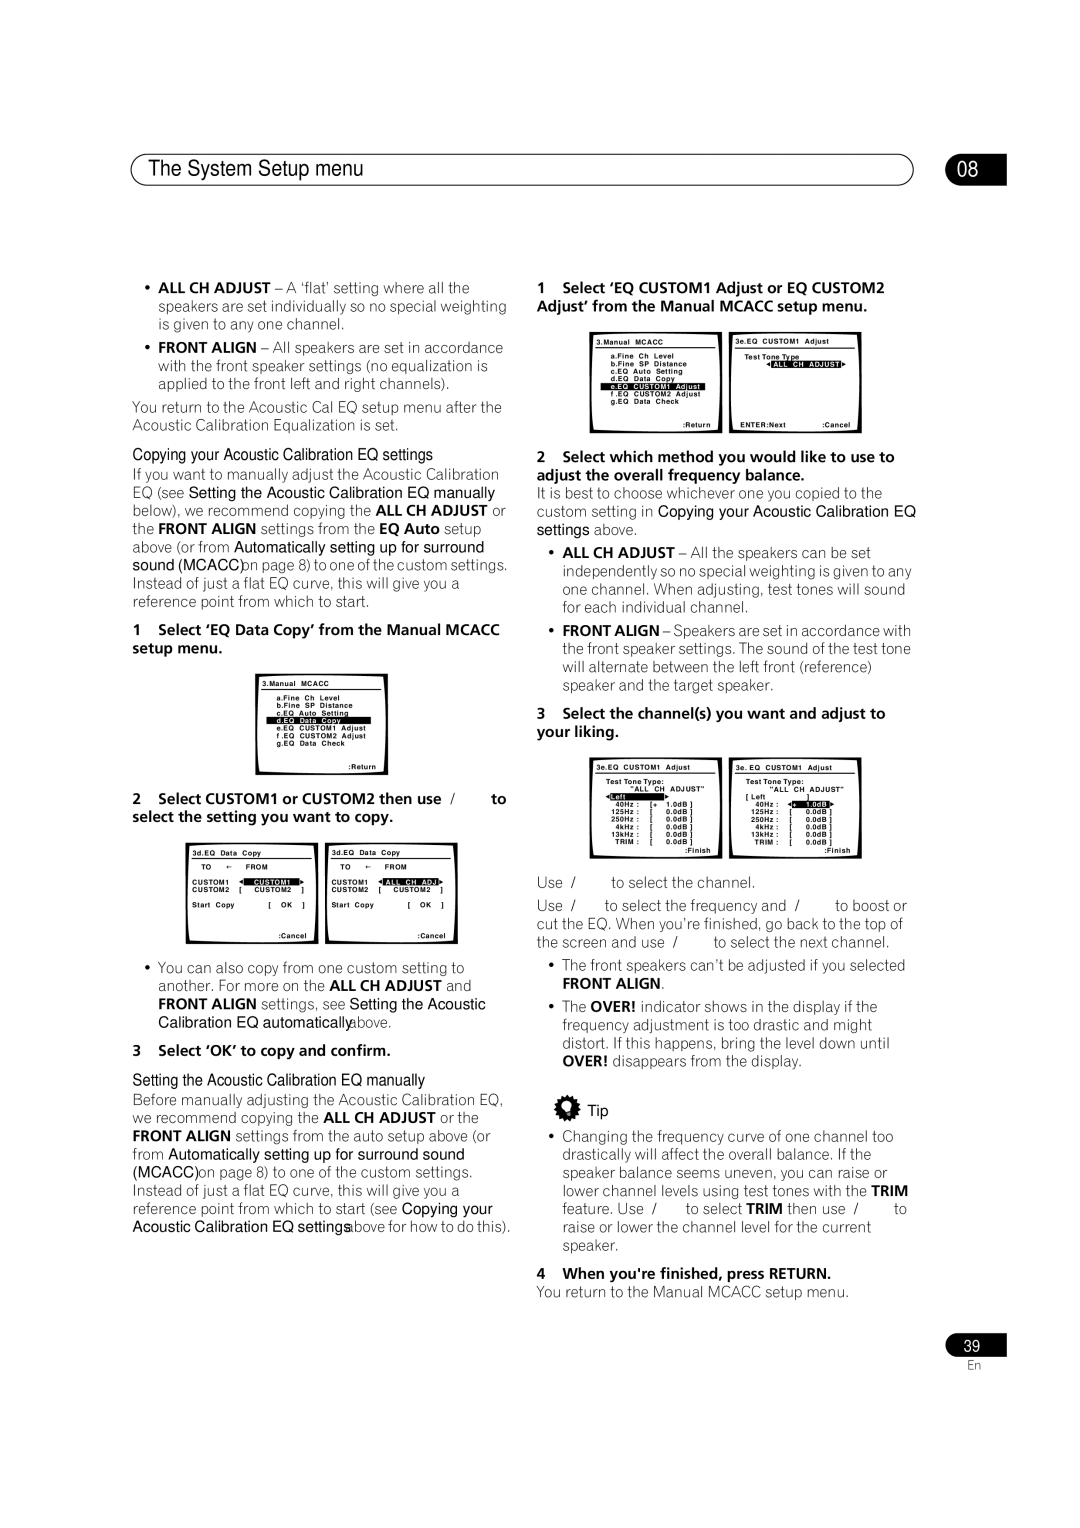
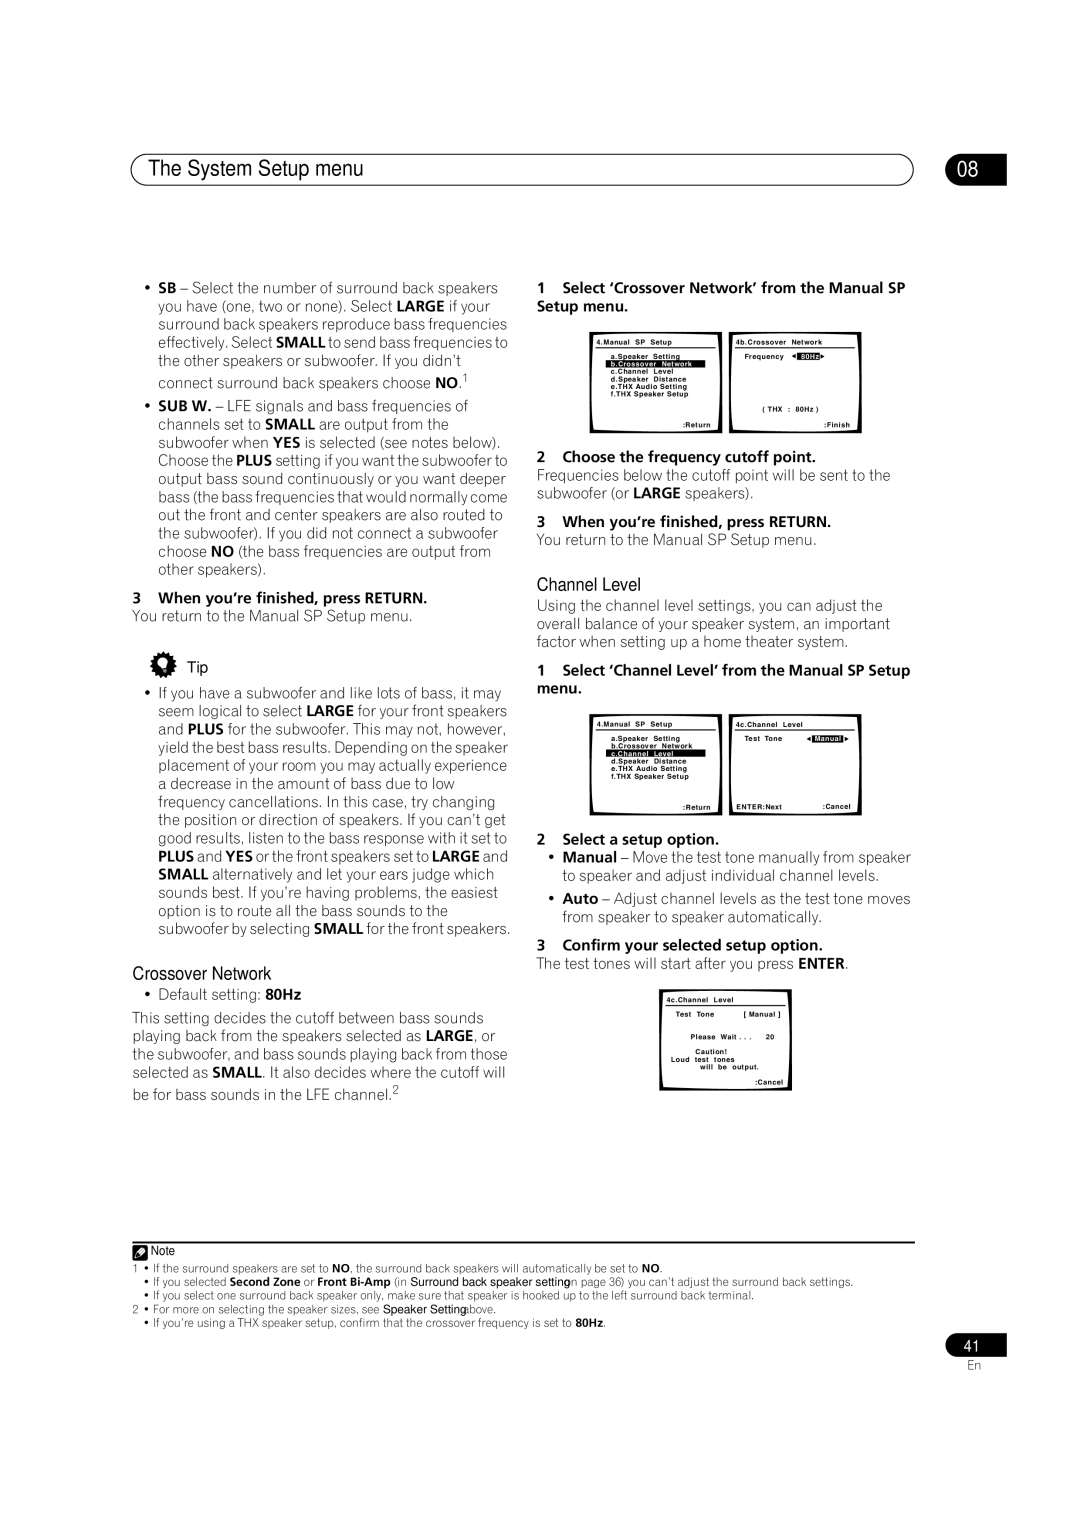
1Make sure that the plasma display and this receiver are switched on and that they are connected with the SR+ cable.
See Using this receiver with a Pioneer plasma display above for more on connecting these components.
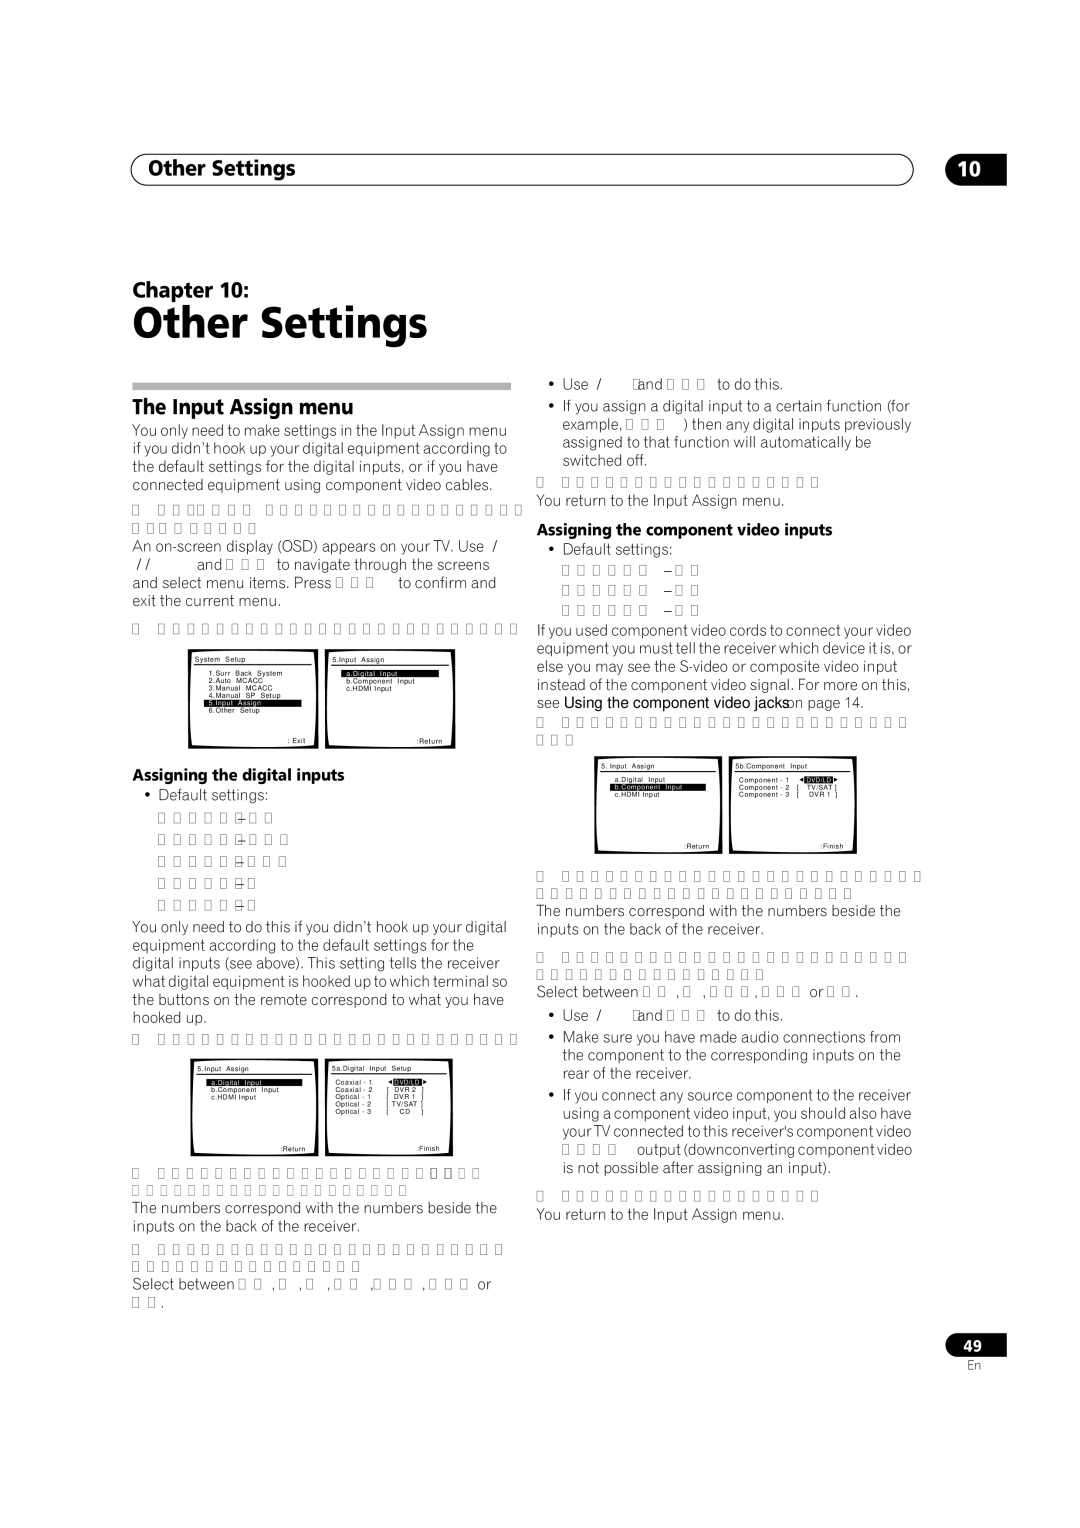
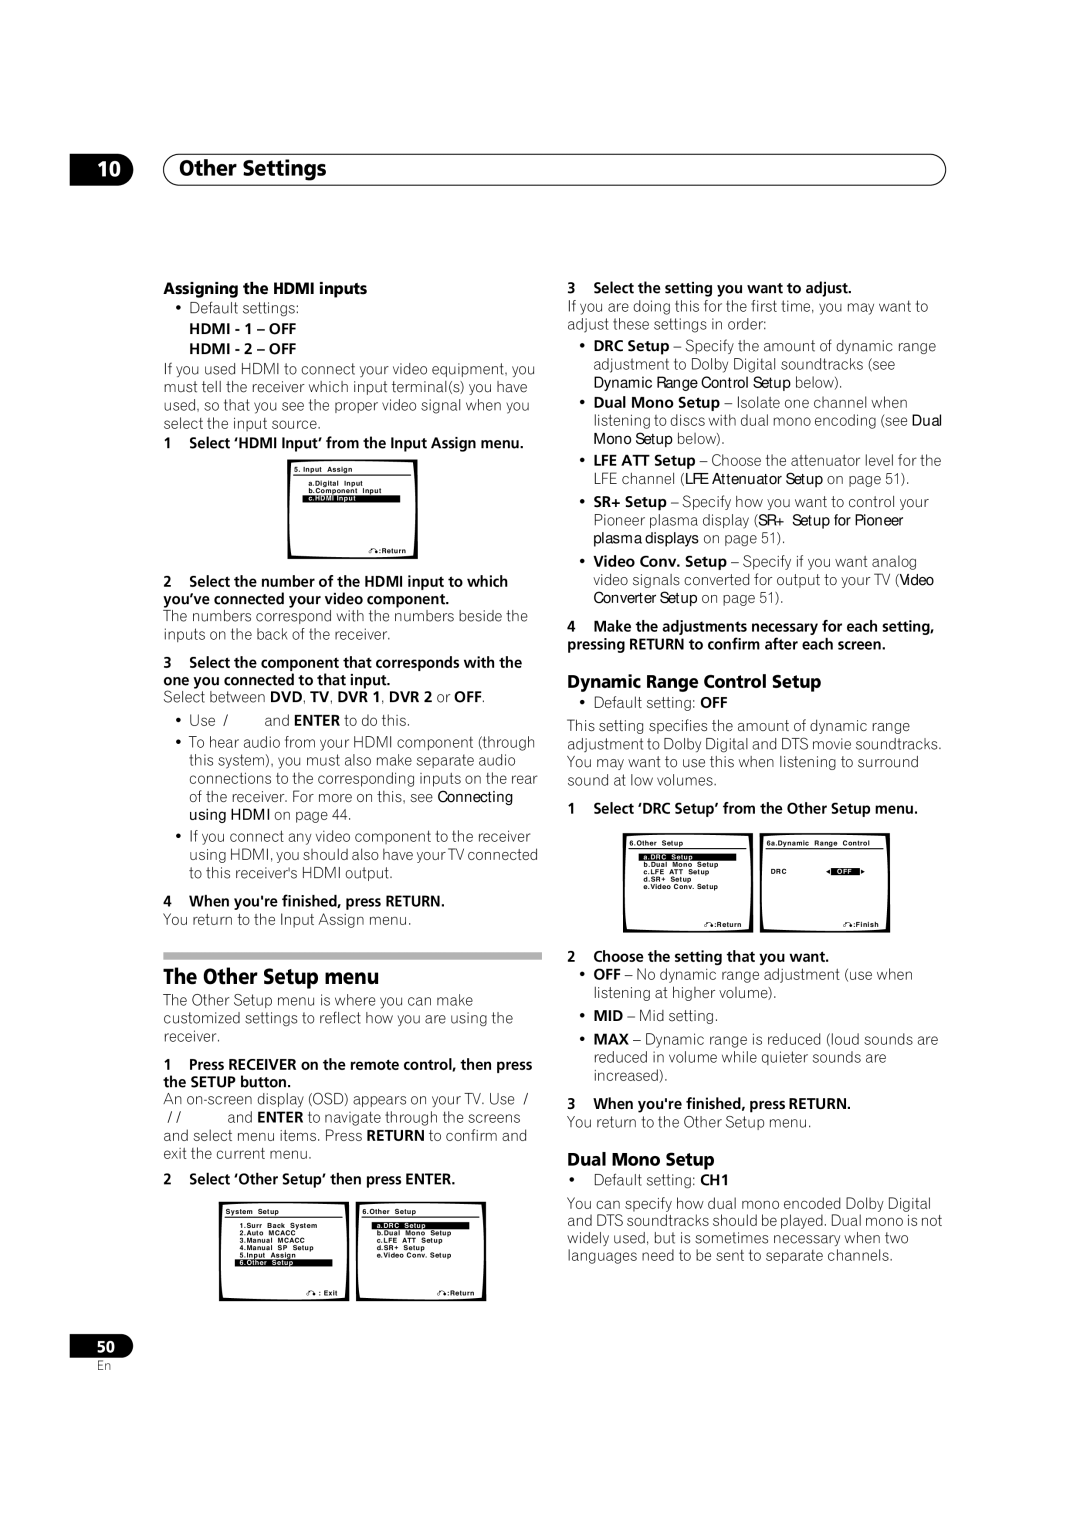
•Make sure you have also selected the display input to which you’ve connected the receiver in The Input Assign menu on page 49.
2To switch SR+ mode on/off, press RECEIVER, then the SR+ button.
The front panel display shows SR+ ON or SR+ OFF.
•The automatic volume muting feature is enabled separately; see SR+ Setup for Pioneer plasma displays on page 51.
48
En
