32ENGLISH
C
C
8The cleaning light starts to blink and the razor is automatically lowered into the cleaning solution.
The razor stops charging while it is being cleaned.
◗The cleaning cycle takes 4 to 6 minutes. For model 1280XCC only, the intensive program takes approximately 35 minutes.
◗During the first phase of the cleaning cycle, the razor will automatically turn on and off several times while the razor holder lowers and raises the razor’s position in the cleaning solution, removing all debris. The cleaning light will blink continuously throughout the cleaning program.
◗During the second phase of the cleaning cycle, the razor holder moves the razor to the drying position and the drying light will blink. This phase will take approximately 2 hours. Model 1280XCC only, the drying phase takes 1 hour when the eco program is selected. The razor will stay in one position until the end of the drying program.
◗Do not press the ON/OFF button while the cleaning cycle is running. If this does occur, the cleaning cycle will stop and the razor holder will automatically move to the starting position.The cleaning cycle can be
◗If the power plug is disconnected before the cleaning cycle is complete, the razor holder will remain in its current position. Reconnect the plug into the outlet or Jet Clean System and the
ENGLISH 33
razor holder will automatically move to the highest position. The cleaning cycle can be
C NOTE: If the cleaning solution level drops below the minimum level during the cleaning cycle, the ‘cleaning chamber empty’ symbol will blink and razor holder returns the razor to the starting position, stopping the cleaning cycle. Unplug Jet Clean System from the outlet, remove razor and refill canister (see “Preparing Jet Clean System for Use”).
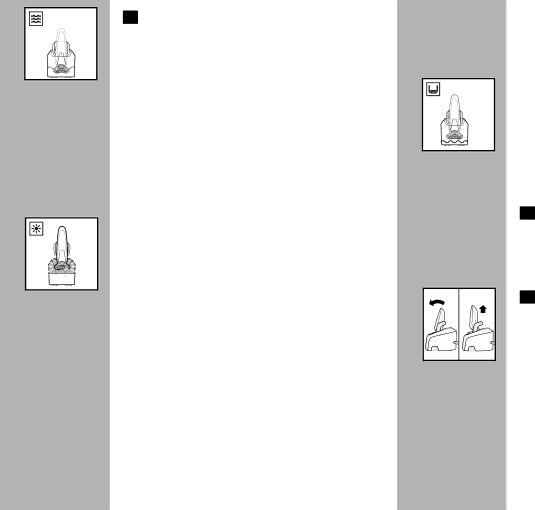
8When the entire cleaning cycle is complete and the razor is hygienically clean, the razor will be raised to the starting position and the display on the razor will turn on indicating that the razor is (re)charging.
C9 Pull the razor forward and lift razor from
Jet Clean System.
◗ If the razor needs to be recharged, you can simply leave it in the Jet Clean System after cleaning and the razor will automatically recharge.The display on the razor will indicate the razor is recharging.
◗You may store your razor in the Jet Clean System. Unplug from the outlet when charging/cleaning is complete.