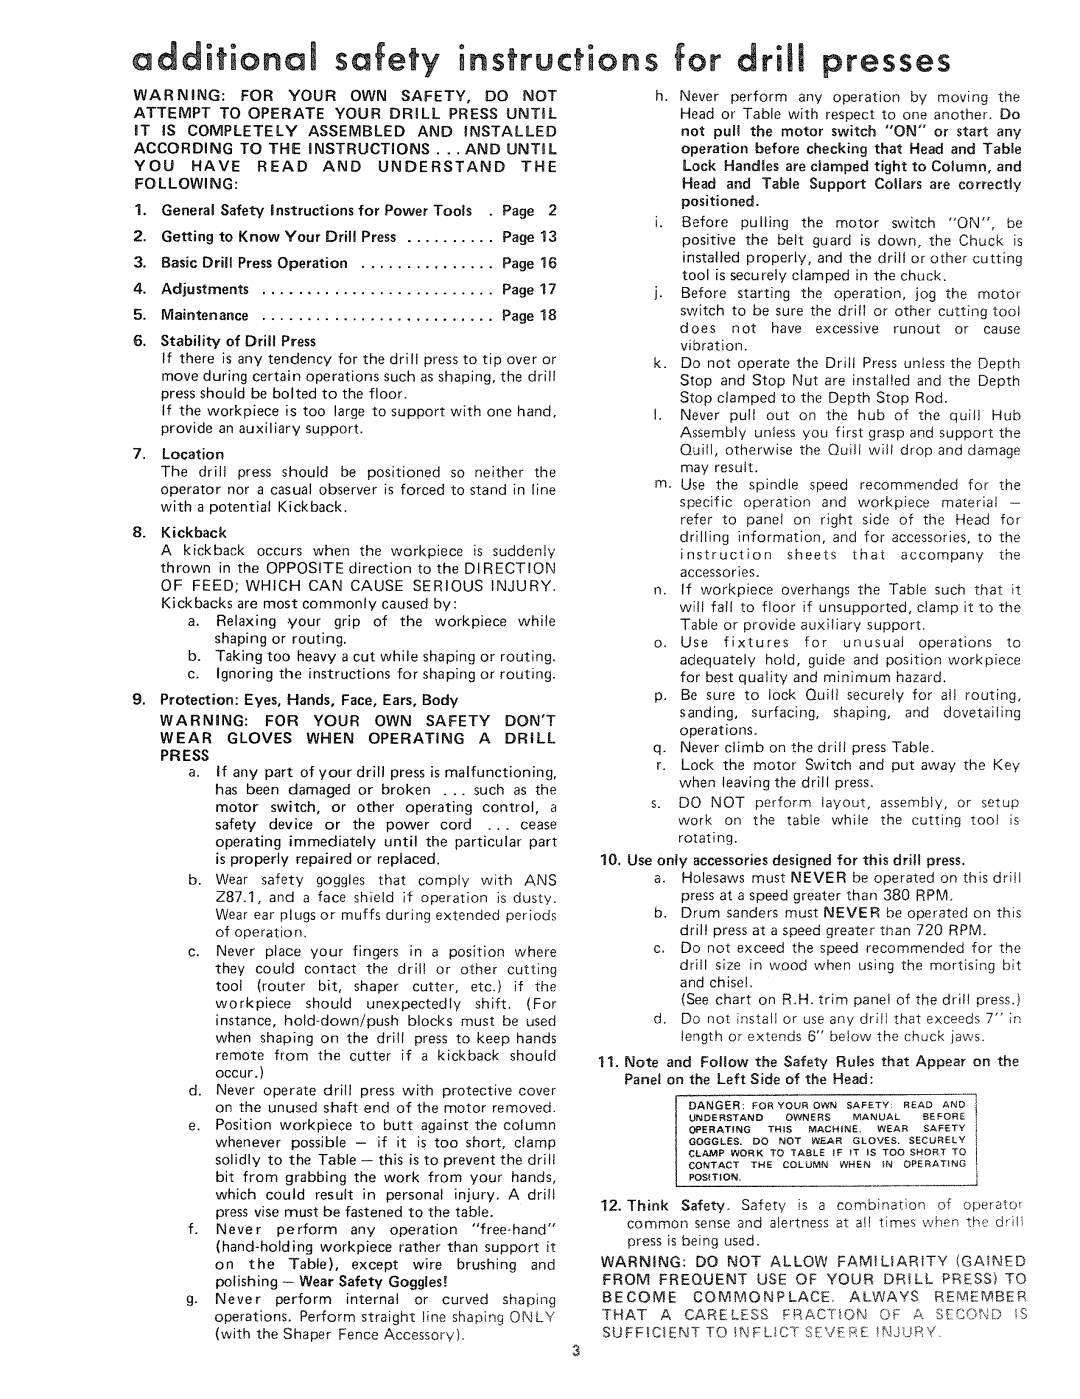
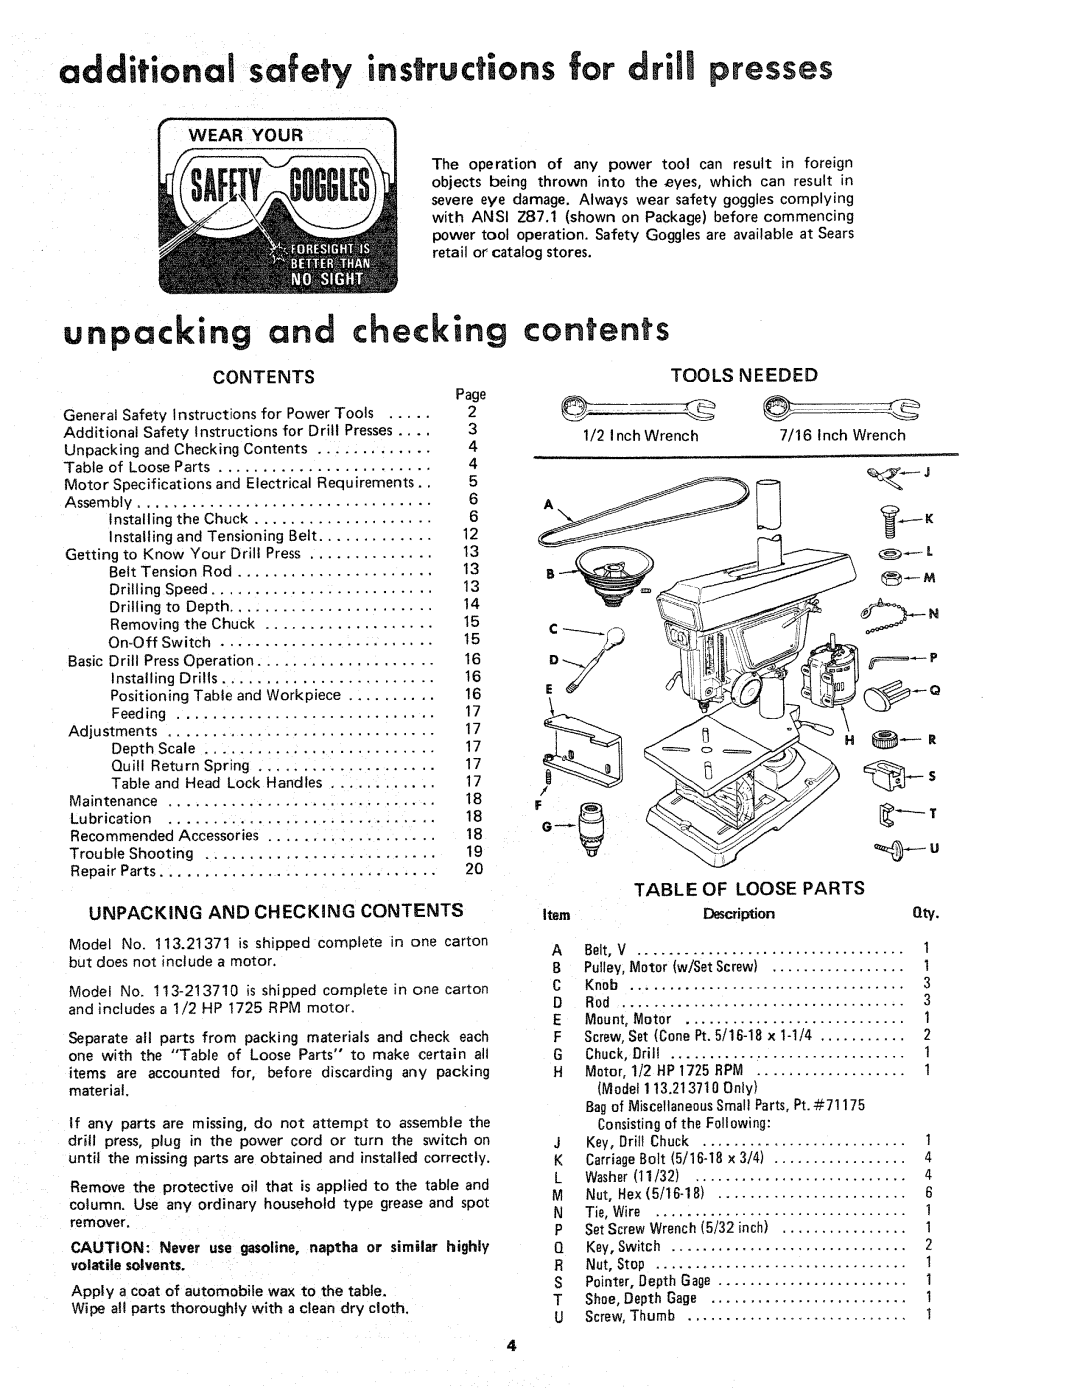
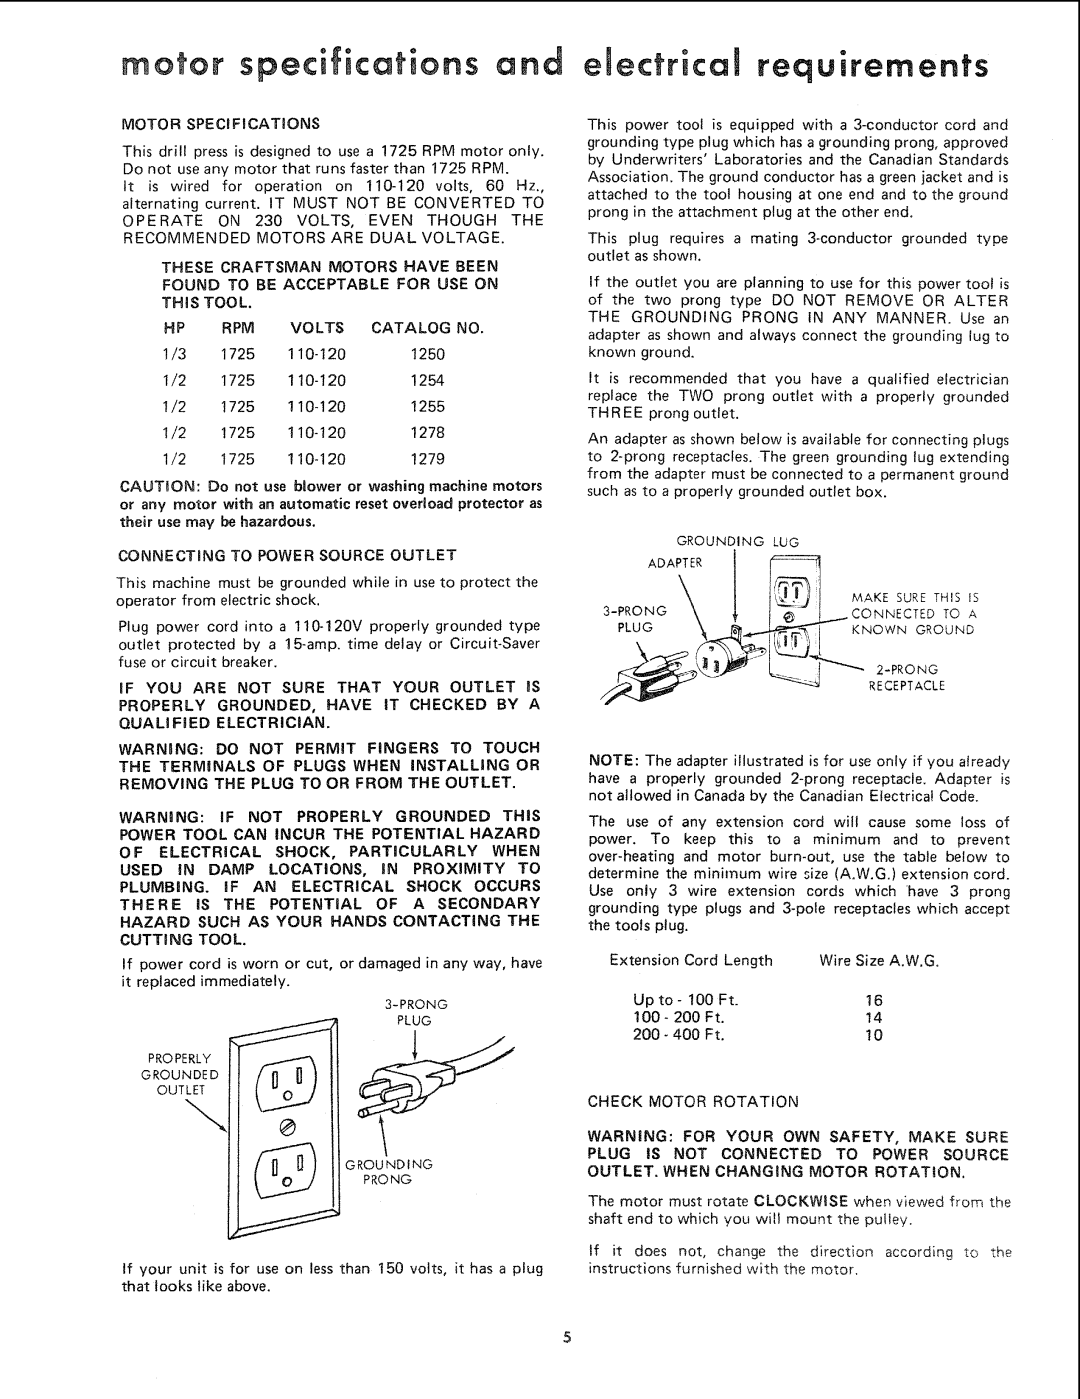
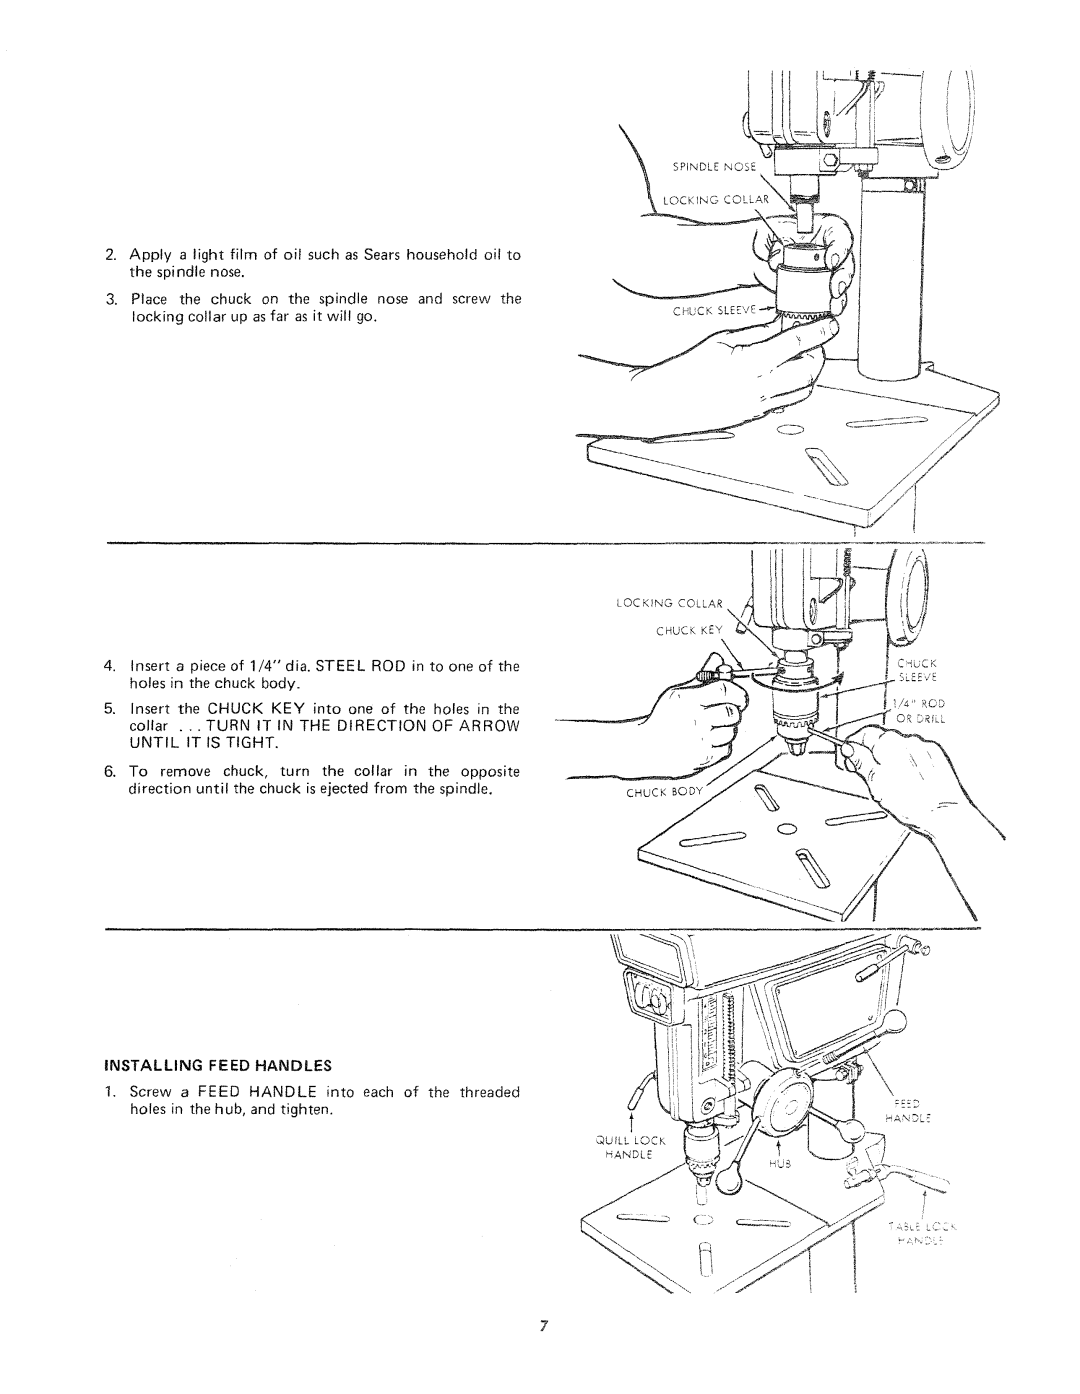
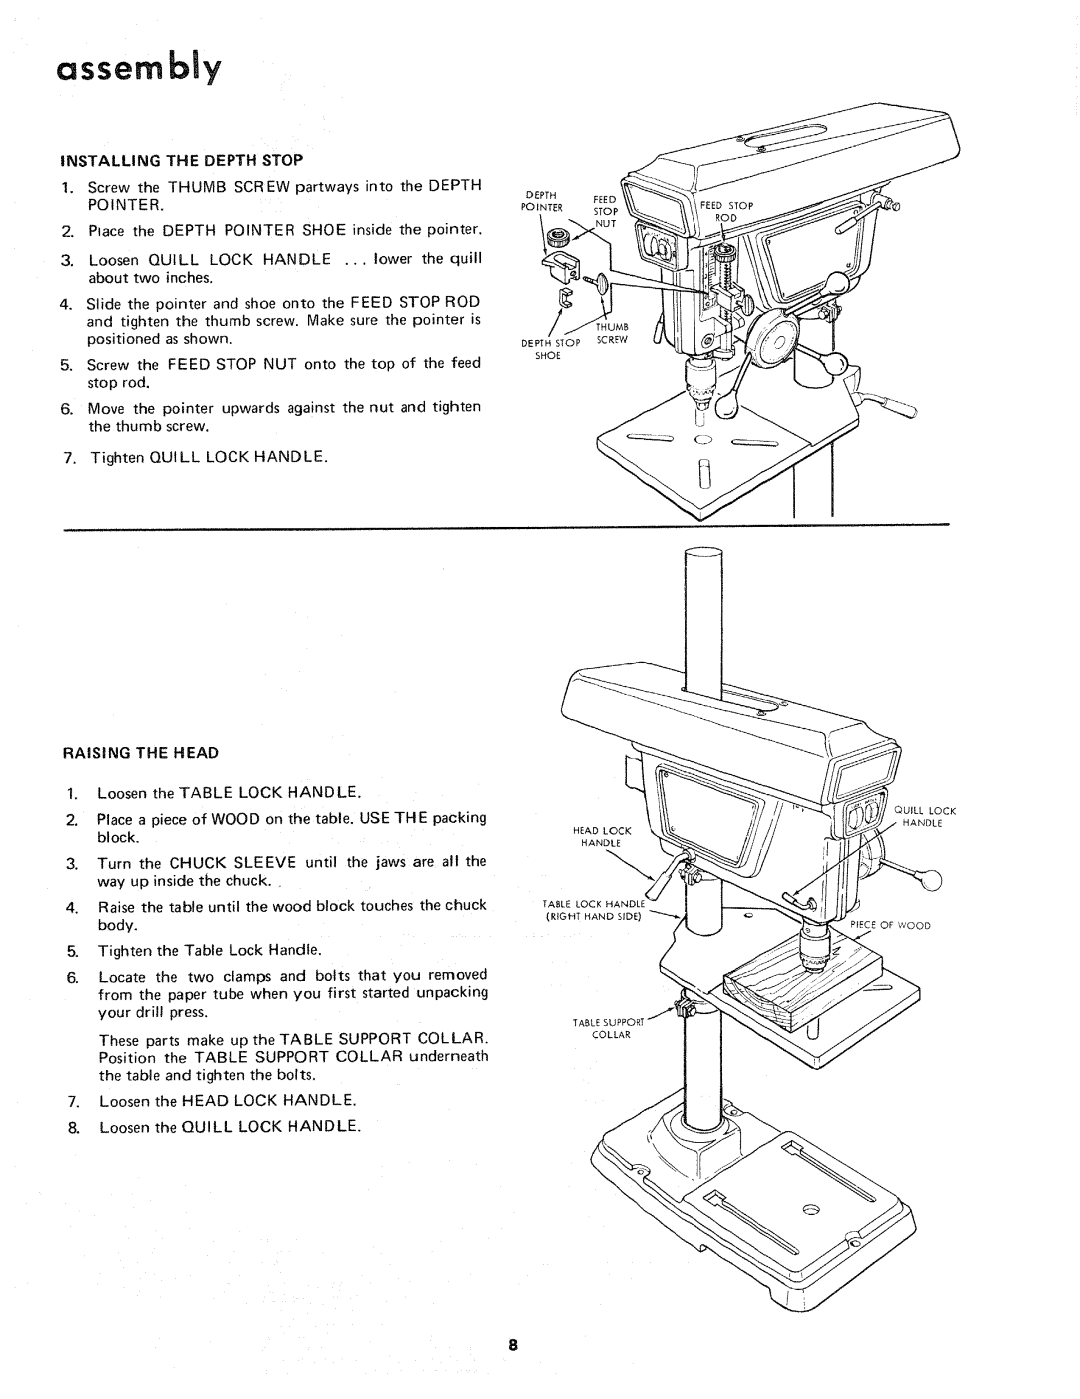
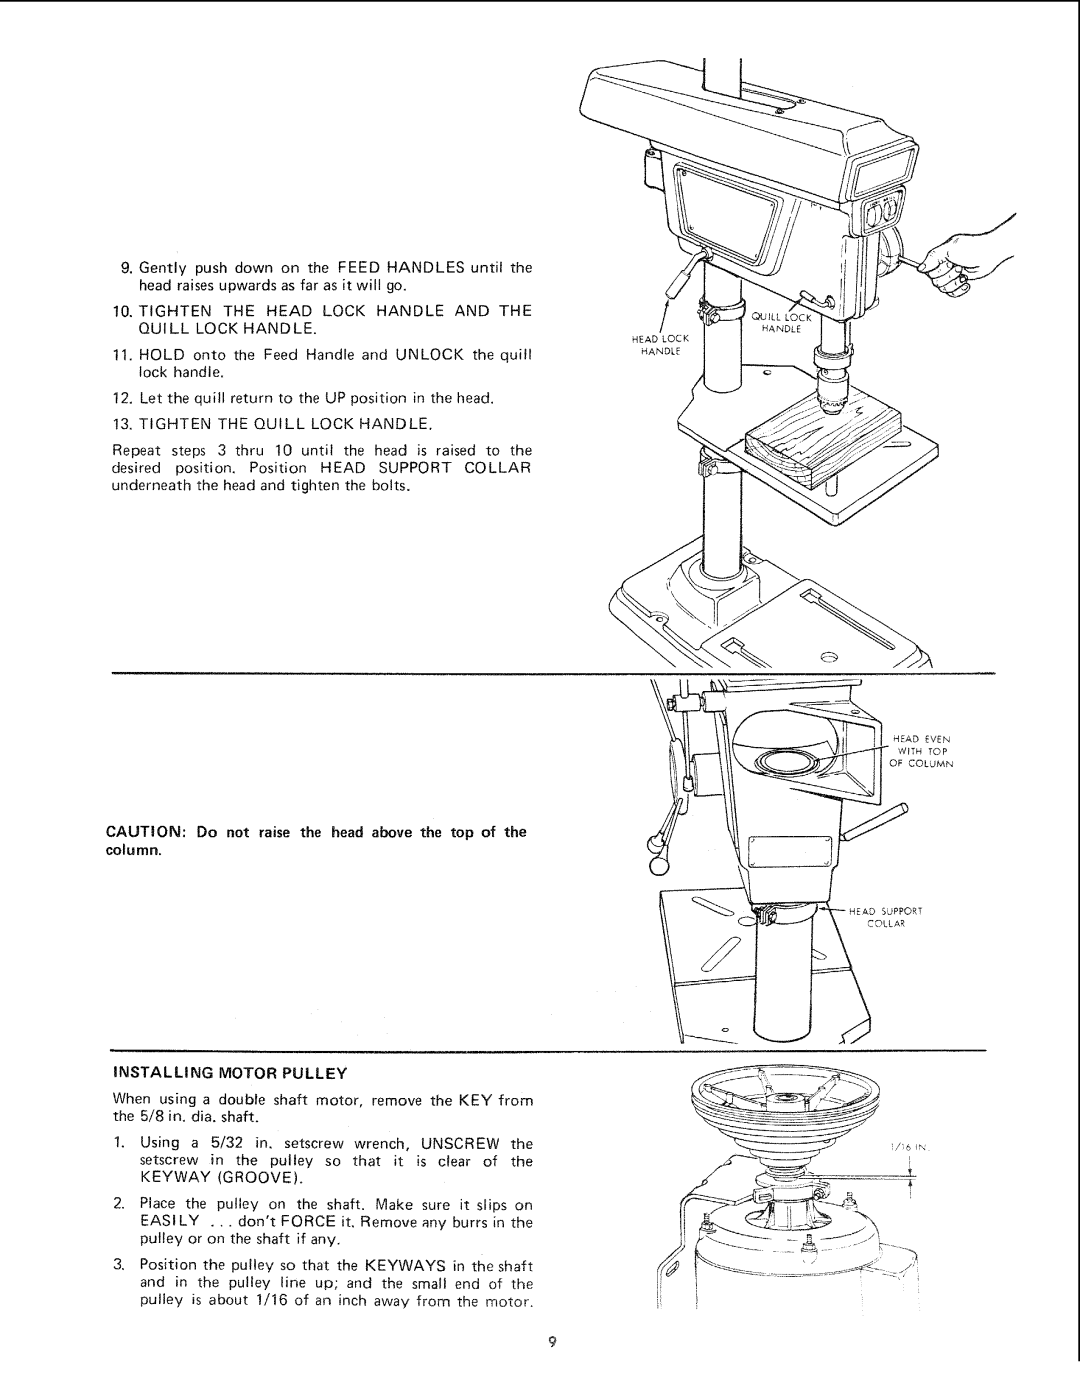
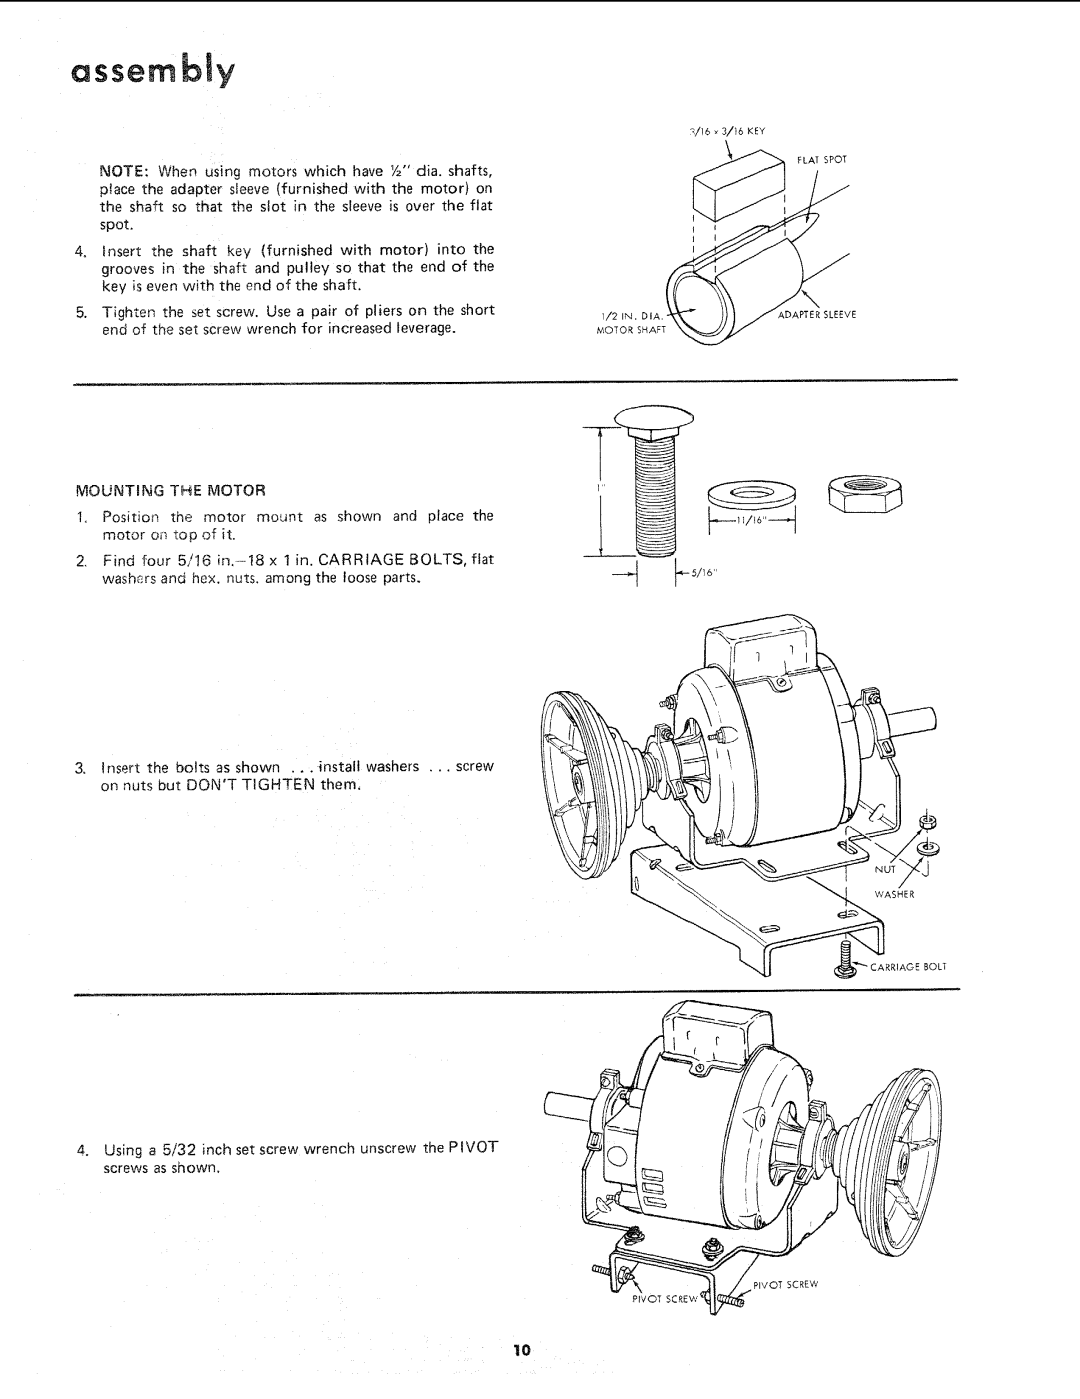
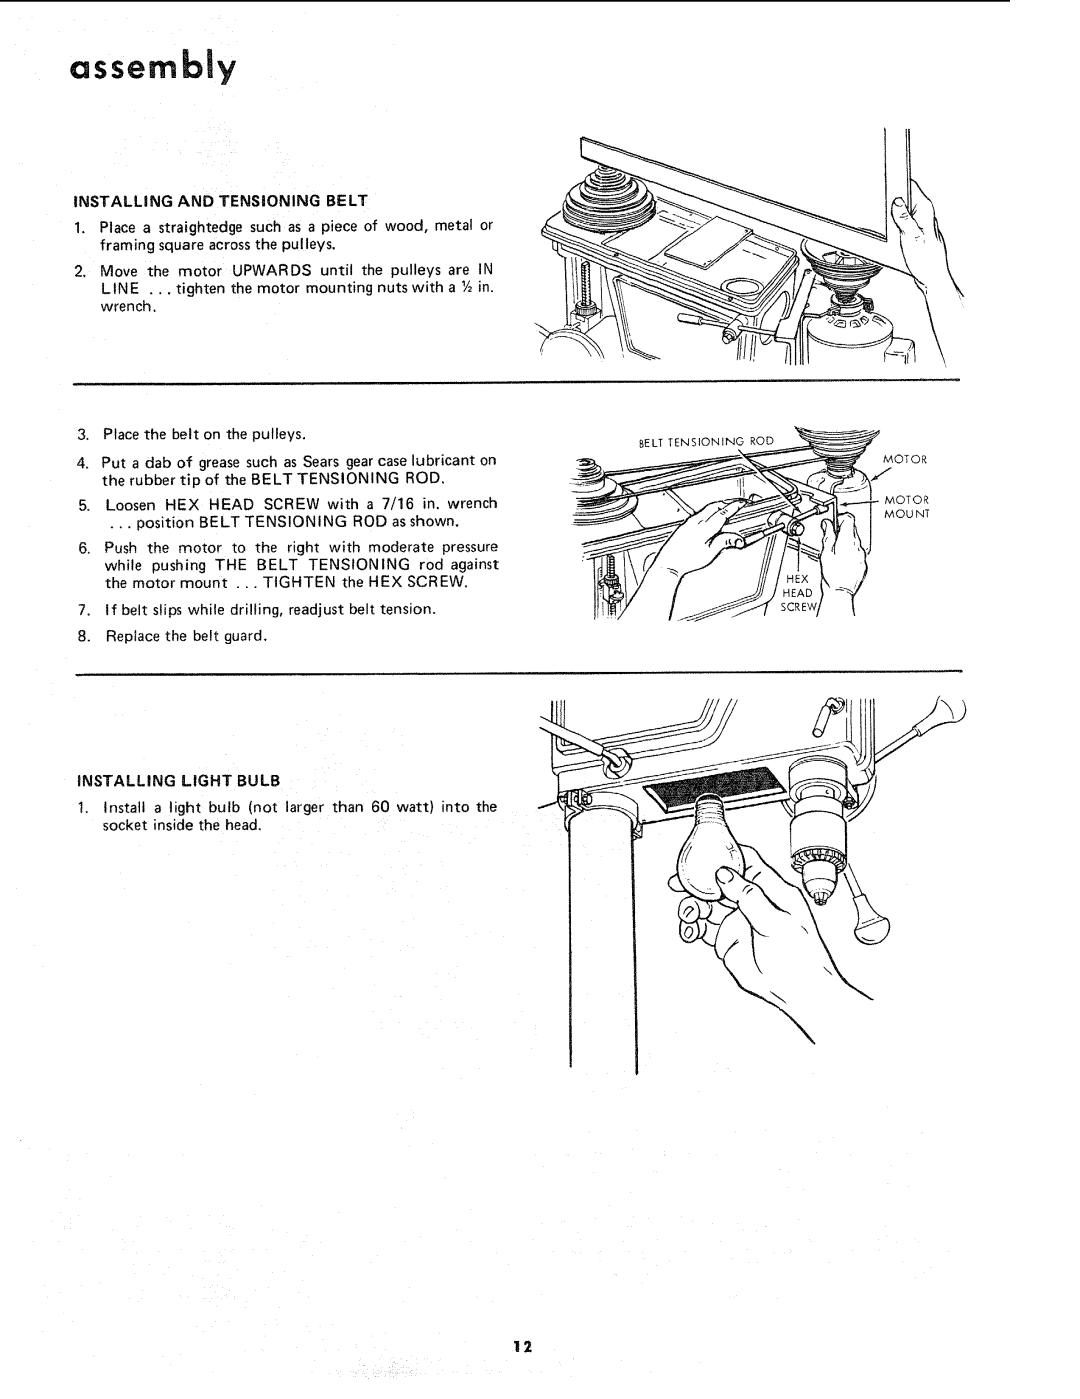
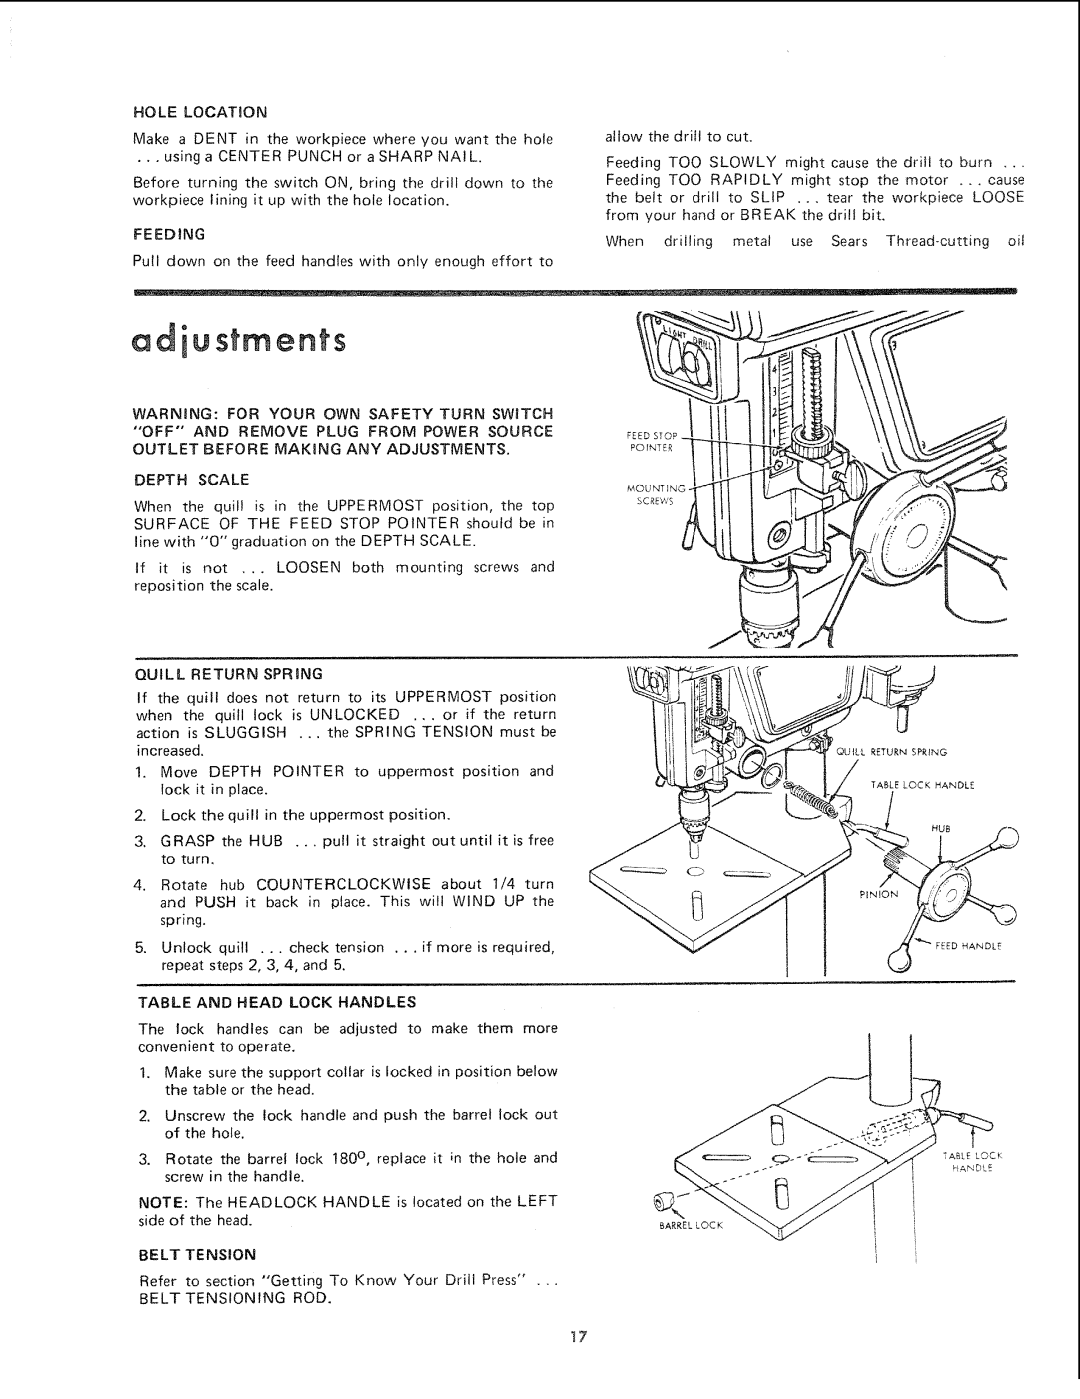
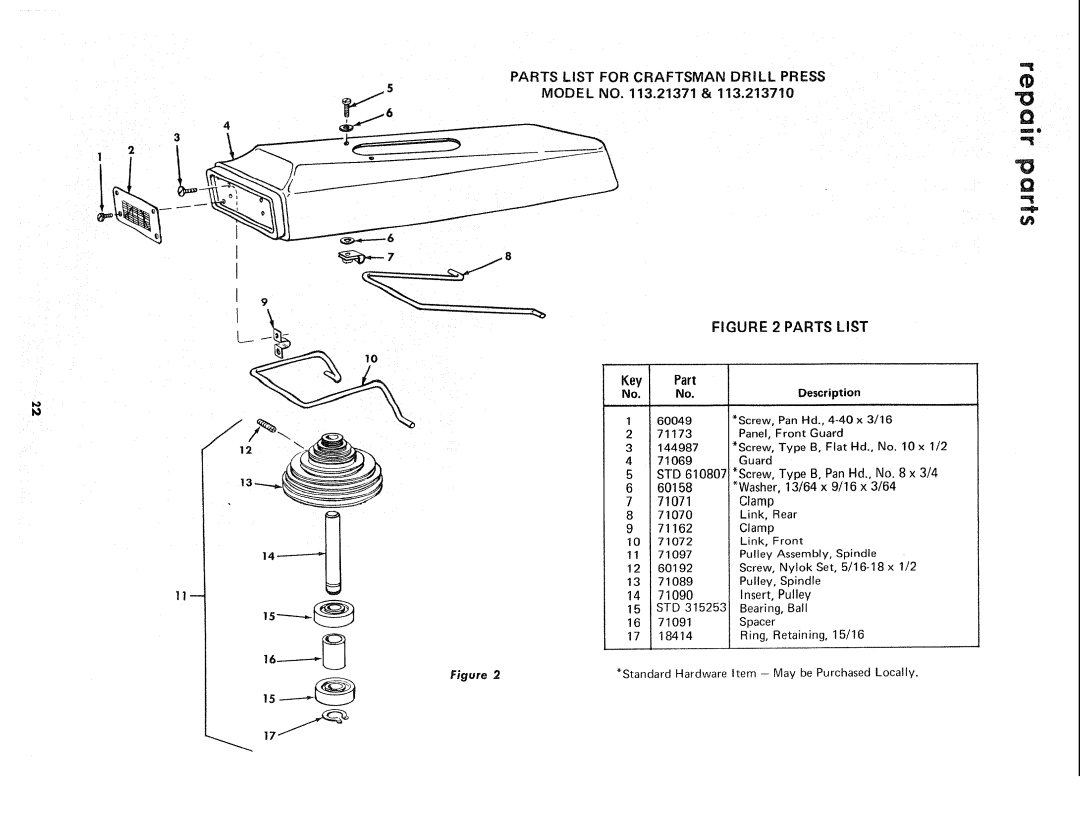
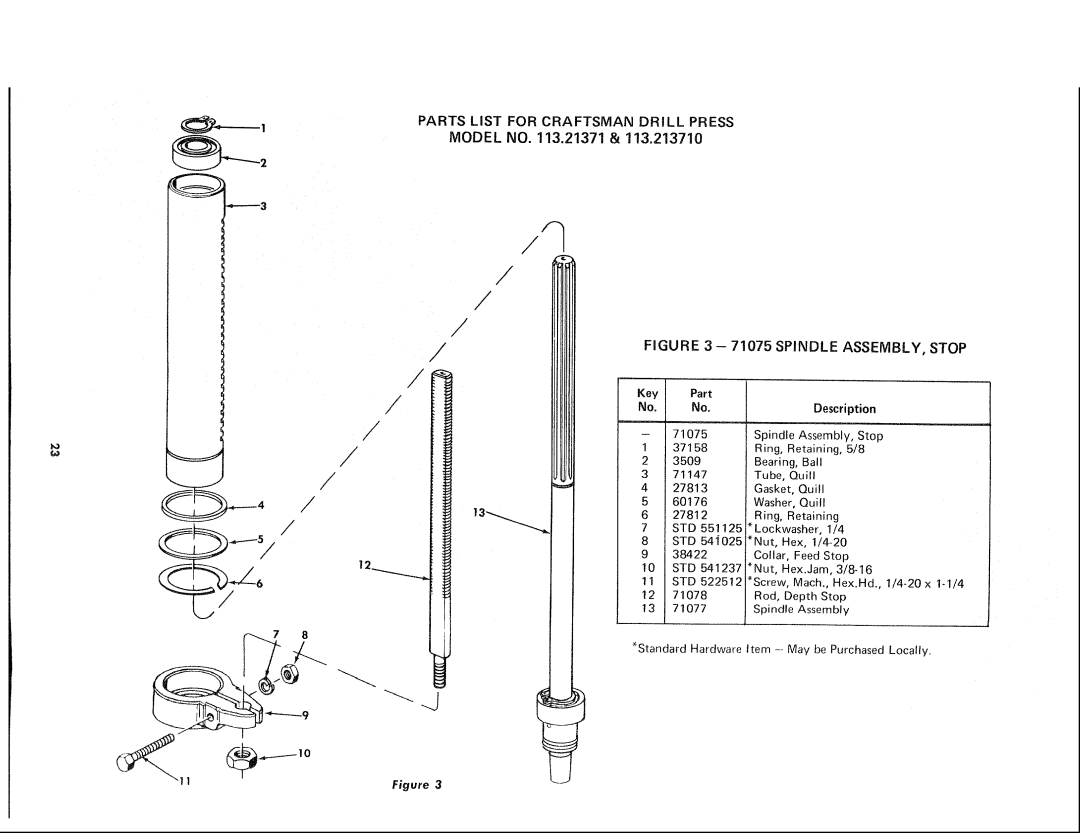
Sears 113.21371 manual Installing Motor Pulley, Tighten the Quill Lock Handle, Keyway Groove

Page 9

9.Gently push down on the FEED HANDLES until the head raises upwards as far as it will go.

10, TIGHTEN THE HEAD LOCK HANDLE AND THE QUILL LOCK HANDLE.

11.HOLD onto the Feed Handle and UNLOCK the quill lock handle.

12, Let the quill return to the UP position in the head.

!3. TIGHTEN THE QUILL LOCK HANDLE.

Repeat steps 3 thru 10 until the head is raised to the

desired position, Position HEAD SUPPORT COLLAR underneath the head and tighten the bolts.

CAUTION: Do not raise the head above the top of the column.

HANDLE

HEAD LOCK

HANDLE

INSTALLING MOTOR PULLEY

When using a double shaft motor, remove the KEY from the 5/8 in, dia. shaft.

1. Using a 5/32 in, setscrew wrench, UNSCREW the setscrew in the pulley so that it is clear of the

KEYWAY (GROOVE).

2.Place the pulley on the shaft. Make sure it slips on

EASILY ,.. don't FORCE it, Remove any burrs in the pulley or on the shaft if any,

3.Position the pulley so that the KEYWAYS in the shaft and in the pulley line up; and the small end of the pulley is about !/16 of an inch away from the motor.
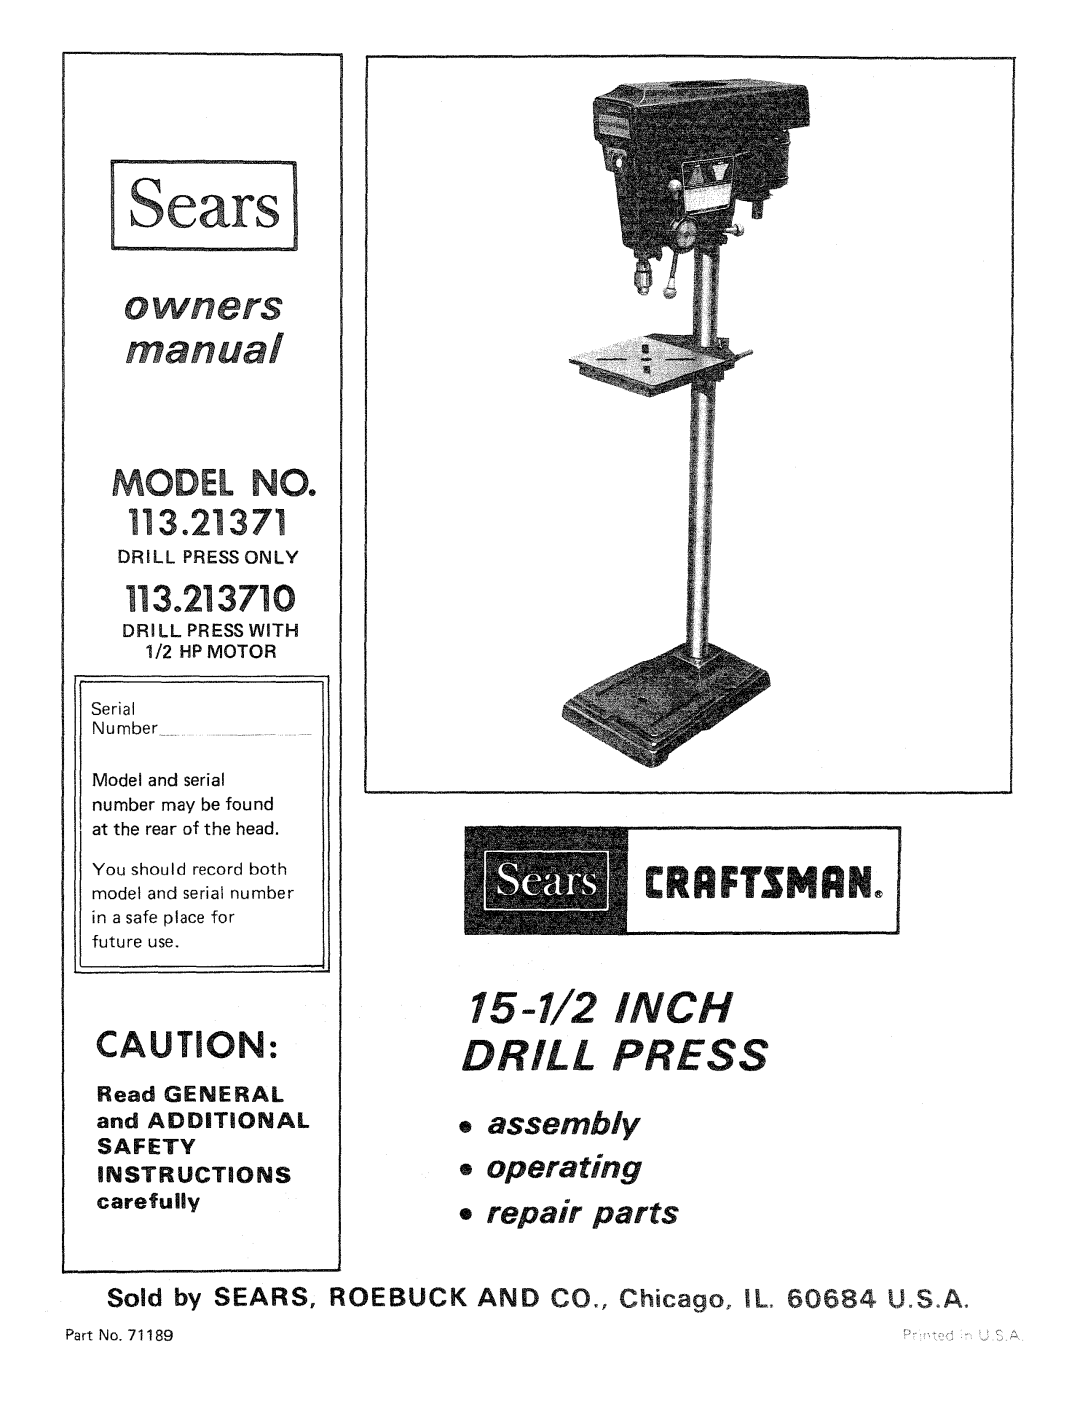
Image 9
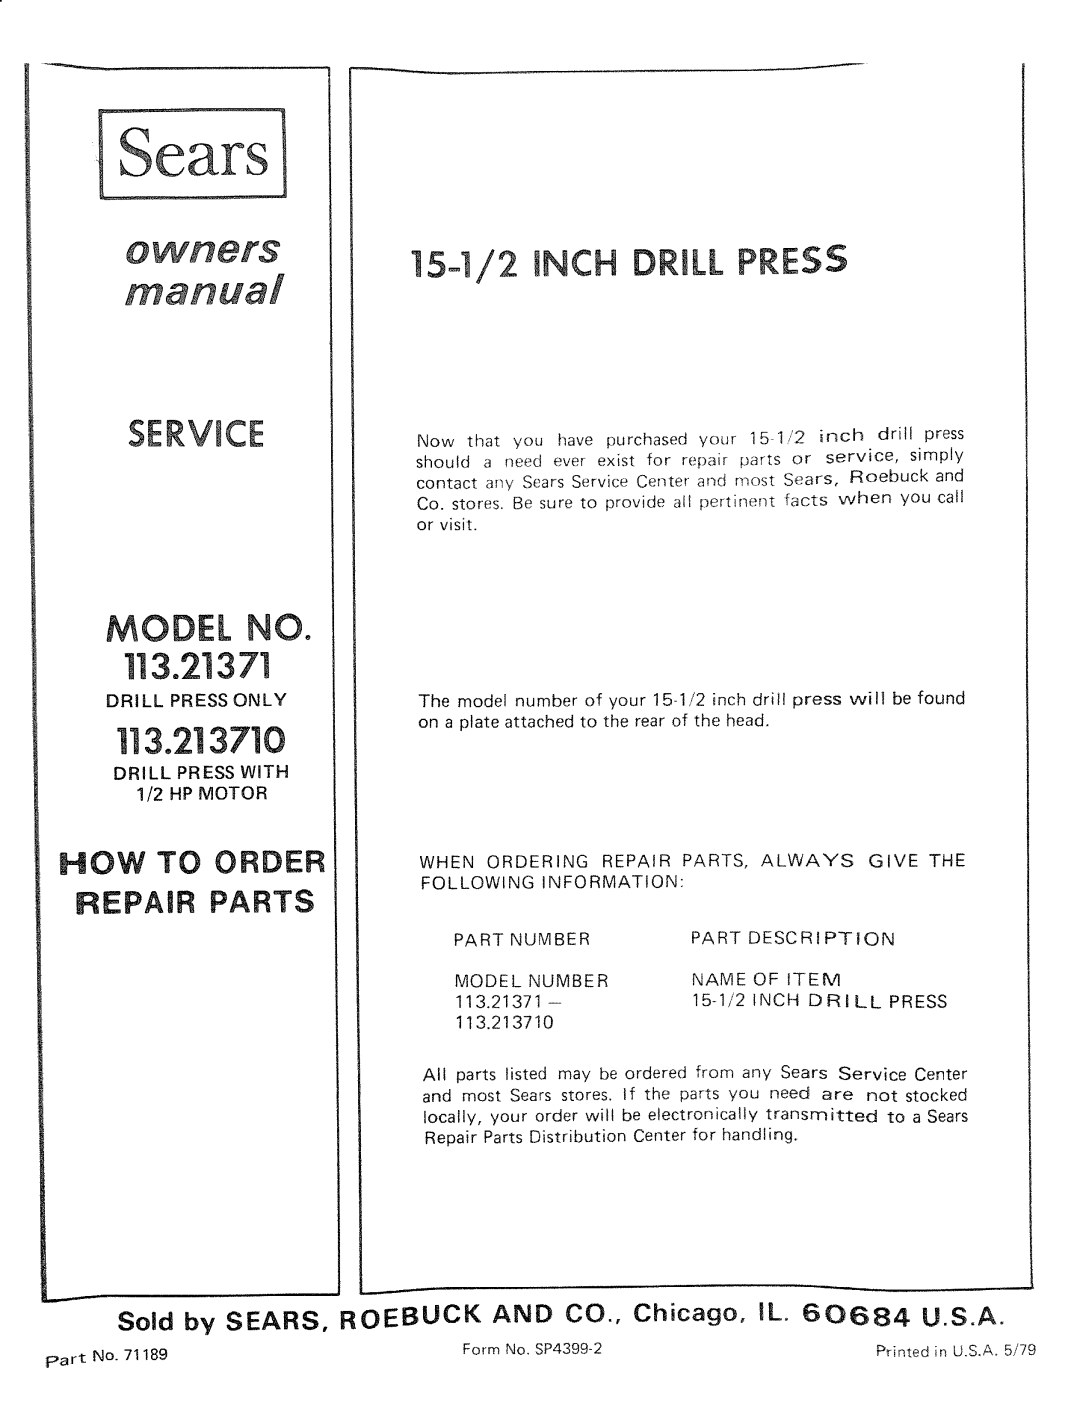
Contents 113.213710 Model noDrill Press only DRI LL Press with HP MotorOr power tools For Your OWN SAFETY, do not Additionam safety instructions for drill pressesAttempt to Operate Your Drill Press Until YOU have Read and Understand FollowingUnpacking checking Additional safety instructions for drill pressesRPM Volts Catalog no Connecting to Power Source OutletCutting Tool Check Motor RotationAssembly Spindle Nose Locking Collar Chuck Chuck KEY Chuck Body Installing the Depth Stop Raising the HeadScrew the Thumb Screw partways into the Depth Pointer 10, Tighten the Head Lock Handle and the Quill Lock Handle Installing Motor PulleyTighten the Quill Lock Handle Keyway GrooveMounting the Motor AssembtyExcessive Tightness could Bend the Motor Mount Installing and Tensioning Belt GreaseBelt Tensioning ROD Spindle Speed Chart Getting Know Your Drill PressThumbscrew Head Lock Handle ... locks the head to the column Getting to know your drill pressTablelock Handle ,, locks the table to the column Another WAYBack on Removingthe ChuckInstalling Drills Observe the Following Safety PrecautionsOperation Positioning Table and WorkpieceAdiustments Hole LOCAT!ONBelt Tension Lubrication Recommended accessoriesOutlet Before Maintaining or Lubricating Your Drill Press WheelOutlet Before Trouble Shooting Trouble shootingParts List for Craftsman Drill Press Model no .21371 STD Parts List for Craftsman Drill Press Model no .21371STD RPMKey Parts List for Craftsman Drill Press71075 Spindle ASSEMBLY, Stop Parts List for Craftsman Drill Press Model no .21371Part 113.2!3710Model Number Name Inch Drill