Wheel Inspection
Do not assume that a wheel is in sound condition just because it is
First, do a Visual Inspection. Look for any cracks, chips, nicks or dents in the surface of the wheel. If you see any of these, DO NOT use the wheel.
Second, do a Ring Test. This test will give you an indication of any internal damage that may not be obvious during a visual inspection.
To perform a Ring Test:
1.Make sure the wheel that you test is clean and dry; otherwise, you may get false results.
2.If size permits, balance the wheel with your finger in the hole. If this is not possible, hang the wheel in the air with a piece of cord or string looped through the hole in the center.
3.At the spots shown in Figure 12, gently tap the wheel with a light
����
��������������
������������������������������
���������������������������������������
�������������
���������������
�������������������
�������
�������������������������
����������������������������
�����������������������
Figure 12. Tapping locations when performing a
ring test.
H8148/H8149/H8150 Heavy Duty Bench Grinder
4.An undamaged wheel will emit a clear metal- lic ring or “ping” sound in each of these spots. A damaged wheel will respond with a dull thud that has no clear tone.
5.If you determine from the ring test that the wheel is damaged, DO NOT use it!
Wheel Dressing
Depending on the type of grinding you do, the grinding wheel may require periodic dressing.
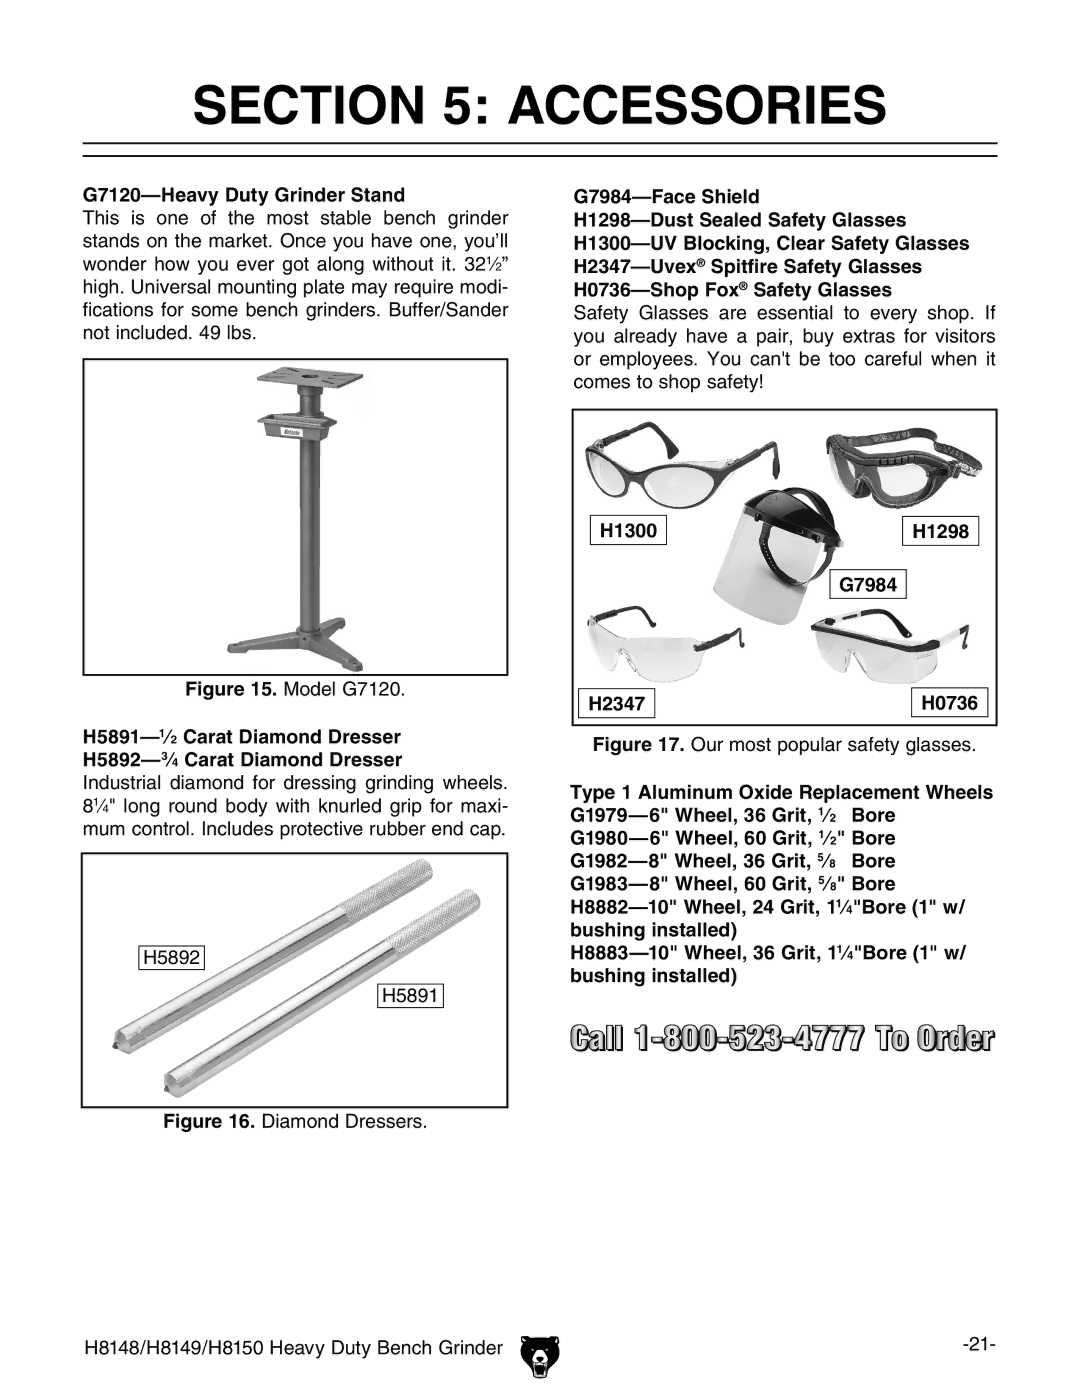
There are several different types of wheel dress- ing devices available on the market (see Page 21). Dressing restores the abrasive quality of the wheel surface and brings the wheel edge back to a square form.
Refer to the instructions that accompany your dressing accessory for complete details on how to properly dress a wheel.
Wheel Replacement
The wheel guard assembly must be removed in order to mount or dismount a grinding wheel.
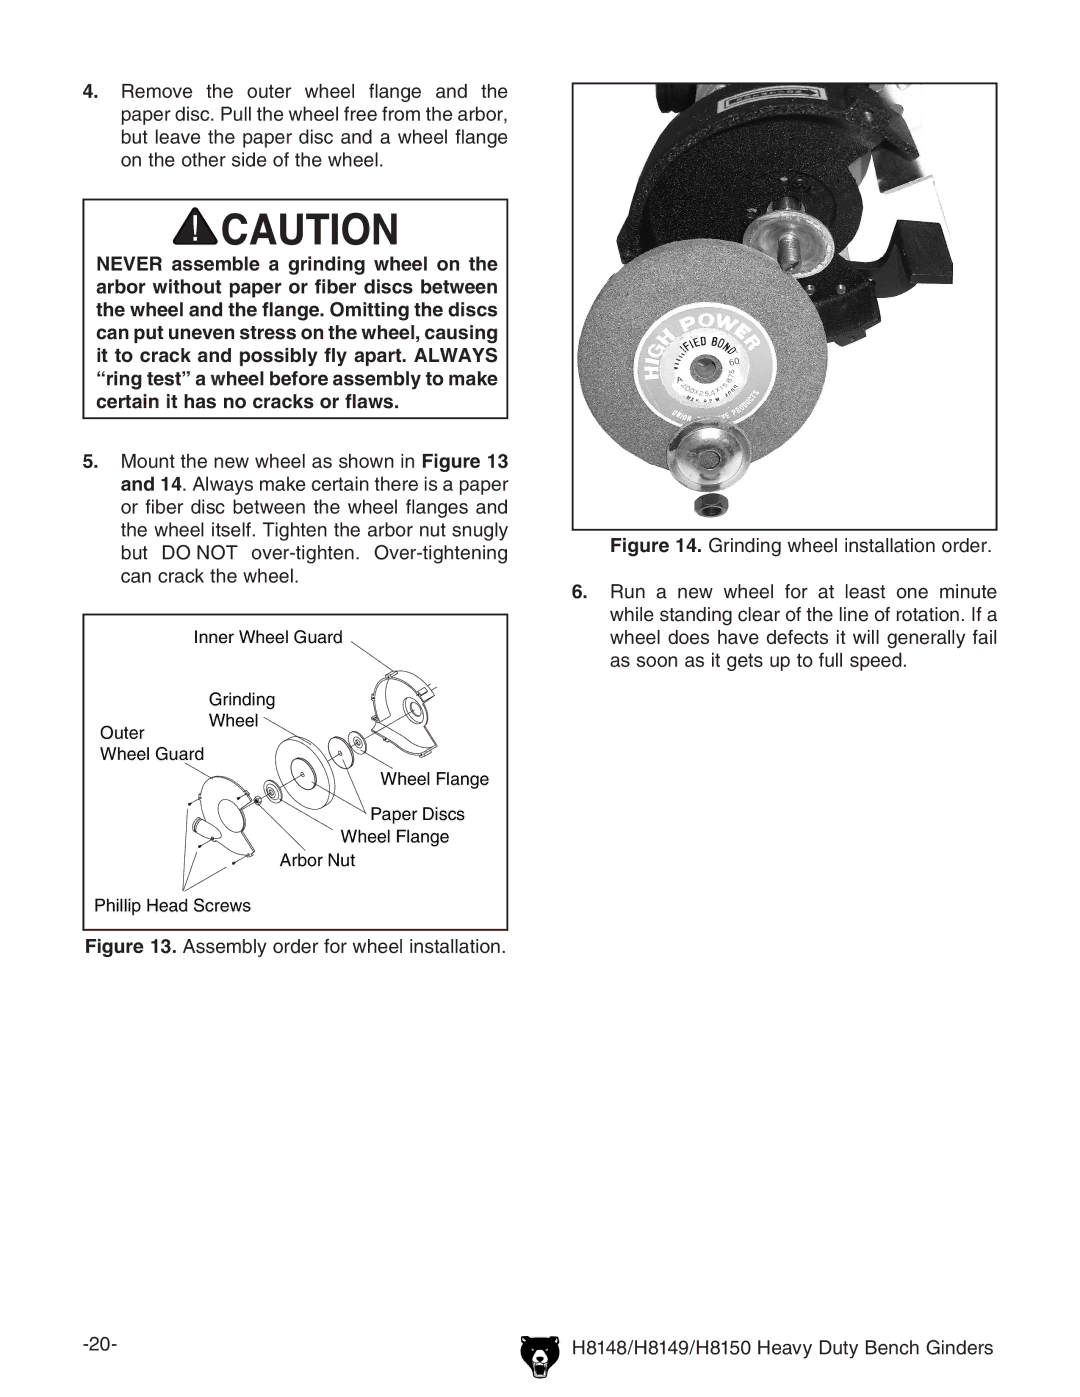
To replace a grinding wheel:
1.UNPLUG THE GRINDER!
2.Remove the three Phillips head screws and nuts that go through the outer guard, and remove the outer guard.
3.Hold the wheel from turning, and remove the arbor nut which holds the wheel on.
Note: The arbor shaft and nut on the left hand side of the grinder is a left hand thread, so loosening it will require turning it clock- wise.
